


Ragefire Chasm: WoW: Forever Dungeon Guide

Ragefire Chasm
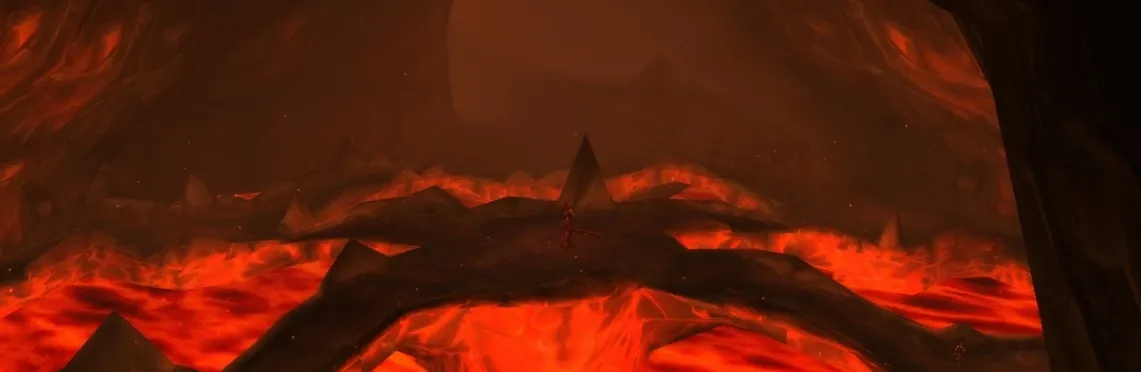
Ragefire Chasm lies beneath Orgrimmar. It is a dungeon for a group of 5 players where you fight troggs, demons, and members of the Burning Blade clan.
Where to Find the Ragefire Chasm Entrance
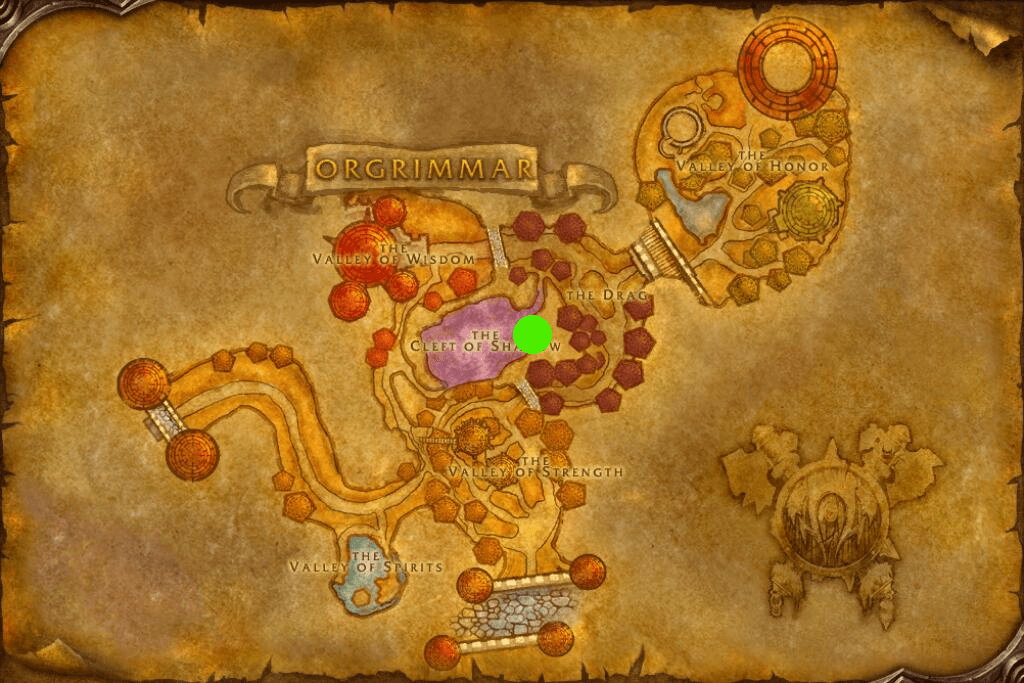
The portal is located in the Cleft of Shadow. Horde and Alliance use the same entrance; only the route to it differs.
Horde Entrance
Head to Orgrimmar, go down into the Cleft of Shadow, and find the dungeon portal deep inside the cave. The map marker shows the entrance itself.
Alliance Route
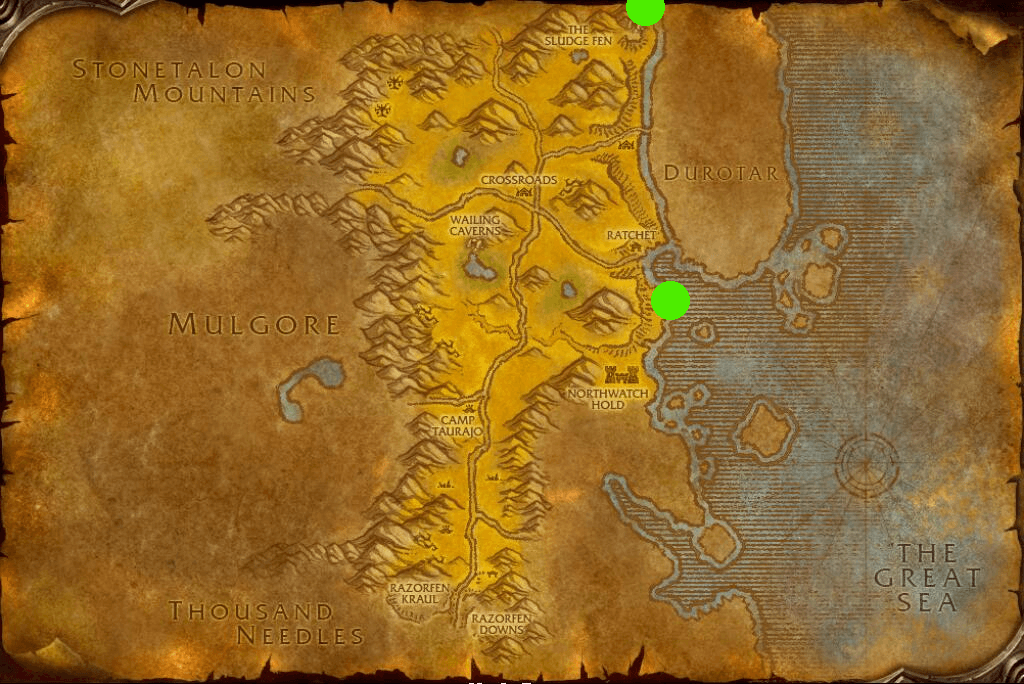
Take the boat from Booty Bay to Ratchet. From Ratchet, travel north to the western entrance of Orgrimmar. The map marks Ratchet and the approach to the city from The Barrens.
Ratchet:
Approach to the Orgrimmar West Gate:
Inside the city, go from the West Gate to the descent into the Cleft of Shadow, then on to the portal. The three points on the next map mark the gate, the approach to the Cleft of Shadow, and the dungeon entrance.
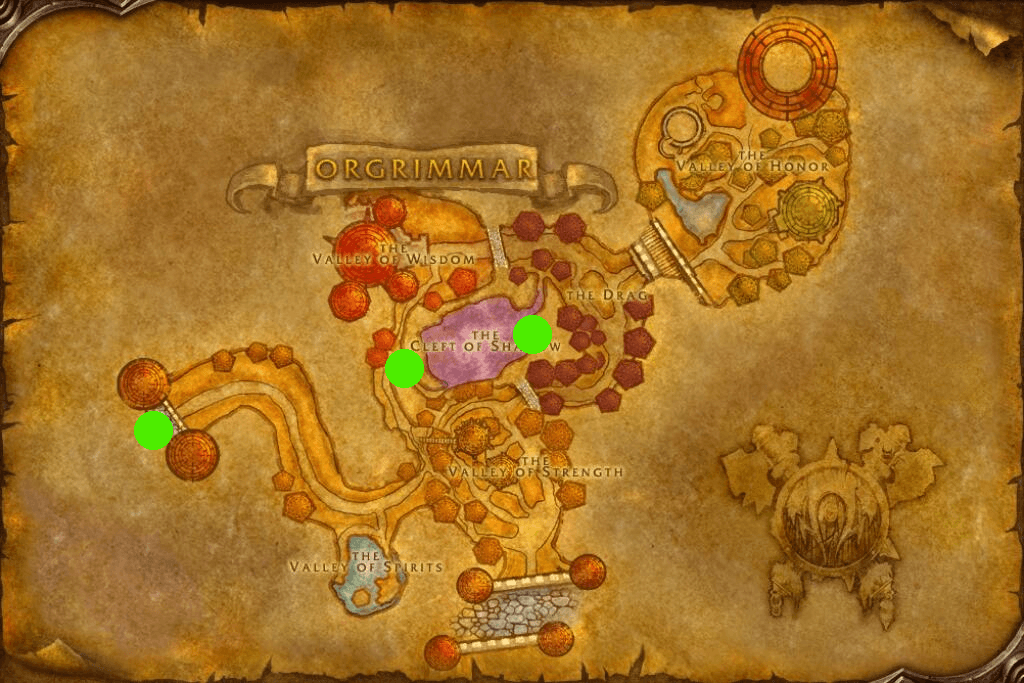
Orgrimmar is an enemy capital for the Alliance. Guards and Horde players may attack you on the way. Form your group in advance and agree on a route: there is no separate safe portal for the Alliance here.
Dungeon Walkthrough
Before the first pull, agree on which target the group kills first and who stays crowd-controlled. In narrow areas, keep away from the lava and don't start a new fight while the healer is regenerating mana.
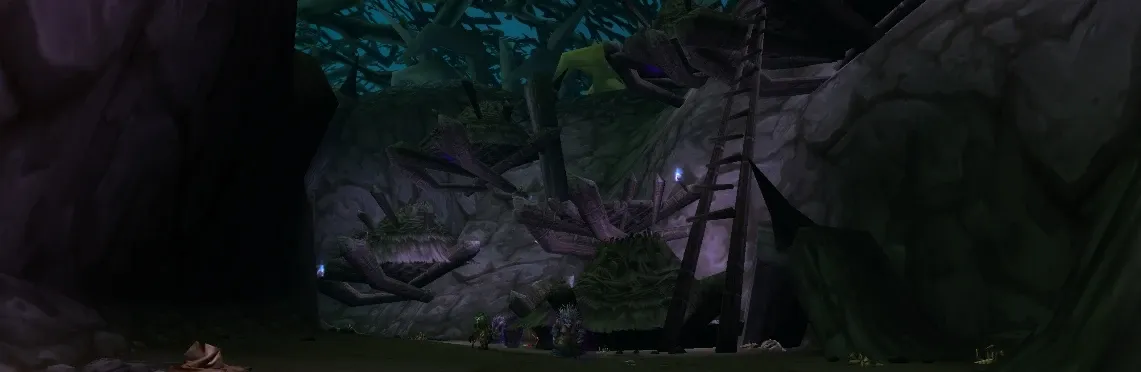
- In the opening area, clear the troggs and enter the side cave to reach Oggleflint. Maur Grimtotem, tied to the satchel quests, is also here.
- Push on to the central platform and defeat Taragaman the Hungerer.
- In the far part of the dungeon, deal with Jergosh the Invoker.
- Don't miss the side ramp up to Bazzalan: you need to kill him for the Hidden Enemies quest.
Thin out the enemy pack first, then focus on the boss. Don't hit a target an ally has crowd-controlled with AoE attacks.
Oggleflint
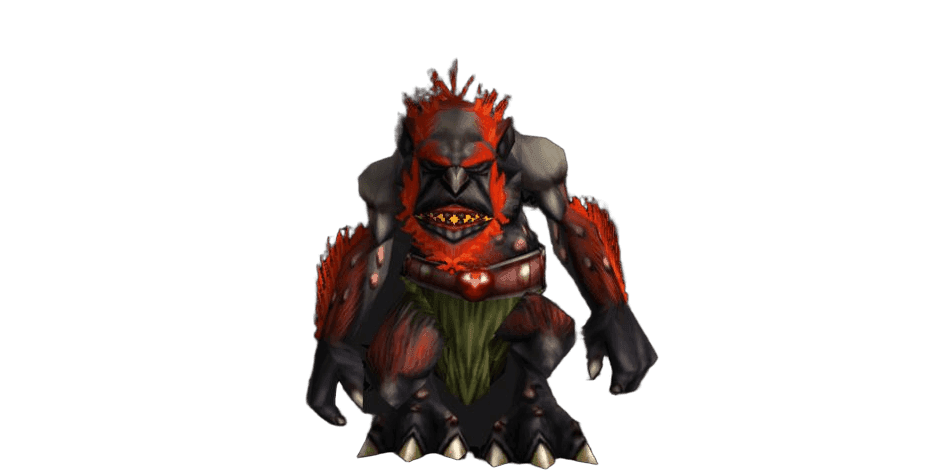
Fight Overview
Oggleflint is accompanied by two troggs. If possible, take one of them out of the fight with crowd control. The tank picks up the boss and the second trogg, while DPS kill the active add first. After that, switch to the boss and leave the crowd-controlled enemy for last.
Key Abilities
 Cleave deals physical damage to the main target and the ally nearest to it.
Tank: turn Oggleflint away from the rest of the group and hold him in place.
DPS: don't stand next to the tank in front of the boss. Take a position at the side or behind, and stick to the agreed kill order.
Healer: watch the tank especially closely at the start of the fight, while both the boss and the add are on him.
Taragaman the Hungerer
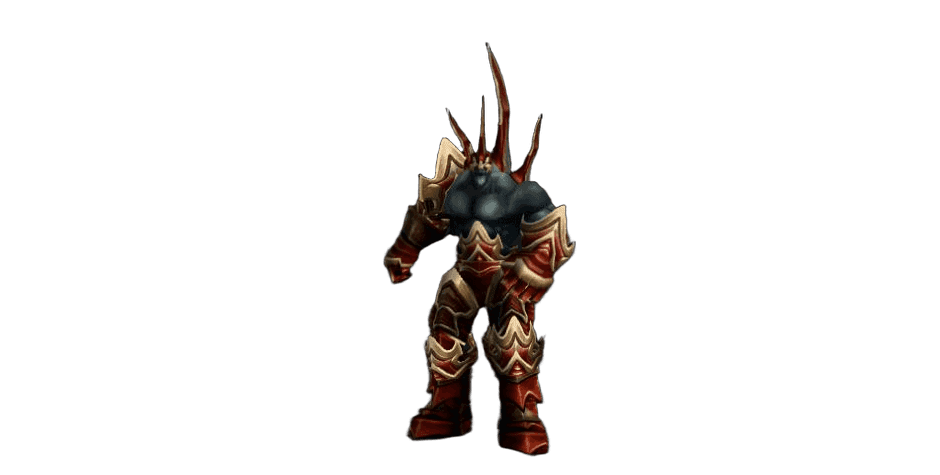
Fight Overview
The fight takes place on a platform surrounded by lava. The group's main job is to pick safe positions before the pull and avoid being near the edge during the knockback.
Key Abilities
 Uppercut hits the current target harder than a normal attack and knocks it back.
 Fire Nova deals fire damage to enemies near the boss.
Tank: keep plenty of solid ground behind you. Don't position Taragaman the Hungerer so that the knockback sends you into the lava.
Ranged DPS and healer: stay at a distance from the boss to avoid extra damage from Fire Nova.
Healer: account for simultaneous damage on the tank and melee. Restore your mana before the pull.
Jergosh the Invoker
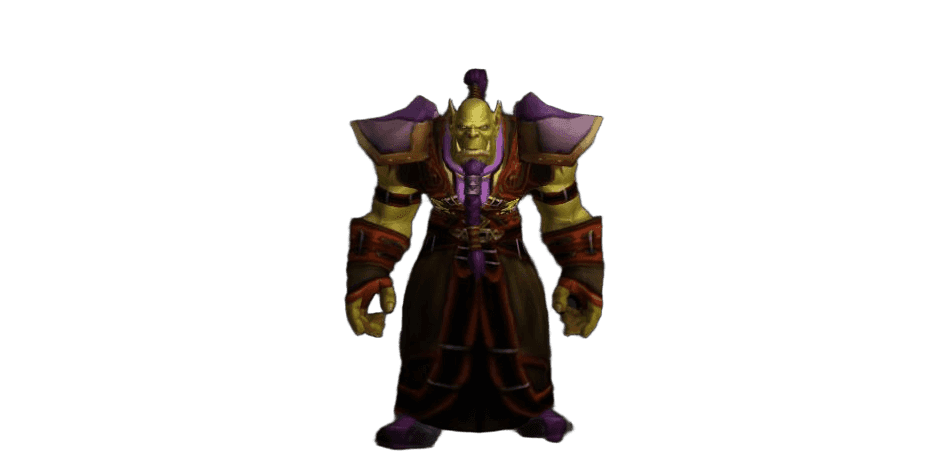
Fight Overview
Jergosh the Invoker has two adds. Crowd-controlling one of them and quickly killing the other eases the pressure on the tank and healer. Once the active add is down, focus on the boss.
Key Abilities
 Immolate deals fire damage on hit, then continues to deal damage over time. The cast takes 2 seconds.
 Curse of Weakness reduces the target's physical damage for 30 seconds.
DPS: interrupt Immolate if your character already has a suitable ability. Set an interrupt order before the fight.
Healer: Immolate is a magic effect. If your group can dispel magic from allies, remove it; otherwise, keep the affected player's health up until the effect ends.
Group: Curse of Weakness is a curse and can only be removed with curse removal. Whether you can dispel it depends on your group composition and learned abilities.
Bazzalan
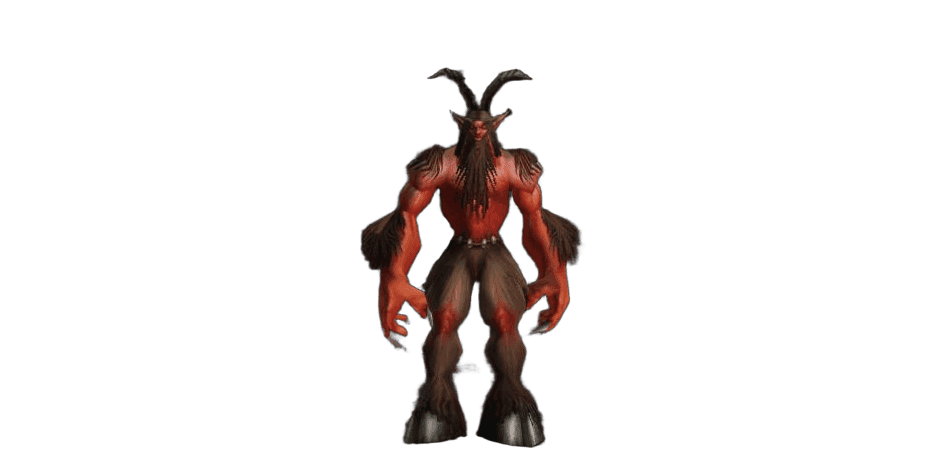
Fight Overview
Bazzalan stands on a raised area in the far part of the dungeon. Don't skip this section if you're doing Hidden Enemies. Before the fight, deal with nearby enemies and make sure the tank can engage first.
Key Abilities
 Sinister Strike deals extra physical damage in melee.
 Deadly Poison deals nature damage over time.
Tank: hold Bazzalan and don't let him switch to the healer.
Healer: watch for the combination of direct hits and damage over time. If your group can cure poison, use it on the affected target.
DPS: kill the active adds first, then attack the boss. Don't start the fight until the tank and healer are ready.
Ragefire Chasm Quests
All of the quests listed are available to the Horde only.
-
Reward: 8 silver; 2,350 XP.
Quest level: 16. Faction: Horde.
Quest giver: Neeru Fireblade, Orgrimmar.
/way Orgrimmar 49.6 50.4 -
Reward: your choice of one item:
 Ghastly Trousers,
 Dredgemire Leggings,
 Gargoyle Leggings; 2,950 XP; 150 reputation with Undercity.
Quest level: 16. Faction: Horde.
Quest giver: Varimathras, Undercity.
/way Undercity 56.2 92.4 -
Reward: 7 silver; 2,150 XP; 100 reputation with Thunder Bluff.
Quest level: 15. Faction: Horde.
Quest giver: Rahauro, Thunder Bluff.
/way Thunder Bluff 70.4 29.6 Searching for the Lost Satchel
Reward: 1,800 XP.
Quest level: 16. Faction: Horde.
Quest giver: Rahauro, Thunder Bluff.
/way Thunder Bluff 70.4 29.6-
Reward: your choice of one item:
 Featherbead Bracers,
 Savannah Bracers,
 Garrison Cuffs; 2,950 XP; 150 reputation with Thunder Bluff.
Quest level: 16. Faction: Horde.
Quest giver: Maur Grimtotem, inside Ragefire Chasm, in the cave of Oggleflint.
-
Reward: 8 silver; 2,350 XP; 100 reputation with Orgrimmar.
Quest level: 16. Faction: Horde.
Quest giver: Thrall, Orgrimmar; requires completing the previous steps of the chain.
/way Orgrimmar 32 37.8
Dungeon Rewards
The loot in Ragefire Chasm includes weapons and armor for the early levels. Below are the items worth looking out for; this is not a complete list of random drops.
Item | Type | Boss |
|---|---|---|
 Trogg Scepter | One-Hand Mace | Oggleflint |
 Barbaric Crossbow | Crossbow | Oggleflint |
 Bone Knuckles | Fist Weapon | Oggleflint |
 Cursed Felblade | One-Hand Sword | Taragaman the Hungerer |
| Crystalline Cuffs | Cloth Wrist | Taragaman the Hungerer |
 Subterranean Cape | Cloak | Taragaman the Hungerer |
| Cavedweller Bracers | Mail Wrist | Jergosh the Invoker |
 Robe of Evocation | Cloth Chest | Jergosh the Invoker |
 Chanting Blade | Dagger | Jergosh the Invoker |
Check your quest progress and collected items before you leave. Quests grant extra experience and gear, so it pays to pick up all available quests before your first run.
Author

Fouren
Fouren has been playing World of Warcraft for over 15 years. He is an active player with 12 Cutting Edge achievements under his belt, and has reached the top 1% and 0.1% multiple times on various classes. His main classes are healers, particularly Holy Paladin.


Comments
0No comments yet. Be the first to comment!