

King's Rest — Mythic+ Dungeon Guide
 views
viewsKing's Rest
This dungeon was added in the Battle for Azeroth expansion. It is located deep within Zuldazar and serves as the burial place of the ancient kings of Zandalari. Players must fight their way through the halls of the tomb, clear the path, and defeat four bosses who guard the rest of the dead rulers.
In this guide we cover all dungeon mechanics in detail and explain the nuances of fighting bosses and elite enemies inside the dungeon.
Mchimba the Embalmer
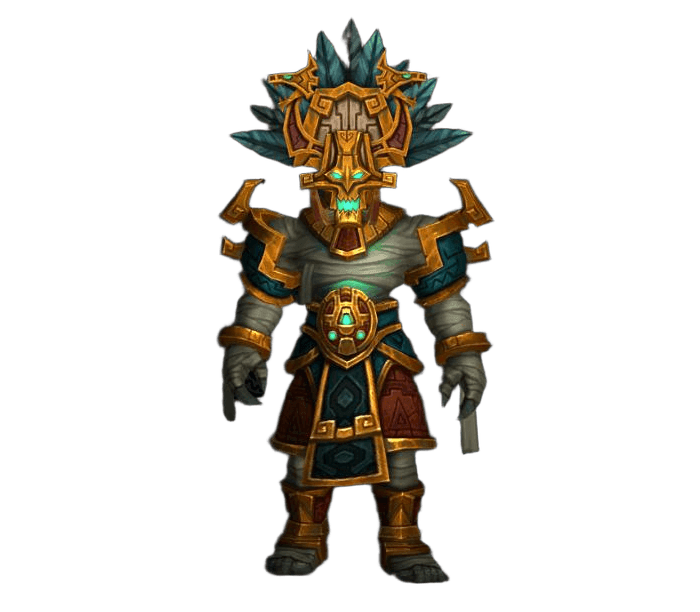
Boss Abilities
-
Mchimba draws embalming fluid from the chamber, empowering himself and preparing to apply a draining effect to the group. This spell can be interrupted. If interrupted with an immunity ability, the entire group will avoid the subsequent effect.
-
If the previous cast is not interrupted, players are afflicted with a desiccating effect that gradually drains their health. The effect fades once a player's health is restored to a high level.
-
The boss douses an area in front of himself with burning embalming fluid, leaving a dangerous pool on the floor.
-
Mchimba seals a random player inside a sarcophagus, completely isolating them from the fight. While entombed, the player gradually loses health.
-
The entombed player can knock on the sarcophagus lid to show allies exactly where they are.
-
The remaining players smash the correct sarcophagus and free their ally before they die.
-
The boss hurls corruption globules that leave poisonous pools on the floor.
-
Burning patches ignite across the platform, dealing damage to anyone standing in them.
Strategy: Mchimba the Embalmer
Tanks
Pull the boss away from the group and position him so that
 Burn Corruption and pools do not hit others, and do not stand in that zone yourself. If you are
  Entombed, use
  Struggle so allies can find you quickly. If other players are Entombed, watch which sarcophagus lid they are Struggling against so you can free them.
Healers
Most group damage comes from
 Desiccation and the persistent floor hazards. Restore players affected by Desiccation to a high health level to remove the effect, and avoid standing in Burning Ground and
  Wretched Discharge pools.
DPS
Interrupt
 Drain Fluids; interrupting it with an immunity ability will spare the group from Desiccation. Quickly free entombed allies and move out of burning zones.
The Golden Serpent
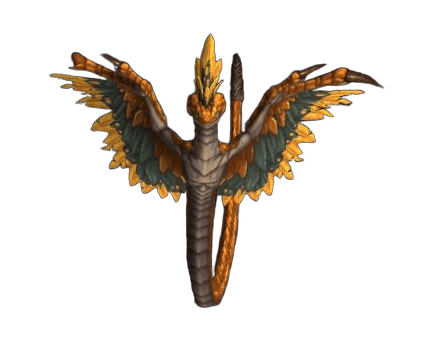
Boss Abilities
-
The Serpent spits molten gold at a random player. The target is afflicted with an effect that deals damage to them and nearby allies.
-
Wherever the gold lands, pools of molten gold are left on the floor.
-
The Serpent animates the gold pools, causing them to slowly creep toward him.
-
If animated gold reaches the Serpent, he absorbs it and empowers himself.
-
The Serpent lashes his tail, dealing heavy physical damage in an area around himself.
-
The Serpent performs a rapid lunge.
Strategy: The Golden Serpent
Tanks
When the Serpent uses
 Lucre's Call, move him away from the pools so the group has time to destroy the animated gold before it reaches the boss and empowers him with
  Luster. Remember that
  Tail Thrash hits in an area around the Serpent.
Healers
Players hit by
 Spit Gold take significant damage. Keep them and the rest of the group sustained, especially when the floor is covered with pools and animated gold.
DPS
Destroy animated gold before it reaches the Serpent. If you are affected by
Spit Gold, move away from the Serpent and other group members to avoid splashing them, and do not stand in  Molten Gold pools.
Council of Tribes
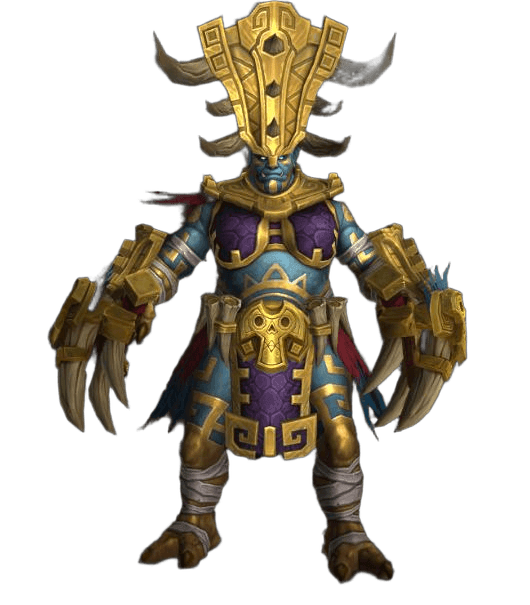
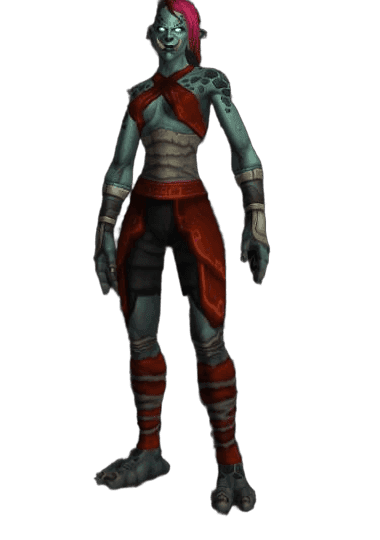
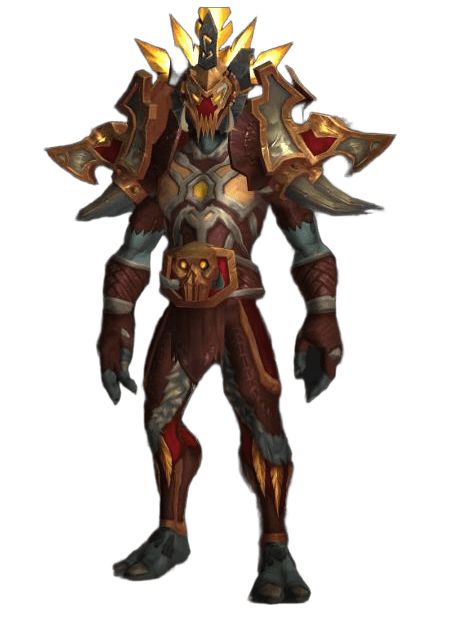
Encounter Overview
The Council of Tribes consists of three advisors: Aka'ali the Conqueror, Kula the Butcher, and Zanazal the Wise. They enter combat one at a time, and the order changes each run. After an advisor is defeated, they return to their urn and the next one takes their place. The defeated advisor will occasionally step out briefly to use a single ability before returning to their urn. The encounter ends only after all three have been defeated.
Boss Abilities
- Debilitating Backhand (Aka'ali the Conqueror)
A powerful strike on the target that deals heavy damage and applies
 Shattered Defenses.
 - Shattered Defenses (Aka'ali the Conqueror)
While this effect is active, the target takes increased damage, so tanks must stay away from Aka'ali during this time.
 Whirling Axes (Kula the Butcher)
Axes spin around Kula; they are easy to avoid by stepping out of melee range.
 Severing Axe (Kula the Butcher)
Kula hurls an axe at a chosen target.
 Poison Nova (Kula the Butcher)
A poison ability that leaves dangerous zones on the floor.
 Call of the Elements (Zanazal the Wise)
Zanazal summons elemental totems. The thunder totem casts
 Disruption, the earthwall totem raises an
  Earthwall, the torrent totem creates a
  Torrent, and the explosive totem prepares to
  Explode.
 Lightning Bolt (Zanazal the Wise)
Zanazal strikes a chosen target with lightning.
Strategy: Council of Tribes
Tanks
Stay away from Aka'ali while
Shattered Defenses is active. Whirling Axes from Kula are easy to avoid by stepping out of melee range in time. Keep advisors faced away from the group.Healers
Group damage spikes when Zanazal's totems are active and when multiple advisors use abilities in quick succession. Ramp healing during these windows and watch players affected by
Poison Nova.DPS
Destroy totems summoned by
Call of the Elements as quickly as possible, dodge Whirling Axes and poison zones, and interrupt Lightning Bolt whenever possible.
King Dazar
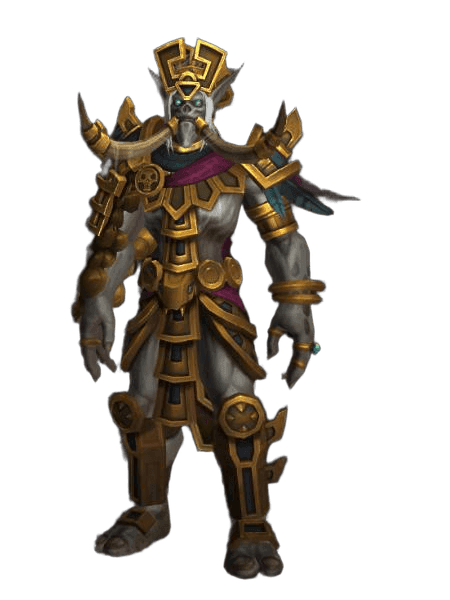
Encounter Overview
Dark magic has resurrected and enslaved Dazar, but his combat skills remain unchanged. The fight is phased based on the boss's health: at certain thresholds he calls in his hunting raptor Rezan, then mounts his loyal raptor T'zala, and near the end he activates the spear launchers installed in the chamber, which continue to fire on players until he is slain.
Boss Abilities
-
Dazar unleashes a flurry of strikes on his target, with the final swings dealing especially heavy damage.
-
Dazar leaps and deals area damage at his landing point.
-
The boss unleashes a blast of icy wind, dealing damage to players caught in it.
-
A terrifying roar that deals damage to the entire group.
-
When the hunting raptor Rezan enters combat, he leaps toward a random player.
-
After mounting his loyal raptor T'zala, Dazar gains a protective shield that the group must overcome.
-
The activated spear launchers in the chamber bombard players with spears until the king is dead.

Strategy: King Dazar
Tanks
Save defensive cooldowns for the final, most powerful swings of
 Blade Combo. When Rezan enters combat, pick up his
  Hunting Leap and keep the raptor separate from the group. Position Dazar so that his leaps and cone attacks are not directed at other players.
Healers
Damage spikes occur during
Blade Combo,  Deathly Roar, and spear launcher barrages. Use strong cooldowns and ramp healing at these thresholds, and keep players out of
  Impaling Spear trajectories.
DPS
Help control Rezan, move out of
 Quaking Leap and
  Gale Slash zones, and avoid standing in the line of fire of Impaling Spear when the launchers are active.
Elite Enemies
In addition to the bosses, as you progress through the tomb you will encounter elite Zandalari guards protecting the halls and passages. Below are several of the more notable named enemies whose fights can be challenging. Against such foes, assign kill targets in advance, interrupt spells, use crowd control, and avoid pulling multiple groups at once.
Guard Captain Atu
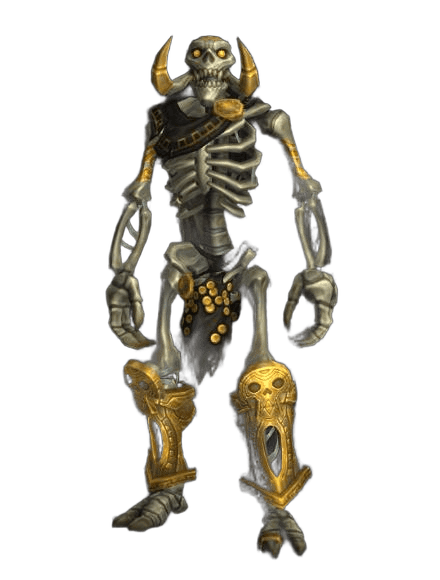
An elite undead guard from the royal household, protecting the tomb's chambers. He is dangerous in melee: he uses  Jagged Axes to deal area damage around himself. The tank should keep him faced away from the group, and other players should avoid clustering too close.
Armorer Halu
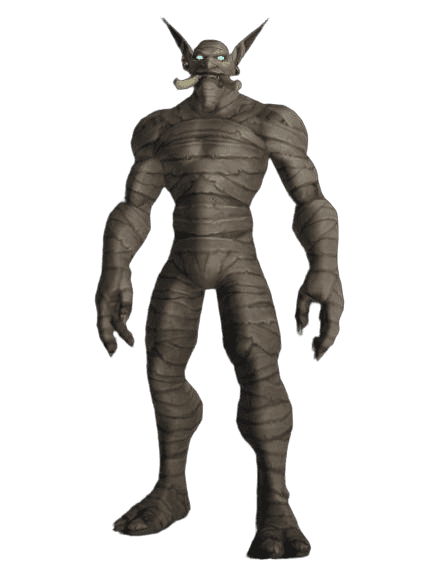
A rare elite undead enemy who does not appear in every run. He has a large health pool and deals heavy melee damage, so it is best to meet him with defensive cooldowns ready and apply slows and crowd control whenever possible.
Sage Tu'aka
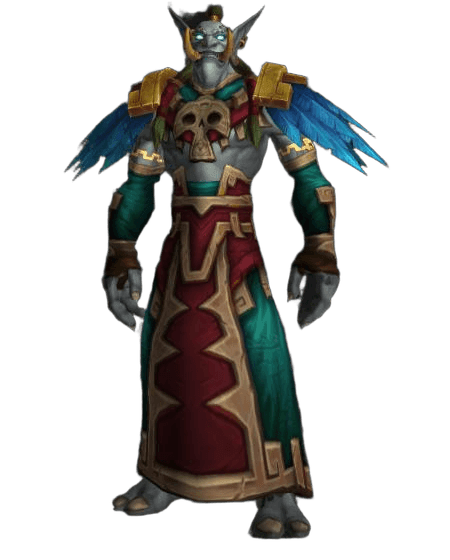
An elite seer from the royal household — a caster who attacks at range with  Arcane Pulse. Like any caster enemy, he must be interrupted promptly and crowd-controlled when possible; if he is grouped with other enemies, prioritize killing him first.
Author

Fouren
Fouren has been playing World of Warcraft for over 15 years. He is an active player with 12 Cutting Edge achievements under his belt, and has reached the top 1% and 0.1% multiple times on various classes. His main classes are healers, particularly Holy Paladin.


Comments
0No comments yet. Be the first to comment!