



The Unbinding of Kith'ix — Raid Guide
 views
viewsThe Unbinding of Kith'ix
The Unbinding of Kith'ix is a single-boss raid in the Midnight expansion, where players face Kith'ix. It is part of Season 2 and was added in patch 12.1.5. On Mythic, the boss drops gear at item level 324.
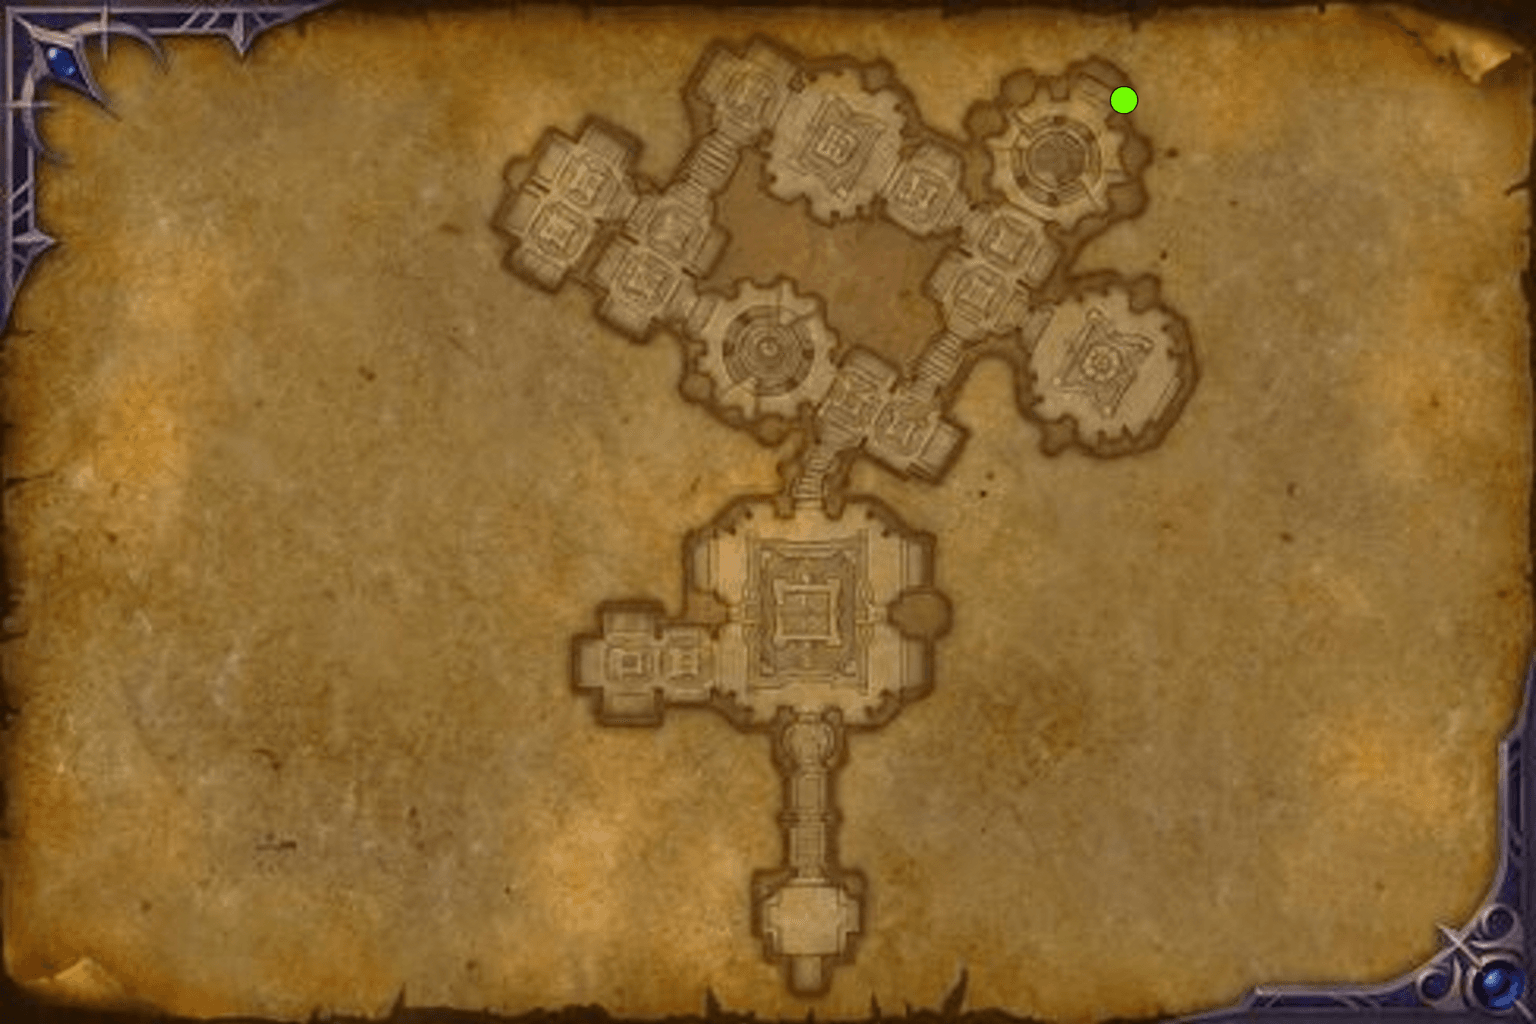
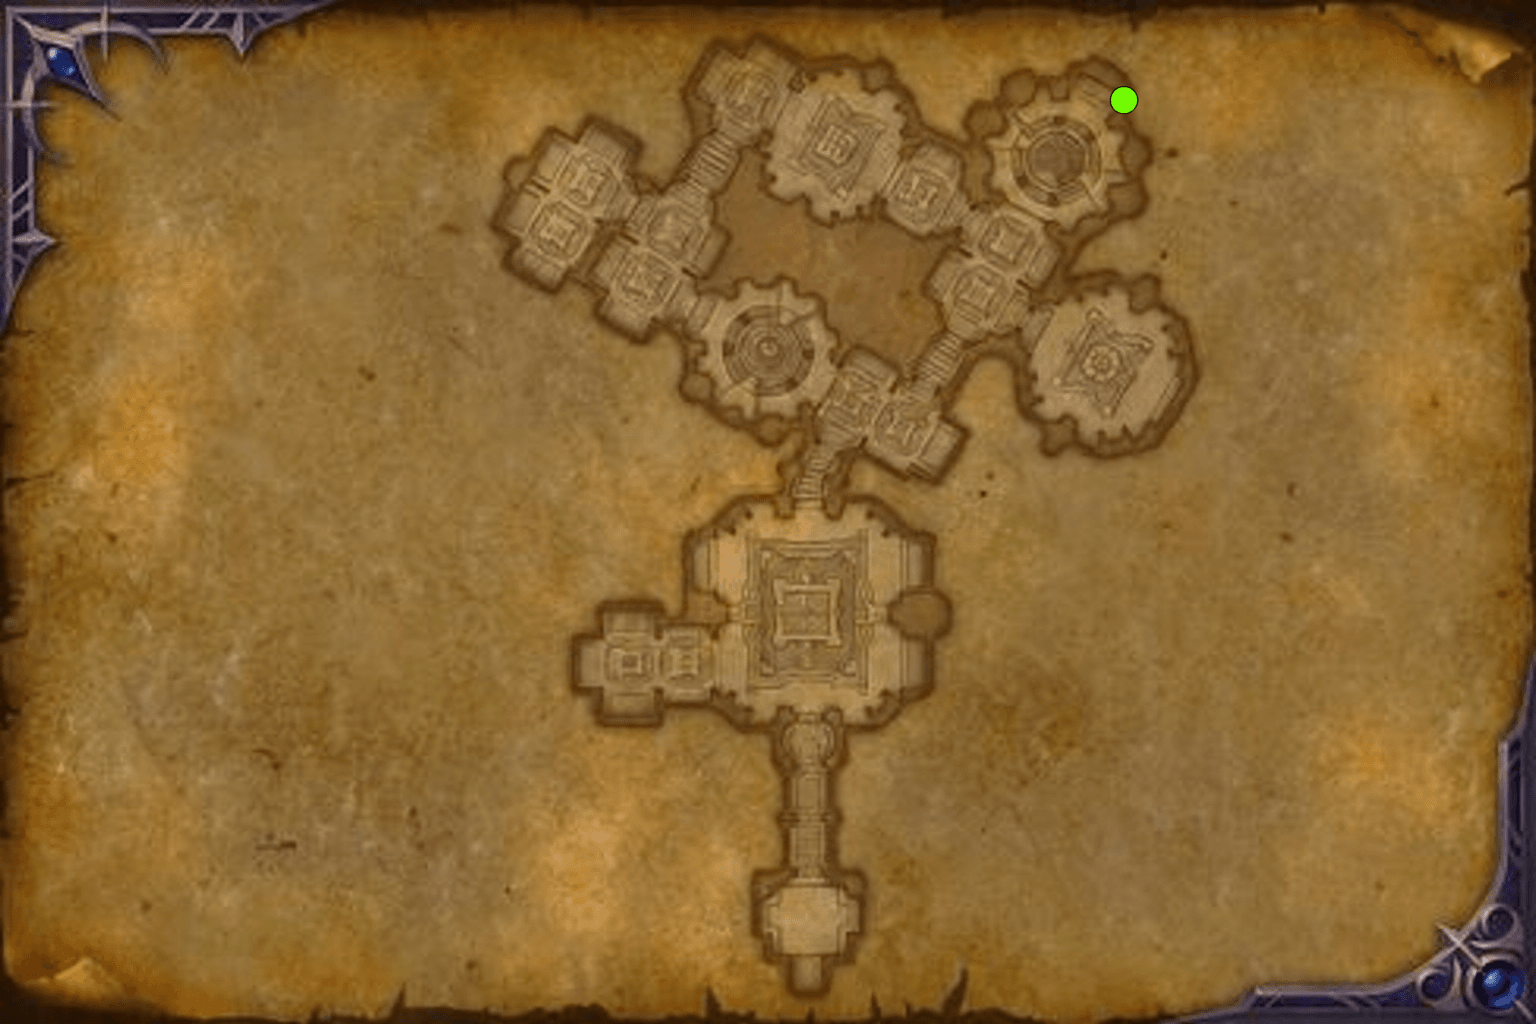
The entrance is in the northeastern part of The Underbelly, a subterranean area in the northern part of the Vaults of Atal'Utek. Enemies patrol the route to the portal, so it is safer to travel there as a group.
Kith'ix
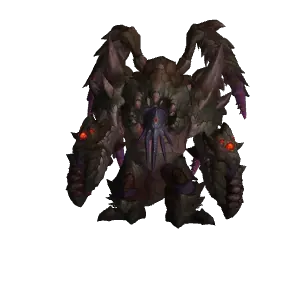
Kith'ix is a C'Thraxxi warlord imprisoned deep beneath the Vaults of Atal'Utek by Ula'tek. After her defeat, he broke free. In combat, the boss summons aqir, fills the arena with darkness, and attempts to extinguish the Light of Lady Liadrin, who protects the raid.
Below, we cover the boss's abilities and what the raid should do during each stage.
This overview includes Mythic mechanics. Differences on Heroic and lower difficulties are noted alongside the relevant abilities.
Encounter Overview
The first part of the encounter follows a repeating cycle. Kith'ix summons adds that must be killed before he reaches 100 energy. The intermission then begins: the raid gathers inside Liadrin's protection while continuing to handle the boss's mechanics. When Liadrin reaches 100 energy, she dispels the darkness and stuns the boss for 8 seconds.
At 25% health, Kith'ix enters the final phase. Liadrin fully heals the raid and increases its damage and healing. The raid must kill the boss before the eighth eclipse ends while dodging Void motes. Save major offensive cooldowns and raid-wide haste for this phase.
Boss Abilities
 Voidswarm (Important, Healer)
For 6 seconds, Kith'ix opens portals, deals periodic damage to the entire raid, and summons aqir. Switch to the adds as soon as they appear.
The Venomous Hulk uses  Venom Roar, dealing Physical and Nature damage in a frontal cone and knocking back players hit. The tank brings the Venomous Hulk to the Voidweaver and turns it away from the group.
The Voidweaver stays in place. Its  Voidweave deals periodic damage to random players, while
  Nightfall damages the entire raid and increases the damage of subsequent applications of the same ability. The longer the Voidweaver stays alive, the harder it is for healers to keep the raid alive.
Bomber Beetles use  Fixate to target random players and chase them. After 30 seconds, or when they touch any player, they trigger
  Gut Reaction, exploding and coating the raid in
  Digestive Juices, a stacking damage-over-time effect.
The Venomous Hulk and Voidweaver are best killed together. Players targeted by Bomber Beetles should lead them away from the group and avoid letting several beetles explode at once. Healers need time between explosions to restore the raid's health. Bomber Beetles are present on Normal, Heroic, and Mythic.
 Commanding Presence (Tank)
Aqir near Kith'ix take significantly reduced damage. One tank keeps the boss away from the adds, while the other gathers the Venomous Hulk near the Voidweaver. This protection does not apply to eggs.
Do not stack all the enemies directly under the boss: this slows down killing the aqir and makes it harder to prepare for the intermission.
 Incubation (Heroic and Mythic)
When an infected aqir dies, it leaves eggs behind. Destroy them before any Mindstingers hatch. A hatched add casts  Mindsting, stunning a player and dealing periodic Nature damage.
On Heroic and Mythic, Venomous Hulks and Voidweavers leave eggs. On Mythic, Bomber Beetles do as well. After an add dies, check the area immediately and destroy any eggs.
 Unspeakable Horrors (Important, Healer)
Random players are afflicted with the effect for 6 seconds, after which  Overwhelming Fear occurs. When the fear is dispelled or expires, the target damages the entire raid. The farther the target is from other players, the less damage the blast deals.
The targeted player should move away from the group in advance. Once the target reaches a safe position, a healer should dispel the fear. Dispelling it in the middle of the raid causes avoidable damage.
 Extinguish and
  Light's Embrace (Important)
Kith'ix prepares a powerful raid-wide damage wave. Liadrin scatters sparks of Light that temporarily reduce Shadow damage taken when collected. Every player must collect a spark before the hit. The defensive effect is removed after the wave.
Collect a spark at the right time: the protection lasts no more than 8 seconds. Personal defensives can help, but Liadrin's sparks are the main mechanic for surviving the hit.

Tentacles appear in the arena and strike marked ground areas. Move out of the telegraphed zones as soon as they appear, and leave yourself a route to escape in advance.
 Dark Devastation (Tank)
The boss hits its current target and players within 15 yards, dealing heavy Physical and Shadow damage. Those hit are afflicted with  Devastated, which greatly increases subsequent damage taken.
The tank should move the marked circle out of the group and use a defensive. Tanks should swap after each cast. The second tank must not be hit alongside the first.
 Voidscar (Heroic and Mythic)
After the tank mechanic, a dangerous Void zone remains. It damages and knocks back players who touch it. Place it at the edge of the available space, leaving room for the raid and a path to Liadrin.
During the intermission, these zones become sources of additional projectiles. Where the tank circles are placed affects how easily the raid can protect Liadrin.
Intermission
 Suffocating Darkness and
  Refulgent Bulwark (Important)
At 100 energy, Kith'ix surrounds the arena with advancing darkness. Liadrin creates a protective area of Light where the raid must survive the intermission. Outside it,  Suffocation deals heavy periodic damage, slows the player, and prevents them from fighting effectively.
Aqir that survive are affected by  Dark Frenzy: their attack and movement speeds increase by 100%, they become immune to crowd control, and they begin damaging the entire raid.
All adds must die before the intermission begins. No new aqir spawn during the intermission itself. The group must keep moving fears out, collect sparks before the wave, and dodge tentacles while staying inside the safe area.
 Abyssal Grasp (Healer)
Tentacles grab random players and apply a healing absorb, gradually pulling them toward the darkness. If healers do not heal through the absorb before the effect ends, the player is dragged into the darkness.
Healers must quickly switch to the affected players and heal through the absorb. Simply keeping the rest of the raid healthy is not enough here.
 Eclipse Fragment and
  Lost Refulgence (Heroic and Mythic)
During the intermission, Void zones left by the tanks release fragments that move toward Liadrin. Players must intercept them. Intercepting a fragment applies a stacking damage-over-time effect to that player and allies within 3 yards.
If a fragment reaches Liadrin, it damages the entire raid and shrinks her protective area.
Intercept fragments while spread apart and distribute the burden among players. Do not let one player collect too many stacks in a row. Tanks should place their circles near the edge of the protective area without stepping out into the darkness.


When Liadrin reaches 100 energy, she dispels the darkness and stuns Kith'ix for 8 seconds. The normal encounter cycle then resumes.
Each time she saves the raid, Liadrin is weakened: her defensive abilities become less effective, and the damage from the advancing darkness increases. The encounter cannot be prolonged indefinitely by repeating the intermission.
Phase Two
 Stygian Howl,
  Last Light, and
  Luminous Grace (Important)
At 25% health, Kith'ix stuns the raid and absorbs the remaining adds and the effects of his abilities. Liadrin saves the group, fully restores players' health, and increases their damage and healing.
This is the time to use major offensive cooldowns and raid-wide haste. Focus damage on Kith'ix, but keep moving: dying to Void motes costs the raid damage at the most important moment.
 Eightfold Eclipse (Lethal, Healer)
The boss casts a sequence of eclipses, each dealing damage to the entire raid. After the eighth eclipse, the group dies instantly. Kill Kith'ix before the ritual is complete, and rotate healing and defensive cooldowns across the repeated raid-wide hits.
 Null Gate (Important)
Random players are marked for 5 seconds, after which a gate opens at their location. When the gate opens, it damages other players within 5 yards and applies  Nullify.
Marked players should spread out, place the gates away from other players, and move away from them immediately.
 Nullshards and Nullify (Lethal)
Void motes fly out of the gates. Touching one deals damage and applies a stacking debuff. Reaching the stack limit kills the player. On Mythic, just three stacks are lethal.
During the final phase, keep watching the motes' flight paths. Do not stand right next to the gates or cross several streams for a small damage gain.
 Negation and
  Explosive Restabilization (Tank, Healer)
After the debuff is applied, the tanks should swap. The affected tank moves to a gate: touching it removes the debuff and triggers an explosion. Healers should prepare to heal the raid through the ensuing explosion.
In the current Mythic version, Negation increases movement speed, increases Physical damage taken, and grants temporary immunity to motes. If the effect is not removed through a gate before it expires, the tank dies. The explosion also destroys gates and motes within 10 yards, helping clear the arena.
The raid's main priorities are to kill adds and eggs in time, keep them away from the boss, collect sparks before the wave, and move fears out. During intermissions, stay inside Liadrin's protection, quickly clear healing absorbs, and intercept fragments. At the final 25% health, use offensive cooldowns, dodge the motes, and kill the boss before the eighth eclipse.
Loot and Item Levels
Item Levels
Difficulty | Item Level | Upgrade Track | Mistcrests |
|---|---|---|---|
| Raid Finder | 285 | Veteran 3/6 | Veteran Mistcrest |
| Normal | 298 | Champion 3/6 | Champion Mistcrest |
| Heroic | 311 | Hero 3/6 | Hero Mistcrest |
| Mythic | 324 | Myth 3/6 | Myth Mistcrest |
Kith'ix drops weapons, a ring, trinkets, and one item for each armor type. This raid does not drop class set pieces.
Loot
Item | Equipment Slot |
|---|---|
 Lu'selama, Light's Justice Lu'selama, Light's Justice | Two-Handed Sword |
 Sanctified Knight's Phoenixblade Sanctified Knight's Phoenixblade | One-Handed Sword |
 Corroded Hulk's Skullcap Corroded Hulk's Skullcap | Plate (Head) |
 Aberrant Commander's Gauntlets Aberrant Commander's Gauntlets | Mail (Hands) |
 Chestwrap of Palpable Terror Chestwrap of Palpable Terror | Leather (Chest) |
 Voidweaver's Leggings Voidweaver's Leggings | Cloth (Legs) |
 Band of the Swarmcaller Band of the Swarmcaller | Ring |
 Lightbearer's Shield Fragment Lightbearer's Shield Fragment | Trinket |
 Sigil of the Impending Eclipse Sigil of the Impending Eclipse | Trinket |
 Twisted Horror's Tendril Twisted Horror's Tendril | Trinket |
Great Vault
Defeating Kith'ix counts toward the raid row of the Great Vault. Slots in this row unlock after defeating 2, 4, and 6 bosses in the current season. Kith'ix alone is not enough to unlock the first slot; the kill contributes alongside progress in the season's other raids. Story Mode does not count toward this progress.
Additional Rewards
Item | Reward and Requirement |
|---|---|
 Shadeweaver's Hearthstone Shadeweaver's Hearthstone | Toy that gives your Hearthstone a new visual effect |
 Libram of the Matriarch Libram of the Matriarch | Toy that can drop from the boss on Mythic difficulty |
 Glyph of the Matriarch's Wings Glyph of the Matriarch's Wings | Glyph created using the libram; using  Avenging Wrath gives your wings Liadrin's appearance Avenging Wrath gives your wings Liadrin's appearance |
Author

Fouren
Fouren has been playing World of Warcraft for over 15 years. He is an active player with 12 Cutting Edge achievements under his belt, and has reached the top 1% and 0.1% multiple times on various classes. His main classes are healers, particularly Holy Paladin.


Comments
0No comments yet. Be the first to comment!