


Kindojan's Labyrinth: Mega Delve Guide
 views
viewsKindojan's Labyrinth
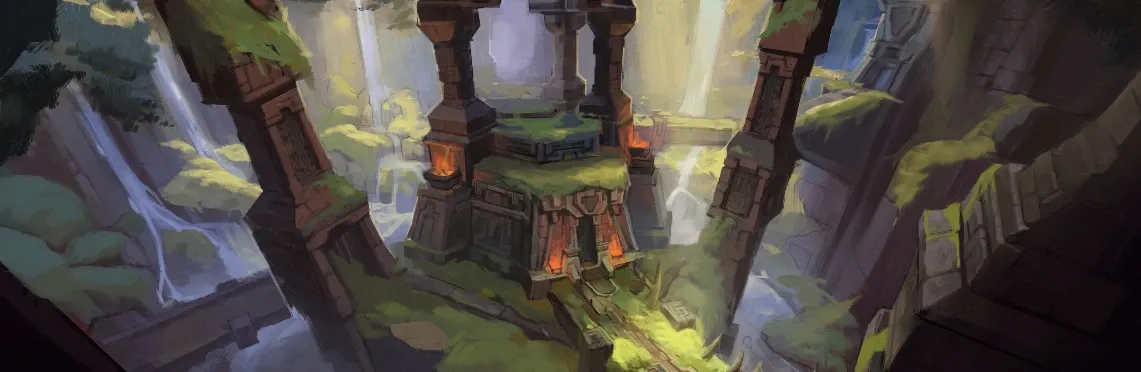
Kindojan's Labyrinth is a mega delve introduced in Midnight patch 12.1.5. It contains nine chambers, treasures, secret rooms, and a separate final opponent: Kindojan. You can choose the route between chambers, and the rewards depend on how far you progress.
The Labyrinth is always a Bountiful Delve. Clearing it completely can earn you up to three Bountiful Coffers, fragments for crafting gear, and progress toward the Great Vault. Defeating the final boss solo on Tier 11 rewards the  Loa-Blessed Wanderer mount.
Where to Find the Entrance
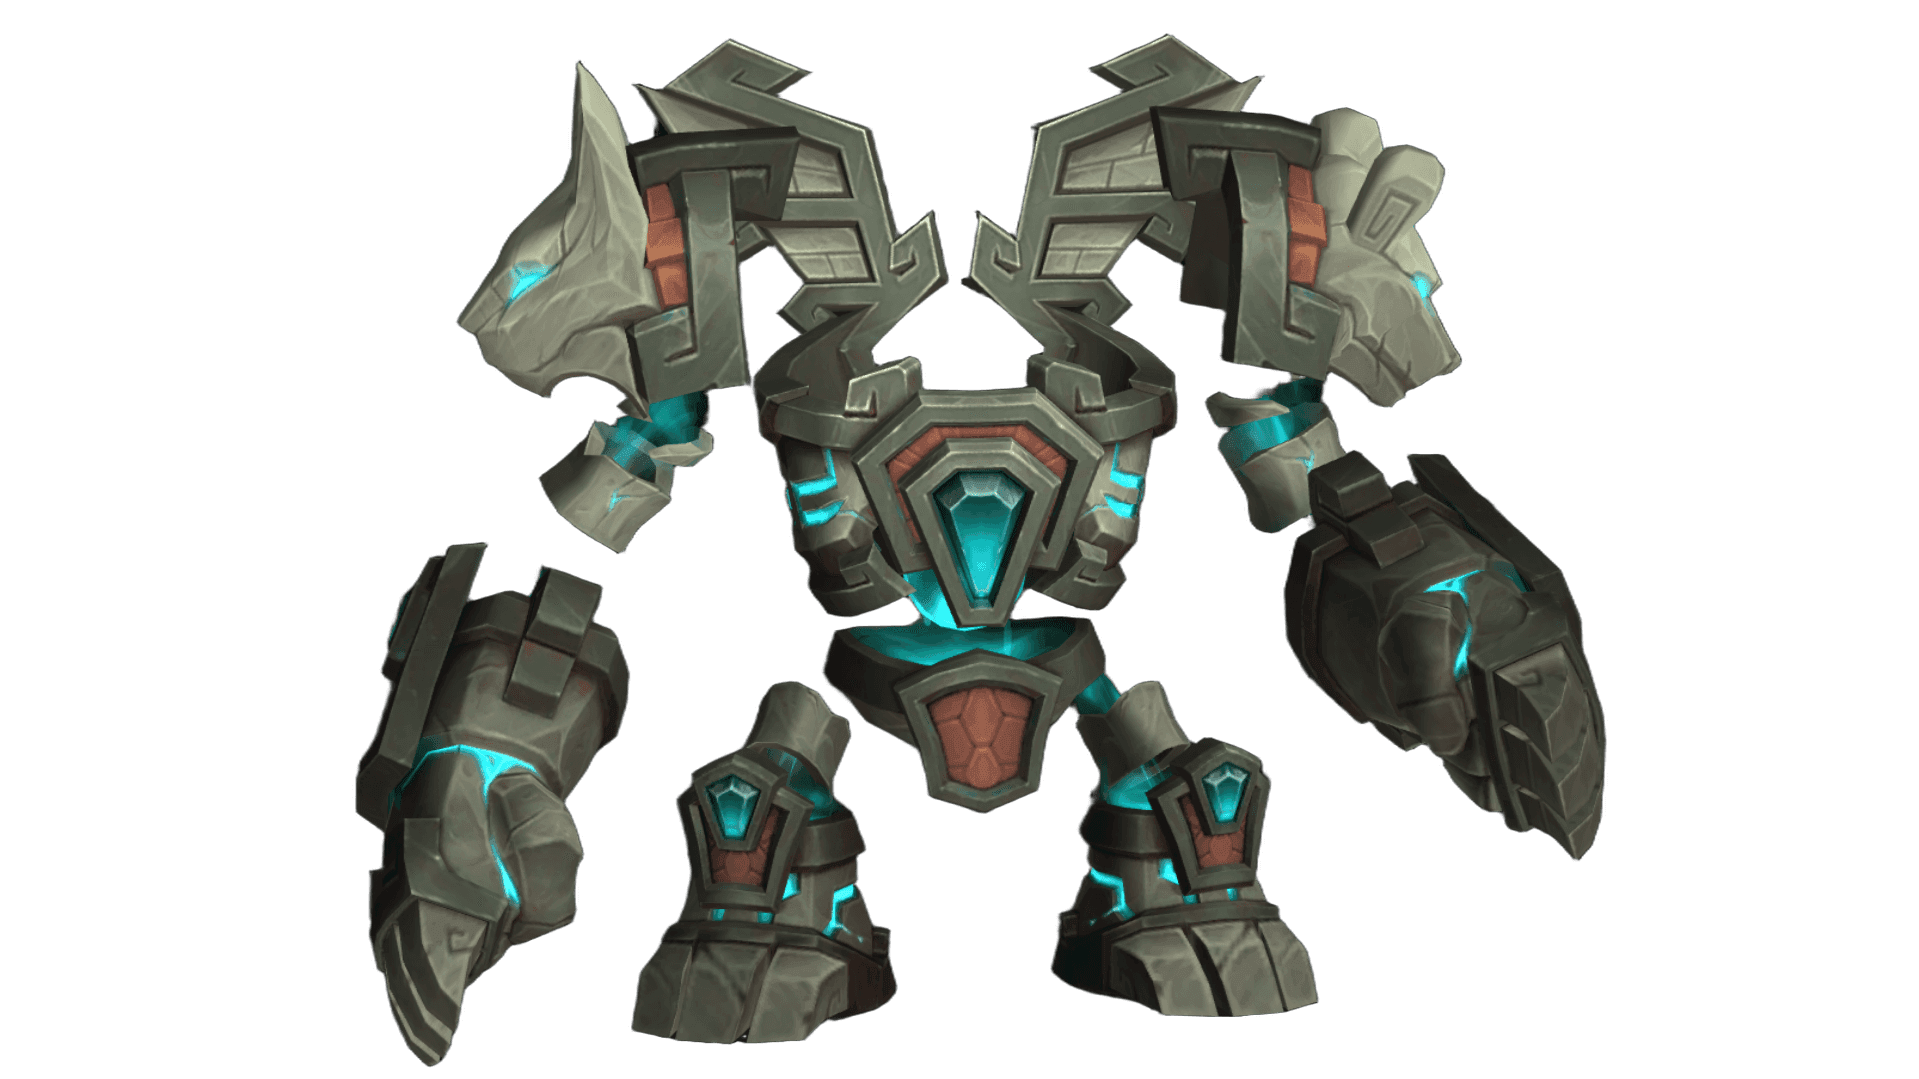
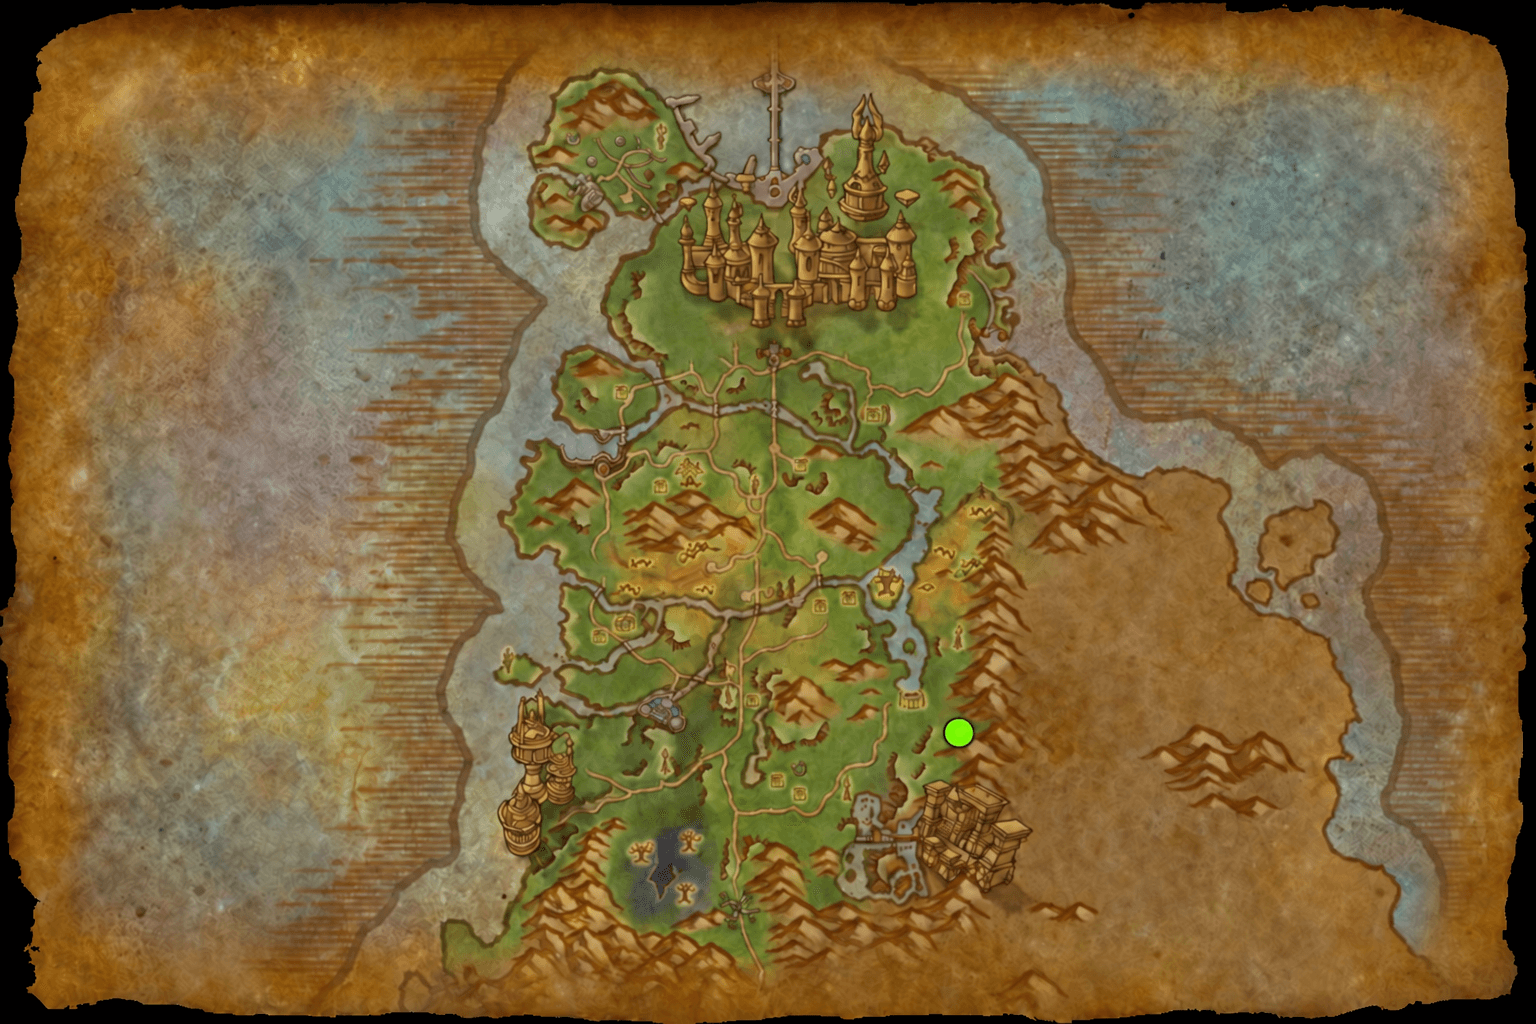
The entrance is in Eversong Woods, north of the passage into Amani territory. Use the coordinates in this zone.
Unlocking the Labyrinth
- Pick up the introductory quest from Kul'amara the Feral and meet Valeera at the entrance.
- Complete the tutorial run. First clear the starting chamber; then spirit gates will block the way forward.
- Speak with Kinduru. He will help open the way to two more chambers.
- Finish the tutorial and return to Kul'amara the Feral. Full access will then unlock for your entire group.
Completing the introduction rewards  Kinduru's Spirit Feather. This toy lets you end your current run and transport your group to the treasure room to claim the rewards you have earned.
How to Explore the Labyrinth
Choosing a Route
Every run begins in the same starting chamber. After clearing it, you can choose one of two routes: southwest or southeast. These routes lead to the central part of the complex and then onward to the other chambers.
You cannot open the next gate until you complete the current chamber's objective. Check the map before choosing a route, especially if you are heading for a particular coffer, cache, or weekly quest objective.
Chambers have different objectives: combat, traps, movement challenges, and interactions with objects. Not every chamber ends with a boss fight; some rooms are empty and count as complete as soon as you enter them.
When to End a Run
In chambers you have already cleared, you can speak with Kinduru and head for your rewards. Kinduru's Spirit Feather does the same thing. The more chambers you clear, the more coffers will appear in the treasure room.
Clearing all nine chambers grants access to up to three Bountiful Coffers and six additional Heavy Coffers, as well as rewards unlocked through seasonal Delves progression. Bring keys to open the Bountiful Coffers.
Leaving the Delve itself ends your current run: chamber progress does not carry over to the next run. You can log out while still inside the Labyrinth and continue later. The toy that transports you to the treasure room also ends the run, so do not use it if you still plan to fight the boss.
Reaching Kindojan
To unlock the boss door for the first time, clear all nine chambers at Tier 8 or higher in a single run. His chamber lies behind a door in the northern part of the Labyrinth, in the Akil'zon area.
After opening the door once, you do not need to clear all nine chambers again to access the boss. On later runs, you only need to make your way to that door. Kindojan is available only at Tier 8 and above.
A short route is convenient for repeated boss attempts. A full clear gives you more coffers, temporary buffs, and Great Vault progress. However, all nine chambers are still required for the achievement for a flawless solo full clear.
Labyrinth Progress and Permanent Upgrades
The Labyrinth has its own progression track with nine ranks. Each rank requires 2,100 progress points. This track progresses separately from the overall seasonal Delves track. The weekly quest An Insatiable Abyss of Curiosity grants 2,000 Labyrinth progress points.
Rank | Unlock |
|---|---|
| 1 | Chance to obtain Rank 5 relics from Labyrinth coffers at Tier 8 and above |
| 2 | Hex Masks, a locked room, and an enemy carrying its key |
| 3 | Passage through Akil'zon seals, a permanent movement-speed upgrade, and a glove upgrade |
| 4 | Kinduru can teleport you to chambers you have already cleared |
| 5 | Passage through Jan'alai seals and another glove upgrade |
| 6 | Temporary group buffs from spirit guides |
| 7 | Passage through Nalorakk seals, a primary-stat upgrade, and a defensive glove upgrade |
| 8 | Ability to buy  Delverbot 7001: Midnight Software Update Chip for Delverbot 7001: Midnight Software Update Chip for  Delverbot 7001, adding the Labyrinth to its list of destinations Delverbot 7001, adding the Labyrinth to its list of destinations |
| 9 | Passage through Halazzi seals, protection from one death per run, a glove upgrade, and a title |
Permanent Upgrades
Item | Effect |
|---|---|
 Akil'zon's Swiftness Akil'zon's Swiftness | Movement speed increases by 3% for each chamber cleared during the current run |
 Nalorakk's Ferocity Nalorakk's Ferocity | Your primary stat increases by 3% for each chamber cleared |
 Halazzi's Veil Halazzi's Veil | Once per run, prevents death and restores you to full health |
These upgrades are found in ancient coffers behind the corresponding Loa seals. Once unlocked, they help in future Labyrinth runs.
Glove Upgrades
All four items can be reused: they are not consumed when activated, and their effects work in Delves.
Item | Effect | Required Rank |
|---|---|---|
 Ancient Hash'ey Martial Art: Falcon Strikes Ancient Hash'ey Martial Art: Falcon Strikes | Strike an enemy with Nature damage; each strike has a 20% chance to repeat | 3 |
 Ancient Hash'ey Martial Art: Heat Wave Ancient Hash'ey Martial Art: Heat Wave | Deals periodic Fire damage in an area, split among enemies | 5 |
 Ancient Hash'ey Martial Art: Bear Ironhide Ancient Hash'ey Martial Art: Bear Ironhide | Defensive damage absorption | 7 |
 Ancient Hash'ey Martial Art: Lynx Eye Ancient Hash'ey Martial Art: Lynx Eye | Grants movement speed and self-healing to you and a random ally, who may be Valeera | 9 |
Secrets and Treasures
Ancient Coffers
There are 44 ancient coffers hidden throughout the Labyrinth. Each can be looted once. They contain items, reputation, currency, and Delves progress. You need Rank 9 Labyrinth progress to reach every coffer.
Of the total, 20 coffers are in the main chambers and have no additional requirements, five are in the hidden room behind the waterfalls, and another 19 are behind seals that unlock as your progress increases.
You may also find random small coffers containing currency and temporary buffs. Open these even when preparing for a boss you already know: their bonuses last for the current run and make the final fight easier.
Room Behind the Waterfalls
In the central chamber, find the two waterfalls on the east side. Swim behind them and climb the stairs to an ice wall. You can destroy it with Fire damage.
Behind the wall are five ancient coffers, including rewards containing crests and the  Blessed Loa Weapon, which lets you choose an armor slot. If your character does not have a suitable Fire attack, you can use a Fire Mask while exploring the Labyrinth.
Hex Masks and the Locked Room
Starting at Rank 2 Labyrinth progress, each run contains three Hex Masks and one locked room. They are distributed among five possible locations. The masks stay with your character for the rest of the current run and help in combat: one uses Frost, another Fire, and the third Lightning.
To open the room, find and defeat the keykeeper, then use the  Ancient Amani Key. The enemy can appear in different parts of the Labyrinth. Inside the room are additional coffers, including some with buffs for the current run.
When preparing for a solo Tier 11 run, collect the masks and open any available caches before fighting the boss. They provide extra help without changing the selected difficulty.
Rooms Behind Loa Seals
Seals unlock at Ranks 3, 5, 7, and 9. Beyond them are ancient coffers containing permanent upgrades, glove upgrades, and cosmetic rewards. Available ancient coffers that you have not yet opened are marked on the map.
These rooms are worth revisiting even after claiming their one-time rewards: on later runs, you can find temporary buffs there again.
Spirit Guides
Starting at Rank 6, four spirit guides appear during each run. Their effects buff the group for two minutes.
Loa Power | Effect |
|---|---|
| Akil'zon | Increases attack, spell, and cooldown recovery speed by 25% |
| Jan'alai | Deals heavy area-of-effect Fire damage every 2.5 seconds |
| Nalorakk | Reduces damage taken by 50% |
| Halazzi | Instantly kills normal enemies below 20% health; does not affect bosses |
Kindojan
Kindojan is the final opponent in the Labyrinth. He uses his own attacks and calls upon the power of the four Loa. Victory requires precise execution: a few mistakes can kill you regardless of your remaining health.
Fight Overview
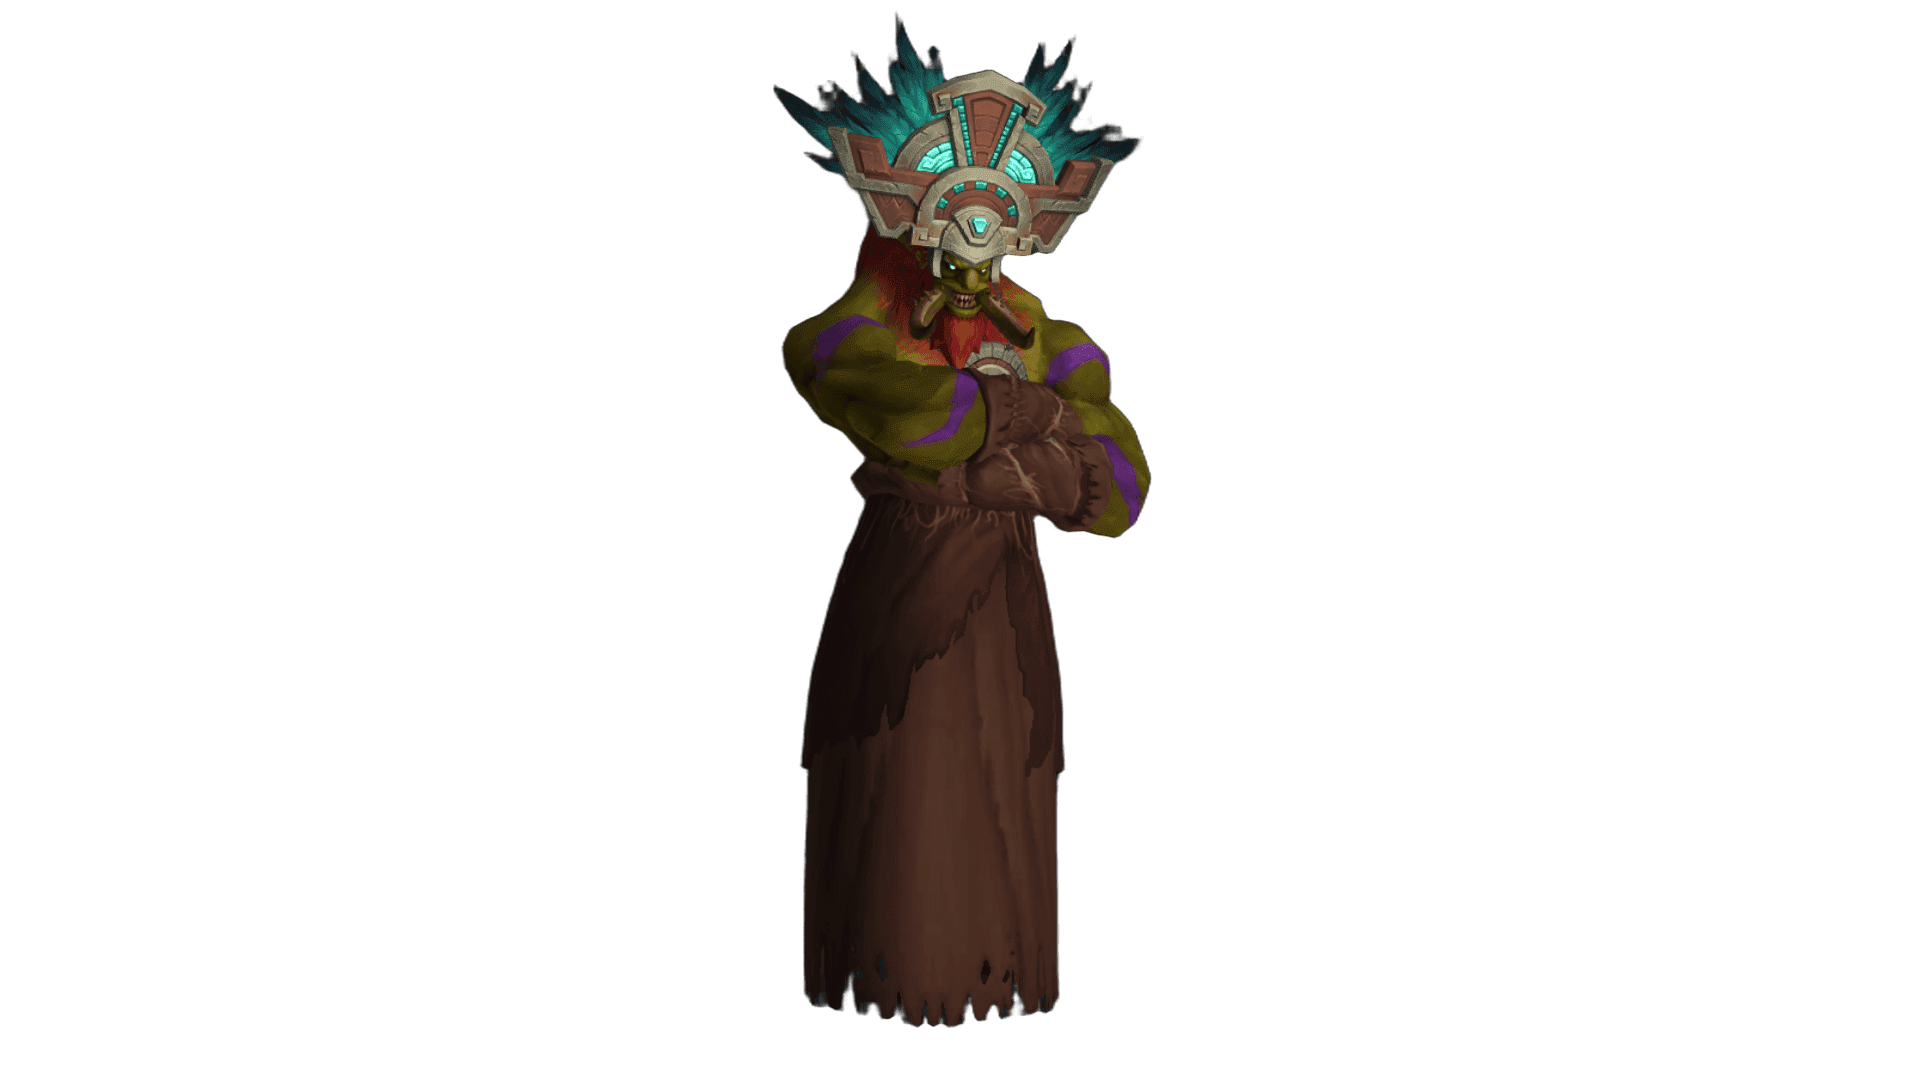
For the first 90 seconds, the boss uses his own abilities. Then he retreats, and you face the trials of the Loa voices one by one. After those are complete, Kindojan returns and combines familiar mechanics; some can overlap. The boss also moves around the platform.
The main threat is  Unworthy Behavior. Being hit by certain avoidable attacks applies a debuff that lasts five minutes. Three stacks cause instant death, including for tanks.
Handle the mechanic first, then resume dealing damage. A defensive ability will not prevent the penalty for three mistakes. You also cannot let the fight drag on forever: the boss enrages after 10 minutes.
Boss Abilities
 Mojo Blast (Important)
Dangerous circles appear on the platform. Each cast also leaves Chaotic Mojo beneath your character. Move out of the areas early, and do not block your own path with the next puddles.
Move in small steps, leaving open space for the other mechanics. Do not stay in a newly created area just to finish a cast.
Kindojan summons four Amani bounty hunters. Their  Axe Barrage creates additional zones that you need to leave. You do not have to kill these adds to resolve the mechanic, but they make it harder to move during the following attacks.
Getting hit by the barrage does not add a stack of Unworthy Behavior, but it still deals damage. If possible, hit the adds with area attacks while staying in control of the main mechanics.
 Whirling Axes (Important)
Four groups of ghostly axes sweep in an arc across the platform, then return to the boss. You must dodge both the outward sweep and the return.
 Crushing Blow (Priority Target)
The boss strikes an area nearby and summons an Amani colossus in the center of the platform. The add is immune to stuns and other crowd-control effects. It uses  Formation Charge, which knocks you back, and
  Amani Aegis, which reduces damage dealt to allies.
The colossus is your priority target. Do not stand where its knockback can send you over the edge of the platform. Clear space ahead of time before a dangerous combination of mechanics begins.
Loa Voice Abilities
- Gathering Storm (Akil'zon)
An image of the Loa appears in the center of the platform. Gusts of wind knock you back. Move between the small safe areas to avoid being hit or pushed toward the edge.
 Shadow Gambit (Halazzi, Important)
Valeera is stunned, and four shadows appear around her. Only one is real: its line connects to the targeting circle beneath the target. Stand in the real shadow's path to intercept its leap. If it reaches Valeera, she is incapacitated.
Watch which line connects to the circle instead of guessing and choosing the nearest shadow. Keeping Valeera safe is especially important when soloing.
- Bear Frenzy (Nalorakk)
Images appear at the edge of the platform and then charge across the arena. Find the gap between them and get into a safe lane before they move. A hit knocks you back and can send you off the platform.
 Purifying Flame (Jan'alai, Important)
Two zones appear on the platform, and you must occupy them when the ability finishes. Valeera marks the zone she will take herself. Your job is to stand in the other one.
Later, when Kindojan repeats this mechanic, a colossus that knocks you back appears at the same time. You will have little time to get back into the correct zone afterward.
Decide in advance which zone is yours and where the knockback will send you. Save a mobility ability so you can return to your position.
Preparing for a Solo Run
- Collect available masks, temporary buffs from coffers, and permanent Labyrinth upgrades.
- Equip suitable relics and a glove upgrade.
- Before starting the fight, check your mobility abilities: they will help after knockbacks and when you need to occupy a zone.
- During the fight, watch how many stacks of Unworthy Behavior you have.
- Switch to the colossus quickly, but do not neglect protecting Valeera or handling the other trials.
Gear and Rewards
Soul Fragments and Armor Selection
Item | How to Obtain | Result |
|---|---|---|
 Heroic Soul Fragment Heroic Soul Fragment | Labyrinth Bountiful Coffers and an extra reward for Kindojan | Three fragments create a random item level 308, Hero 2/6 item |
| Blessed Loa Weapon | One-time ancient coffers; one source is behind the waterfalls | Choose an armor slot for your class, Hero 1/6 |
 Mythic Soul Fragment Mythic Soul Fragment | Limited weekly spirit-task chain in the starting chamber | Three fragments create a  Revered Loa Weapon Revered Loa Weapon |
| Revered Loa Weapon | Combine Mythic Soul Fragments | Choose an armor slot at item level 318, Myth 1/6 |
Weekly tasks are given by the spirit in the starting chamber. They require you to complete a specific chamber at Tier 8 or higher. You can earn six Mythic Soul Fragments in total, enough to create two items. You can catch up on missed weeks, up to the total number of tasks currently available to you.
The choice items offer armor slots for your class. You cannot choose weapons or accessories this way, despite the word “weapon” in the reward's name. One-time rewards from ancient coffers are not an unlimited source of gear.
New Relics
 Idol of the Venomous Vortex — a combat relic. Your abilities can transform you into a venomous vortex for 15 seconds. It damages nearby enemies and reduces damage taken. Higher ranks add a poison trail and pull distant enemies toward you. You can continue using abilities while transformed.
 Dusty Loa Totem — a utility relic. When you enter combat and then every 60 seconds, it grants one of two 30-second buffs:
  Loa's Strength increases maximum health and your primary stat, while
  Loa's Grace increases movement speed and Haste.
Rank 5 relics are available after unlocking the corresponding Labyrinth progression reward and completing Tier 8 or higher.
Kindojan Rewards
Defeating the final boss unlocks a separate reward containing:
- 10 Gilded Harbinger Crests.
- 10 Weathered Harbinger Crests.
- An additional Heroic Soul Fragment.
- A random Rank 5 relic you have not yet obtained.
- Two
 Corrupted Soul.
 - The
 Victory, Blessed by the Loa toy.
 - 500 points of Labyrinth progress and 300 points of seasonal Delves progress.
The Loa-Blessed Wanderer mount is tied to a solo victory on Tier 11 during the second Midnight season. A Tier 8 victory alone does not grant the mount.
Great Vault
Cleared in One Run | Delves Runs Credited |
|---|---|
| 3 chambers | 1 |
| 6 chambers | 2 |
| 9 chambers | 3 |
| 9 chambers and Kindojan | 4 |
Progress counts at the selected difficulty. Therefore, a full clear that includes the boss grants progress for four activities toward the Great Vault in a single run.
Toys and Transmog
Item | Source |
|---|---|
| Kinduru's Spirit Feather | Complete the introductory quest chain |
| Victory, Blessed by the Loa | Kindojan reward |
 Feathers of Akil'zon Feathers of Akil'zon | Room behind the Akil'zon seal in the northern chamber; requires Rank 3 |
 Jan'alai's Flame Ritual Jan'alai's Flame Ritual | Room behind the Jan'alai seal in Halazzi's western chamber; requires Rank 5 |
| Pendant of Nalorakk's Strength | Room behind the Nalorakk seal in the southwestern chamber; requires Rank 7 |
 Halazzi's Trail Halazzi's Trail | Room behind the Halazzi seal in the southeastern area; requires Rank 9 |
 Enchanted Loa Spine and Enchanted Loa Spine and  Shoulders of the Curse Devourer Shoulders of the Curse Devourer | Room behind the Akil'zon seal in the starting chamber; requires Rank 3 |
 Enchanted Loa Deltoid Enchanted Loa Deltoid | Room behind the Jan'alai seal in the northwestern chamber; requires Rank 5 |
 Enchanted Loa Mask Enchanted Loa Mask | Room behind the Halazzi seal in the western chamber; requires Rank 9 |
 Amani Idol, Amani Idol,  Shoulders of the Curse Bearer, and Shoulders of the Curse Bearer, and  Idol of Corrosion Idol of Corrosion | Ancient Labyrinth coffers |
Achievements
Achievement | Requirement |
|---|---|
| Kindojan's Labyrinth | Clear nine chambers in a single run |
| First Hash'ey | Defeat Kindojan |
| Whose Labyrinth Is It? | Clear nine chambers on Tier 11 in a single run |
| My Labyrinth | Clear a total of 100 chambers |
| Discoveries in Kindojan's Labyrinth | Find all 44 ancient coffers; requires Rank 9 progress |
| Happy Hex Mask Collector | Collect all three Hex Masks in a single run |
| Master of Locks and Keys | Open the locked room 20 times; one such room appears per run |
| I Got This Alone: Kindojan | Defeat Kindojan solo on Tier 11 during the second season; rewards the mount |
| Legendary Feat: I Got This Alone: Kindojan | Achieve that solo victory during the first week after the Labyrinth opens |
| Kindojan's Labyrinth: Jack of All Trades | Solo all nine chambers and defeat the boss on Tier 11 without losing any lives during the second season |
The first-week achievement is time-limited. The Victory, Blessed by the Loa toy displays your character's place among players who completed this challenge. The mount itself is available throughout the second season.
Author

Fouren
Fouren has been playing World of Warcraft for over 15 years. He is an active player with 12 Cutting Edge achievements under his belt, and has reached the top 1% and 0.1% multiple times on various classes. His main classes are healers, particularly Holy Paladin.


Comments
0No comments yet. Be the first to comment!