



Shadowfang Keep: WoW: Forever Dungeon Guide

Shadowfang Keep
Shadowfang Keep is a five-player dungeon in Silverpine Forest. Inside, you'll face worgen, ghosts, several optional enemies, and a final fight with Archmage Arugal.
Where to Find the Entrance
The keep stands in the southern part of Silverpine Forest, above Pyrewood Village. Follow the road up to the gates: the portal is inside the keep.

Horde Entrance
From The Sepulcher, head south along the road, then turn west toward the keep. From Orgrimmar, first take the zeppelin to Tirisfal Glades, then travel through Silverpine Forest.
Alliance Entrance
Make your way to Southshore, then head west through Hillsbrad Foothills into Silverpine Forest. Forever offers a sea route: Stormwind Harbor → Auberdine → Menethil Harbor → Southshore. On the ship from Auberdine, stay aboard after it docks at Menethil Harbor to continue on to Southshore.
Skyborn can use the teleport from the Stormwind mage tower to Dalaran, then head south through Ambermill. The keep's portal is shared by both factions.
Dungeon Walkthrough
- Defeat Rethilgore, free the prisoner, and open the way to the courtyard.
- Optionally clear the stables, then push through the dining hall to Razorclaw the Butcher and Baron Silverlaine.
- Work through the upper rooms past Commander Springvale and Odo the Blindwatcher. Check whether the rare Deathsworn Captain has spawned.
- Defeat Fenrus the Devourer, grab the quest item in his room, and clear the path to Wolf Master Nandos.
- After the worgs, head up to Archmage Arugal. Restore your resources before the final fight.
Casters should stay more than 5 yards away from the wailing guardsmen: their silence is especially dangerous for the healer. Moonrage enemies temporarily become immune to magic, so physical damage is useful at that point.
Rethilgore

Fight Overview
First kill the enemies in front of the cell and let the tank gather the rest. After the fight, free the prisoner: escorting him opens the way forward into the courtyard.
Key Abilities
 Soul Drain - Drains the target's health. Watch the affected ally and interrupt the cast when possible.
Fel Steed

Fight Overview
In the stables, several horses join the fight together. This is an optional encounter: assign crowd control in advance, focus damage on one target, and don't try to kill all the enemies at once.
Key Abilities
 Fel Stomp - Damages nearby enemies, stuns them for 3 seconds, and increases the physical damage they take.
Shadow Charger

Fight Overview
The Charger is in the same stables. Treat it as part of the overall horse fight: while one enemy is crowd-controlled, the tank holds the rest and the group whittles them down one by one.
Razorclaw the Butcher
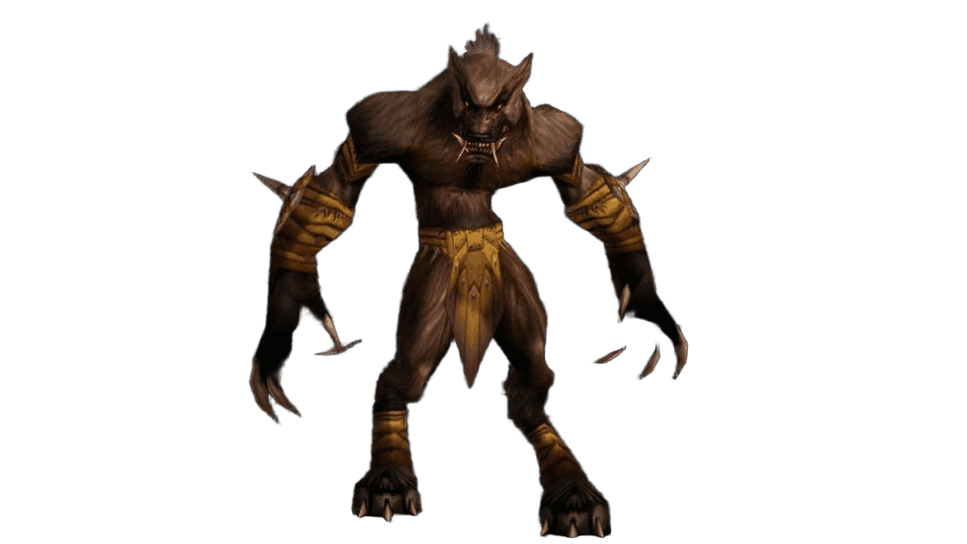
Fight Overview
Before the fight, clear the dining hall and wait for nearby patrols. Don't start the fight next to an unpulled pack: the tank needs room, and the healer needs to be able to heal without interruption.
Key Abilities
 Butcher Drain - Drains the resource of a target in melee range. Casters should keep their distance.
Baron Silverlaine

Fight Overview
The main danger is a sharp drop in healing on the tank. Remove the curse right away if you can; if you have no dispel, the tank should use defensive cooldowns and the healer should keep his health high in advance.
Key Abilities
 Veil of Shadow - Reduces healing received by the target by 75%. This is a priority effect to remove.
Commander Springvale

Fight Overview
The boss is accompanied by two enemies. Kill the servant first and keep the second add crowd-controlled. Casters should stand well away from the guardsman so his silence doesn't cut the group off from healing.
Key Abilities
 Hammer of Justice - Stuns the target. The healer should keep the tank's health up in advance.
 Holy Light - Restores health. Interrupt the boss's heals.
Odo the Blindwatcher
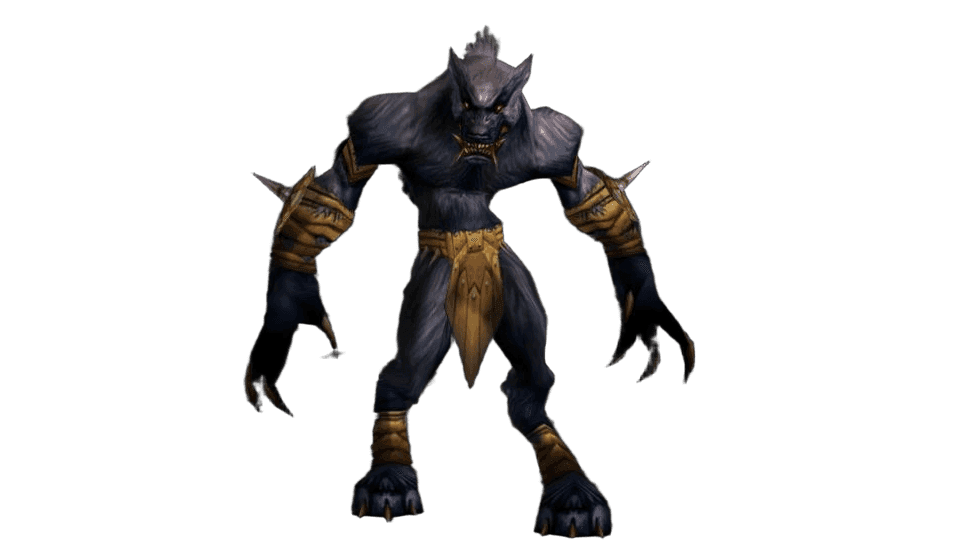
Fight Overview
Deal with the two bats first. They can disarm the tank and hit several targets in front of them, so melee should stand behind. Once the adds are down, switch to the boss.
Key Abilities
 Howling Rage - Increases physical damage. Watch the tank especially closely after the adds die.
Deathsworn Captain

Fight Overview
This rare enemy may not show up in your run. Before the fight, clear the area, turn him away from the group, and stay in cleared territory.
Key Abilities


Fenrus the Devourer

Fight Overview
This encounter tests the tank's health pool and the healer's endurance. After the fight, search the room: the book for the quest The Book of Ur is here.
Key Abilities
 Toxic Saliva - Applies a poison that deals damage over time. Remove the poison if your group composition allows it.
Wolf Master Nandos
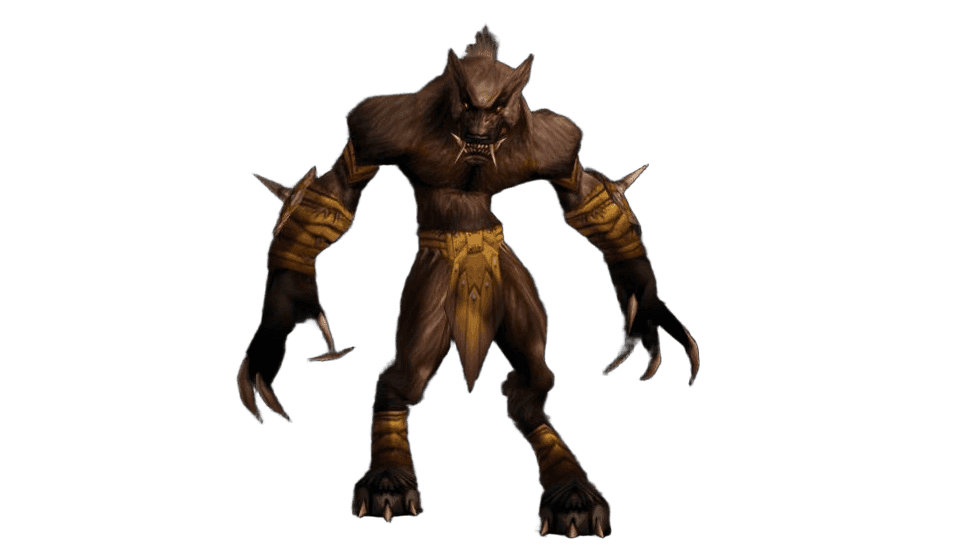
Fight Overview
Kill the worgs in the room before the pull. New beasts appear during the fight: the tank gathers them, and DPS quickly takes them out before the adds can reach the healer.
Key Abilities
 Call Bleak Worg - Summons an additional worg.
- Call Lupine Horror - Summons an additional worg.
- Call Slavering Worg - Summons an additional worg.
Archmage Arugal

Fight Overview
Don't scatter after every teleport. Ranged players can attack from the platform at the entrance, while melee need to make sure chasing the boss doesn't take them out of healing range. Restore health and mana before the pull.
Key Abilities
- Arugal's Curse - Temporarily takes an ally out of the player's control. Crowd-control the ally and don't kill them.
 Shadow Port - Moves the boss between platforms. Stay in the healer's line of sight.
 Thundershock - Stuns nearby enemies.
 Void Bolt - Deals heavy Shadow damage. The healer needs to keep the boss's target at high health.
The Black Tome for Dalaran
After defeating Archmage Arugal, examine the book on the table. The  Black Tome you receive is used to set up the encounter with Dalaran's secret boss.
Dungeon Quests
-
Reward: one item of your choice:
 Grizzled Boots,
 Steel-clasped Bracers,
 Tattered Mittens; 5,600 XP; 100 reputation with Undercity.
Quest level: 26. Faction: Horde.
Quest giver: Keeper Bel'dugur, Undercity.
/way Undercity 53.6 54 -
Reward: one item of your choice:
 Ghostly Mantle,
 Tanned Shoulderpads, Bronzed Shoulderguards; 18 silver; 5,350 XP; 100 reputation with Undercity.
Quest level: 25. Faction: Horde.
Quest giver: High Executor Hadrec, Silverpine Forest.
/way Silverpine Forest 43.4 40.8 -
Reward:
 Seal of Sylvanas; 8,850 XP; 200 reputation with Undercity.
Quest level: 27. Faction: Horde.
Quest giver: Dalar Dawnweaver, Silverpine Forest.
/way Silverpine Forest 44.2 39.8 -
Reward: one item of your choice:
 Orb of Soran'ruk,
 Staff of Soran'ruk; 5,100 XP.
Quest level: 25. Faction: Alliance and Horde.
Quest giver: Doan Karhan, The Barrens.
/way The Barrens 49.2 57.2A quest for warlocks. Some of the required items also drop in Blackfathom Deeps.
-
Reward: 870 XP.
Quest level: 22. Faction: Alliance.
Quest giver: Jordan Stilwell, Dun Morogh.
/way Dun Morogh 52.4 36.8A quest for Alliance paladins, available after a prerequisite chain. You'll need items from several locations.
-
Reward: 1,750 XP; 100 reputation with Undercity; 100 reputation with The Earthen Ring.
Quest level: 25. Faction: Horde.
Quest giver: Lumina Windsinger, Silverpine Forest.
/way Silverpine Forest 43.2 41A quest for Horde paladins. The chain starts with Diplomatic Incident.
Reward for "Diplomatic Incident": 3 silver 50 copper; 440 XP; 50 reputation with Undercity.
Dungeon Rewards


Author

Fouren
Fouren has been playing World of Warcraft for over 15 years. He is an active player with 12 Cutting Edge achievements under his belt, and has reached the top 1% and 0.1% multiple times on various classes. His main classes are healers, particularly Holy Paladin.



Comments
0No comments yet. Be the first to comment!