



Wailing Caverns: WoW: Forever Dungeon Guide

Wailing Caverns
Wailing Caverns is a five-player dungeon in The Barrens. Here you will defeat the Fanglords, make your way through winding caves, and protect the ritual to awaken Naralex.
Where to Find the Wailing Caverns Entrance
The cave lies southwest of The Crossroads, next to Lushwater Oasis. First enter the huge mouth in the cliff, then follow the cave tunnels to the dungeon portal.
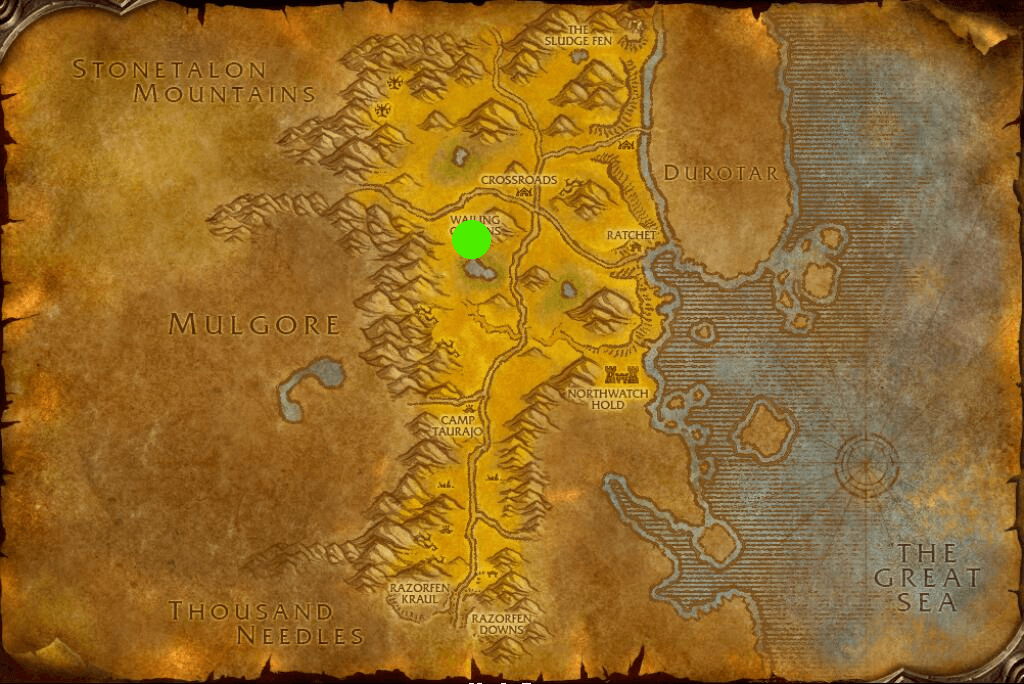
Horde Entrance
From The Crossroads, head southwest toward the oasis. Approach the cliff with the large opening and form your group before moving through the tunnels: enemies show up even outside the dungeon.
Alliance Entrance
A convenient route starts with the boat from Booty Bay to Ratchet. From the port, travel west across The Barrens to the cave. Alternatively, come in from the north through Ashenvale and then head down to the oasis. The portal is shared by both factions.
Dungeon Walkthrough
- In the first large chamber, deal with Lady Anacondra. You can also run into Kresh in the pools.
- Take the western branch to Lord Cobrahn, then come back and clear the eastern part of the caves.
- Defeat Lord Pythas, Lord Serpentis, and Verdan the Everliving. Along the way you can kill Skum and check whether the rare Deviate Faerie Dragon has spawned.
- Once all four Fanglords are dead, return to the Disciple of Naralex at the start of the dungeon.
- Start the escort, protect your ally from waves of enemies, and defeat Mutanus the Devourer at the end of the ritual.
Killing the last Fanglord does not finish the dungeon. To face Mutanus the Devourer, you need to complete a separate escort stage.
Among regular enemies, crowd-control each Druid of the Fang first: their sleep is especially dangerous if it lands on the healer. Don't pull several packs at once in narrow passages.
Kresh
Fight Overview
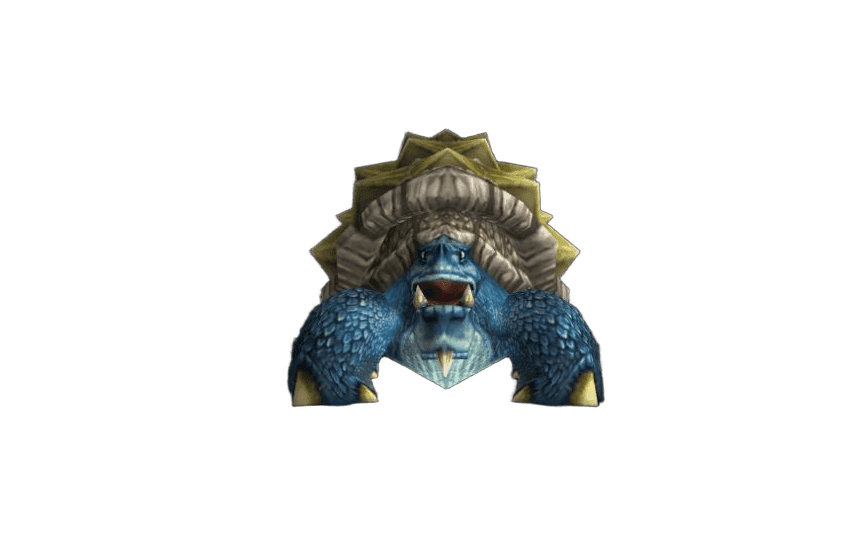
This large turtle wanders through the water in the early part of the caves. The fight requires no complex movement: the tank holds the target while the group gradually wears down its health. The boss has high armor, so don't burn your resources trying to end the fight at any cost.
Key Abilities
 Dazed - slows the target. Stay close to the group so the effect doesn't leave you out of healing range.
Lady Anacondra
Fight Overview
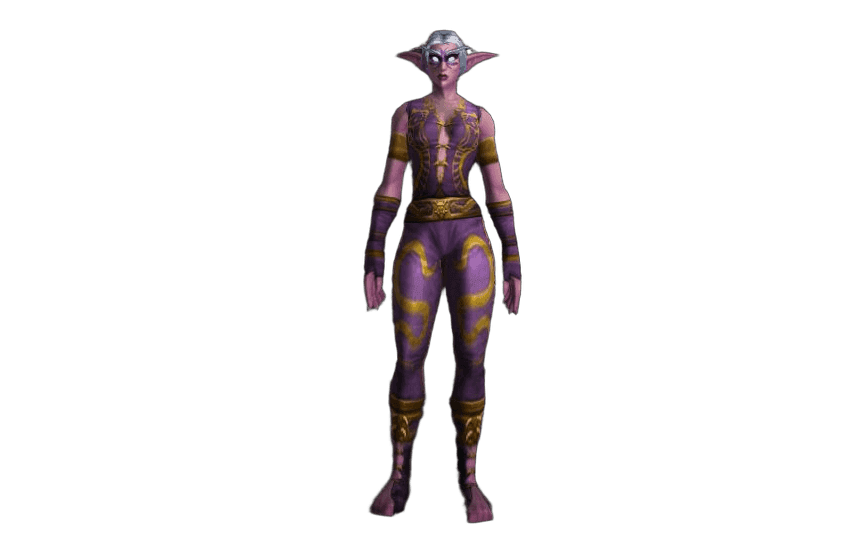
Clear the nearby druids before starting the fight. Agree on who interrupts heals and who watches for sleep. If the healer gets crowd-controlled, use any dispels and defensive abilities you have.
Key Abilities
 Healing Touch - restores health. Interrupt the heal.
 Lightning Bolt - deals Nature damage.
 Sleep - puts the target to sleep. Don't let the healer stay crowd-controlled for long.
 Thorns Aura - reflects part of the damage back at melee attackers.
Lord Cobrahn
Fight Overview
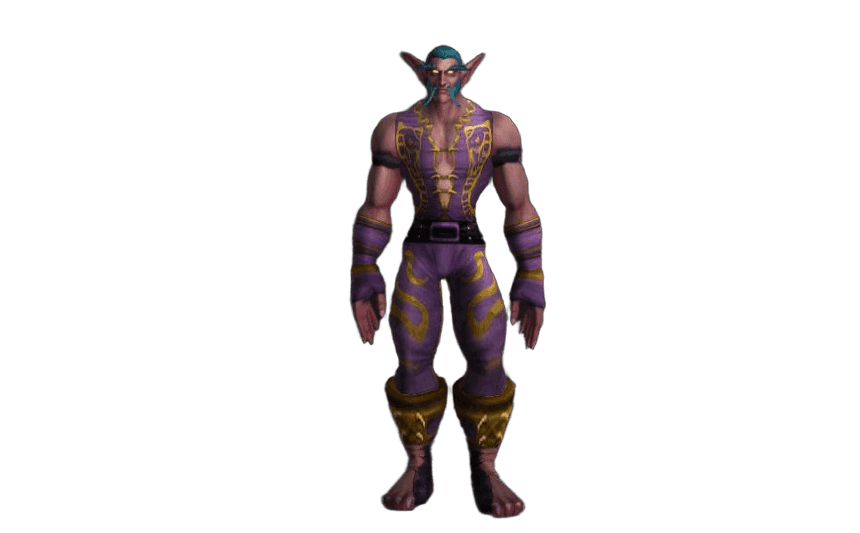
Three Deviate Python creatures guard the approach to the boss. Kill them quickly, and only then focus on the main target. Once the boss turns into a serpent, the tank and healer need to be ready for stronger attacks.
Key Abilities
- Healing Touch - heals the boss; assign an interrupt.
- Lightning Bolt - a ranged magic attack.
- Druid's Slumber - puts the target to sleep.
 Cobrahn Serpent Form - turns the boss into a serpent and empowers his physical attacks.
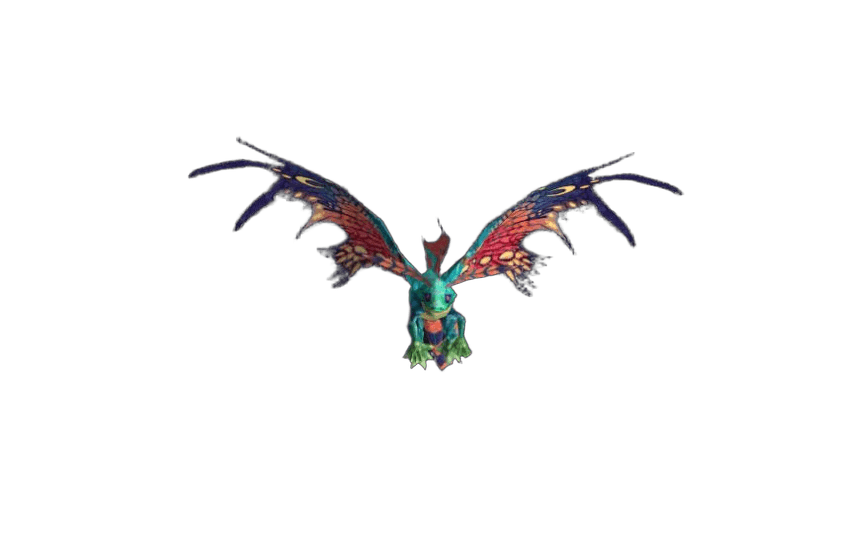
Deviate Faerie Dragon
Fight Overview
Rare spawn: it doesn't appear on every run. The main challenge is the enemies around it. Before pulling, mark the Druid of the Fang for crowd control and quickly take out the second caster if the pack has one. Once the escorts are cleared, the fight with the dragon itself is much easier.
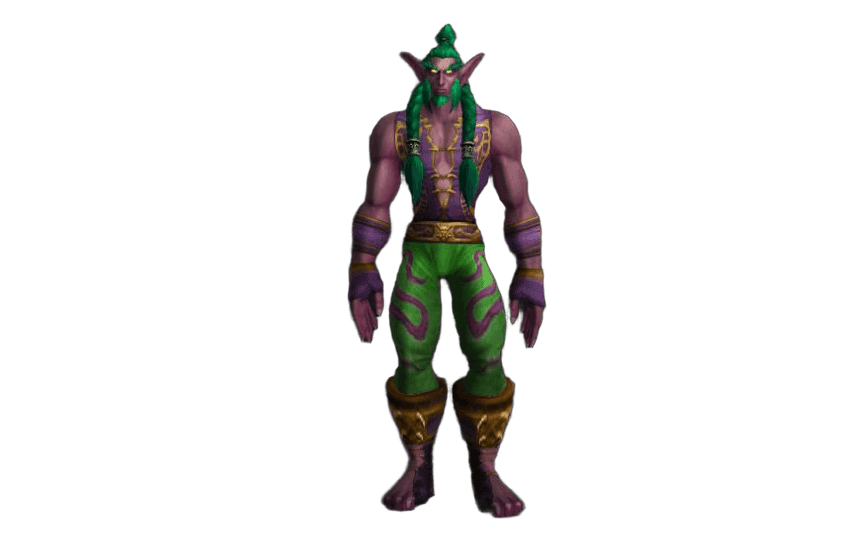
Lord Pythas
Fight Overview
The boss stands next to a Druid of the Fang and a Deviate Shambler. Crowd-control the druid, kill the shambler, then deal with the remaining enemies. If you have no crowd control, take out the caster first so he can't put the healer to sleep while they heal the tank.
Key Abilities
- Healing Touch - restores the boss's health.
- Lightning Bolt - deals Nature damage.
- Sleep - puts the chosen target to sleep.
 Thunderclap - damages nearby enemies and slows their attacks.
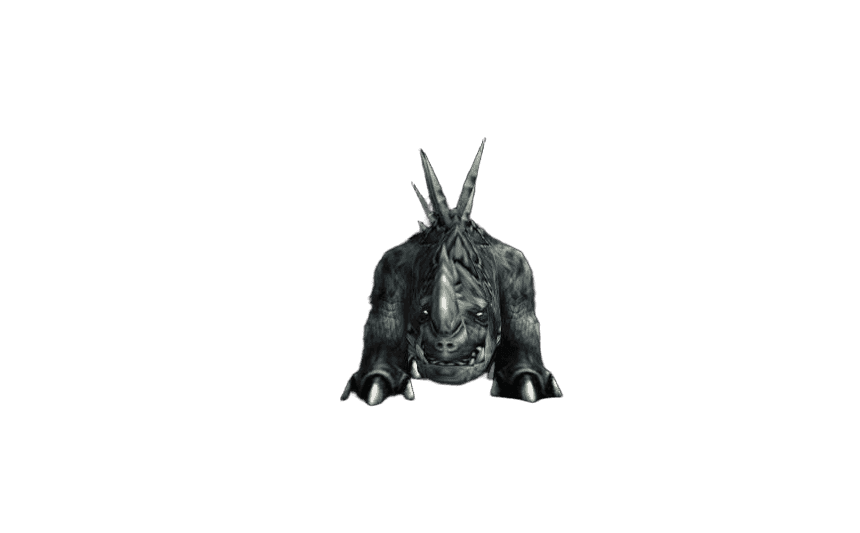
Skum
Fight Overview
An optional boss you can kill on your way through the caves. Ranged players and the healer should spread out while staying within healing range. That way the lightning is less likely to hit several group members at once.
Key Abilities
 Chained Bolt - jumps between nearby targets and can hit up to three players.
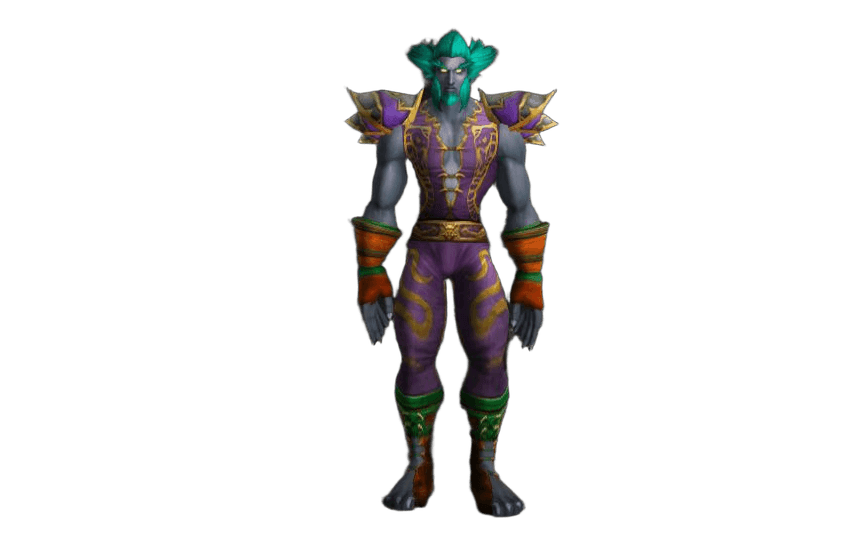
Lord Serpentis
Fight Overview
Clear the nearby enemies before the fight. The boss himself can be pulled separately, so don't start the fight surrounded by untouched packs. Save your interrupts for heals and sleep.
Key Abilities
- Healing Touch - restores health. Interrupt the heal.
- Lightning Bolt - deals Nature damage.
- Sleep - puts the target to sleep. Don't let the healer stay crowd-controlled for long.
Verdan the Everliving
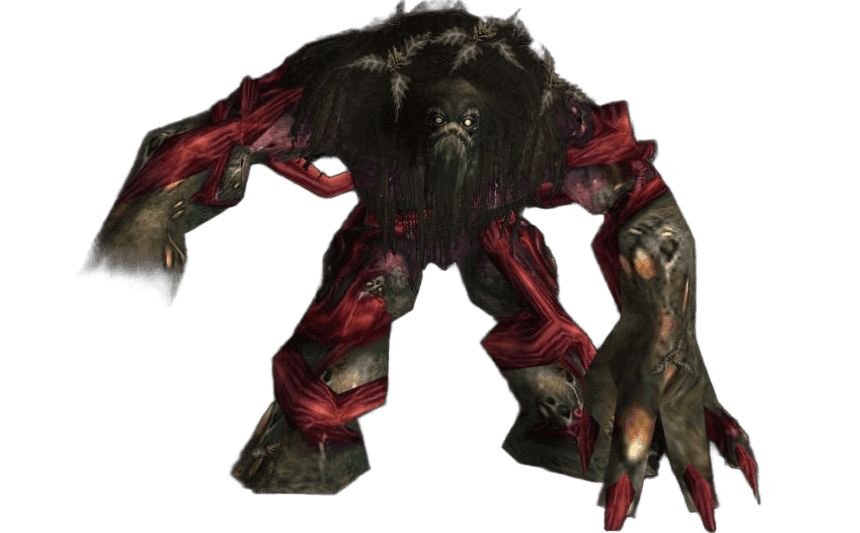
Fight Overview
The main threat is the heavy hits on the tank. Ranged DPS and the healer don't need to move into melee range. After the kill, you can take the drop by the waterfall to shorten the trip back to the start of the dungeon.
Key Abilities
 Grasping Vines - entangles nearby enemies and briefly knocks them down.
Tank: start the fight at full health with a defensive cooldown ready.
DPS: don't stand next to the tank unless you have to.
Healer: keep the tank's health topped up; the root doesn't stop the boss's attacks.
Mutanus the Devourer
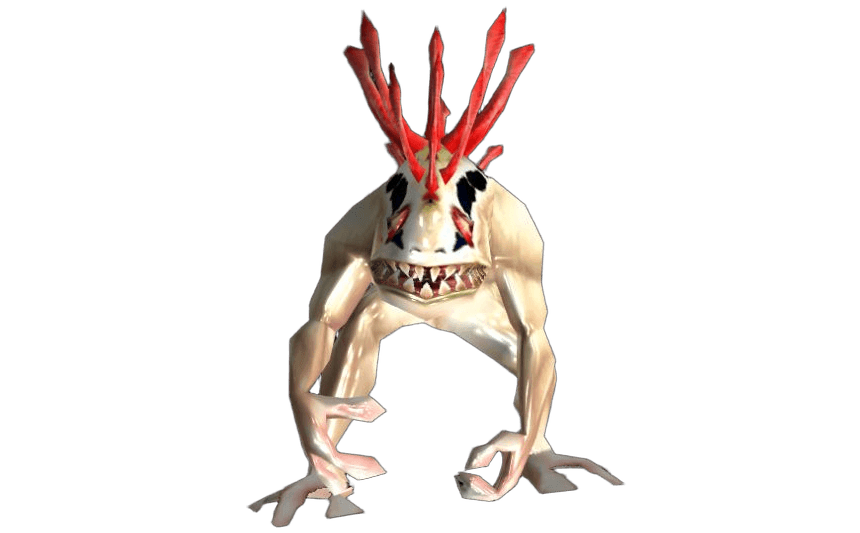
Fight Overview
The final enemy appears during the ritual performed by the Disciple of Naralex. Restore your mana before starting the event, then protect your ally along the entire path and during the waves. Once the boss appears, the tank picks him up immediately, and the group finishes the fight while watching out for fear and sleep.
Key Abilities
- Thundercrack - deals damage and disrupts nearby players.
 Terrify - makes the target flee in fear.
- Naralex's Nightmare - puts the target to sleep.
Tank: quickly pick up enemies attacking the escorted character.
DPS: don't leave adds on the healer or your ally.
Healer: save mana for the final fight and keep an eye on crowd-controlled group members.
Wailing Caverns Quests
Pick up the quests above the outer entrance before entering the portal. Climb the cliff and look for a small cave.
-
Reward: your choice of one item —
 Apothecary Gloves,
 Heat Resistant Mitts,
 Safety Boots; also Apothecary Gloves; 20 silver; 3,300 XP; 150 reputation with Undercity.
Quest level: 18. Faction: Horde.
Quest giver: Apothecary Zamah, Thunder Bluff.
/way Thunder Bluff 23 21 -
Reward: 10 silver; 2,650 XP; 100 reputation with Ratchet.
Quest level: 18. Faction: Alliance and Horde.
Quest giver: Mebok Mizzyrix, Ratchet, The Barrens.
/way The Barrens 62.4 37.6Complete Raptor Horns first.
Raptor Horns reward:  Raptor Punch ×5,
 Barkeeper's Cloak; 1,350 XP; 100 reputation with Ratchet.
-
Reward: 10 silver; 2,650 XP; 100 reputation with Ratchet.
Quest level: 18. Faction: Alliance and Horde.
Quest giver: Crane Operator Bigglefuzz, Ratchet, The Barrens.
/way The Barrens 63 37.6 -
Reward: your choice of one item —
 Deviate Hide Pack,
 Slick Deviate Leggings; also Deviate Hide Pack, Slick Deviate Leggings; 18 silver; 3,100 XP.
Quest level: 17. Faction: Alliance and Horde.
Quest giver: Nalpak, in the cave above the outer entrance to Wailing Caverns.
/way The Barrens 46 35 -
Reward: your choice of one item —
 Pattern: Deviate Scale Belt,
 Sizzle Stick,
 Dagmire Gauntlets; 25 silver; 4,000 XP.
Quest level: 21. Faction: Alliance and Horde.
Quest giver: Ebru, in the cave above the outer entrance to Wailing Caverns.
/way The Barrens 46 35 -
Reward: your choice of one item —
 Crescent Staff,
 Wingblade,
 Hammerbone; 4,300 XP; 150 reputation with Thunder Bluff.
Quest level: 22. Faction: Horde.
Quest giver: Nara Wildmane, Thunder Bluff.
/way Thunder Bluff 75.6 31.2Available after the previous quests in the chain.
-
Reward: 5,150 XP.
Quest level: 26. Faction: Alliance and Horde.
Quest giver: an item looted from Mutanus the Devourer, in the final ritual chamber of Wailing Caverns.
Dungeon Rewards
Item | Type | Boss |
|---|---|---|
 Kresh's Back | Shield | Kresh |
 Worn Turtle Shell Shield | Shield | Kresh |
 Belt of the Fang | Leather belt | Lady Anacondra |
 Serpent's Shoulders | Leather shoulders | Lady Anacondra |
 Robe of the Moccasin | Cloth chest | Lord Cobrahn |
 Cobrahn's Grasp | Mail belt | Lord Cobrahn |
 Leggings of the Fang | Leather legs | Lord Cobrahn |
 Firebelcher | Wand | Deviate Faerie Dragon |
 Feyscale Cloak | Cloak | Deviate Faerie Dragon |
 Stinging Viper | One-hand mace | Lord Pythas |
 Armor of the Fang | Leather chest | Lord Pythas |
 Glowing Lizardscale Cloak | Cloak | Skum |
 Tail Spike | Dagger | Skum |
 Footpads of the Fang | Leather boots | Lord Serpentis |
| Savage Trodders | Mail boots | Lord Serpentis |
 Serpent Gloves | Cloth gloves | Lord Serpentis |
 Venomstrike | Bow | Lord Serpentis |
 Sporid Cape | Cloak | Verdan the Everliving |
 Living Root | Staff | Verdan the Everliving |
 Seedcloud Buckler | Shield | Verdan the Everliving |
 Mutant Scale Breastplate | Mail chest | Mutanus the Devourer |
 Deep Fathom Ring | Ring | Mutanus the Devourer |
 Slime-encrusted Pads | Cloth shoulders | Mutanus the Devourer |
Don't leave the dungeon right after the Fanglords: the final ritual brings a separate boss, loot, and a quest item.
Author

Fouren
Fouren has been playing World of Warcraft for over 15 years. He is an active player with 12 Cutting Edge achievements under his belt, and has reached the top 1% and 0.1% multiple times on various classes. His main classes are healers, particularly Holy Paladin.


Comments
0No comments yet. Be the first to comment!