


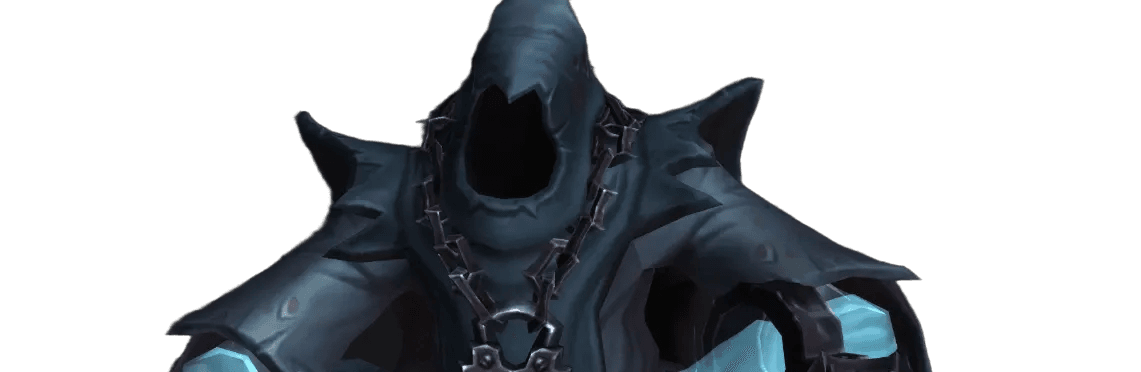
Ruins of Lordaeron: WoW: Forever Dungeon Guide

Ruins of Lordaeron
Ruins of Lordaeron is a five-player dungeon above Undercity. Scourge forces still linger among the shattered streets: your group will fight through spiders, skeletons, and abominations to reach Rath'mael.
Where to Find the Ruins of Lordaeron Entrance
The portal is in the surface Ruins of Lordaeron, above Undercity. From Tirisfal Glades, head to the ruined capital south of Brill. You don't need to take the elevators down into the lower city to enter the dungeon.
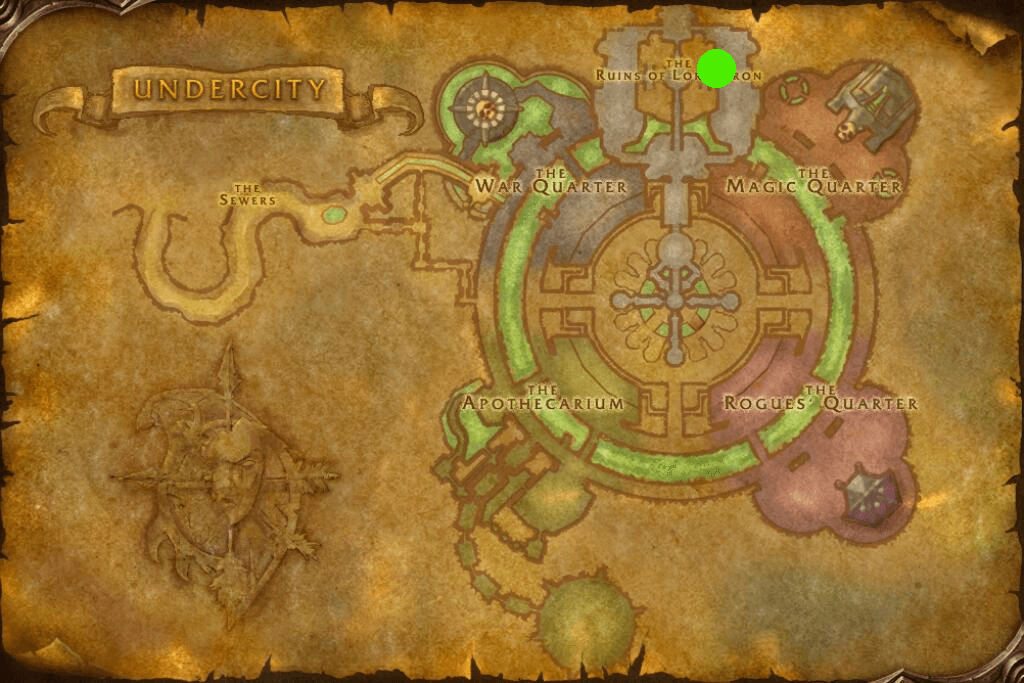
Horde Entrance
From Brill, travel south to the ruins. Before entering the dungeon, pick up quests in Tirisfal Glades, Silverpine Forest, and Undercity: most Horde quests start outside.
Alliance Entrance
The route from Stormwind starts at the harbor: take the boat to Auberdine, walk to the opposite dock, and board the ship to Menethil Harbor. Stay on board until it stops at Southshore.
From there, head north through Hillsbrad Foothills, skirt around Dalaran, and swim north across Lordamere Lake to Tirisfal Glades. Then make your way to the surface ruins and the shared portal.
This is Horde territory. Form your group in advance and avoid the city guards. Alliance quests for the dungeon start inside.
Dungeon Walkthrough
- Pull the spiders in small groups and watch for patrols. Defeat Witherfang and his escort.
- Clear the approach to The Baron. Don't leave banshees near the fight area: their silence can interrupt healing.
- To face Viktor the Vile, light the fire in the house to the southwest, next to the graveyard. You'll have to survive five waves of enemies first.
- To summon The Abandoned, interact with the statue on the trade street and defeat three waves of enemies.
- Take down Bjork, keeping in mind his brief magic immunity.
- Before fighting Rath'mael, clear room to move around and step out of fire zones.
The most dangerous street enemies are the Flesh Golem mobs: they hit hard and knock their target back. Pull them to an area you've already cleared. Ghoul packs are also best handled one group at a time so the healer can keep the tank's health up.
Witherfang
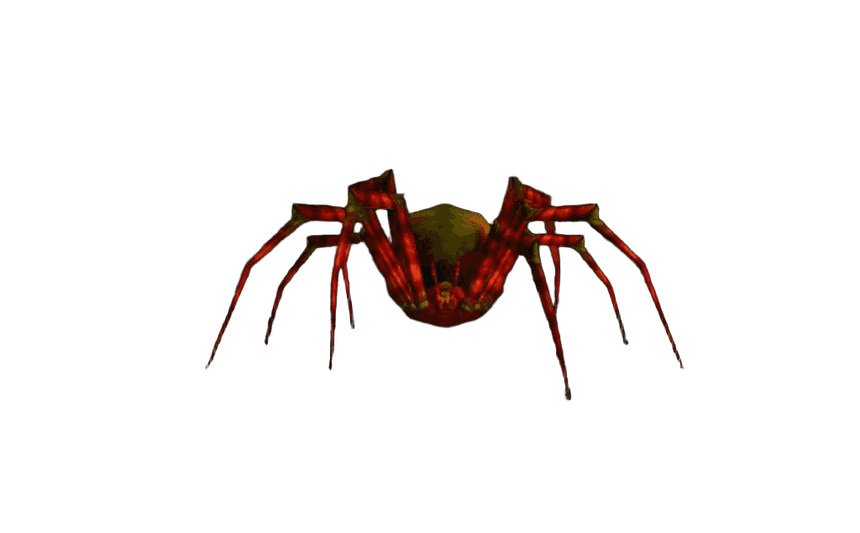
Fight Overview
This patrolling spider is escorted by two adds. The tank gathers all enemies, while DPS quickly kill the small spiders and then switch to the boss. If your group has poison removal, use it on the poisoned tank.
Key Abilities
 Leech Poison - periodically drains the target's health and transfers it to the boss.
Tank: don't start the fight near another patrol.
DPS: kill the adds before moving to the main target.
Healer: keep an eye on the poison and the tank's health.
The Baron
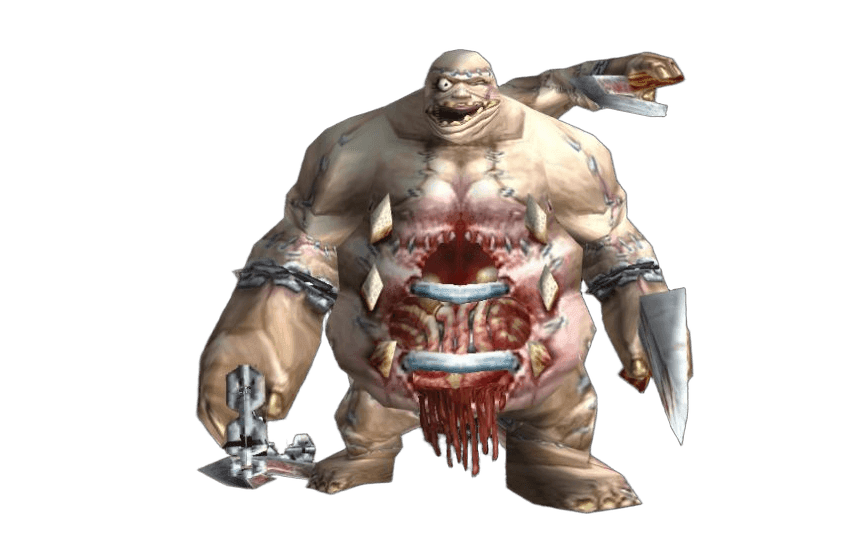
Fight Overview
The main danger in this fight is the tank's sudden health loss after an empowered strike. Clear nearby enemies before pulling and start the fight at full health. Stuns help ease the pressure, and after a knockback the tank needs to regain control of the boss quickly.
Key Abilities
 Knockout - deals a heavy physical blow, knocking back and stunning the target.
Tank: pick a position where the knockback won't send you into new enemies.
DPS: use stuns and watch for the boss switching targets.
Healer: don't leave the tank at low health for long.
Viktor the Vile
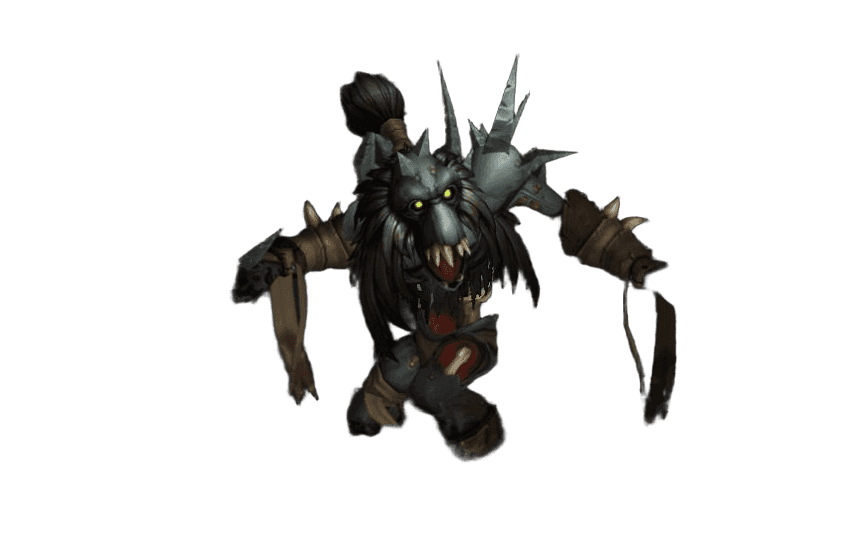
Fight Overview
The boss appears after an event in the house next to the graveyard. Light the fire in the fireplace once the whole group is ready: you'll face five waves of enemies before the boss himself. Don't burn all your defensive cooldowns on the first wave, and keep an eye on the healer's mana.
Key Abilities
- Leech Poison - drains the poisoned target's health. Remove the poison if you have a suitable ability.
Tank: be the first to pick up each wave, and the boss when he appears.
DPS: focus down one target together to reduce the number of enemies attacking at once.
Healer: save resources for the final fight of the event.
The Abandoned
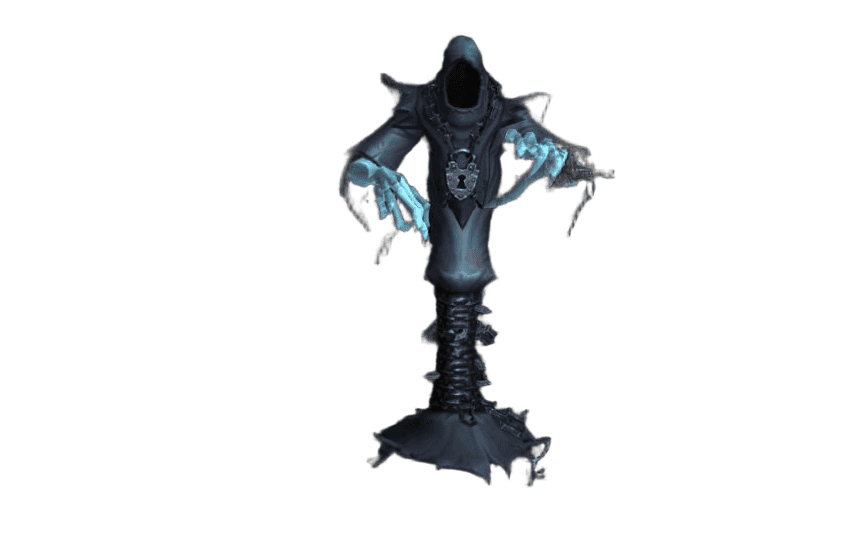
Fight Overview
To start the event, interact with the statue on the trade street. After three waves of enemies, the boss appears. Position the healer and ranged DPS well away from where the tank holds the main target.
Key Abilities
 Frost Nova - deals Frost damage and roots nearby players.
 Life Drain - drains the target's health and heals the boss. Interrupt the cast and dispel the magic effect if you can.
Tank: hold the boss in an open area.
DPS: watch for Life Drain and don't stack as a whole group next to the target.
Healer: support allies hit by roots and Life Drain.
Bjork
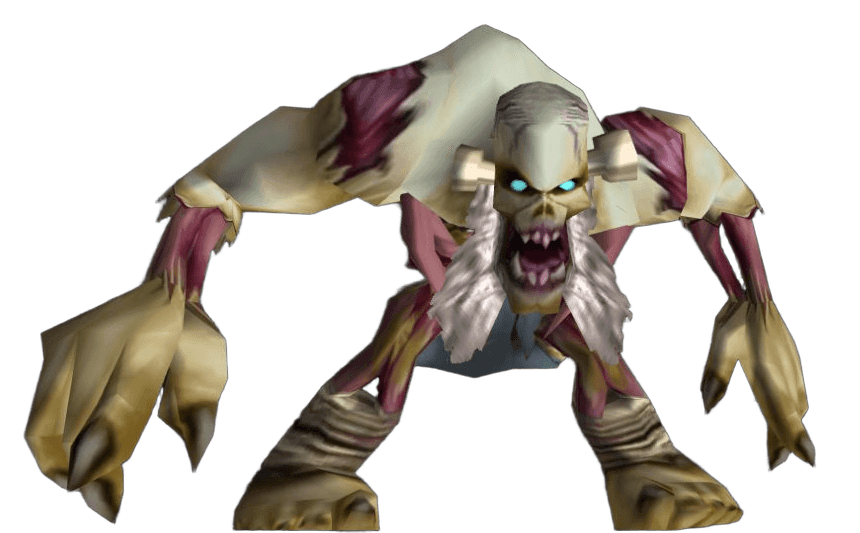
Fight Overview
The boss periodically shields himself against spells. Players dealing magic damage should watch for this effect and avoid wasting expensive abilities into it. The tank keeps holding the target while the group waits out the shield.
Key Abilities
 Anti-Magic Shield - grants immunity to magic for 3 seconds.
DPS: save your strong spells until the shield ends.
Healer: the boss's magic immunity doesn't reduce the damage the tank takes.
Rath'mael
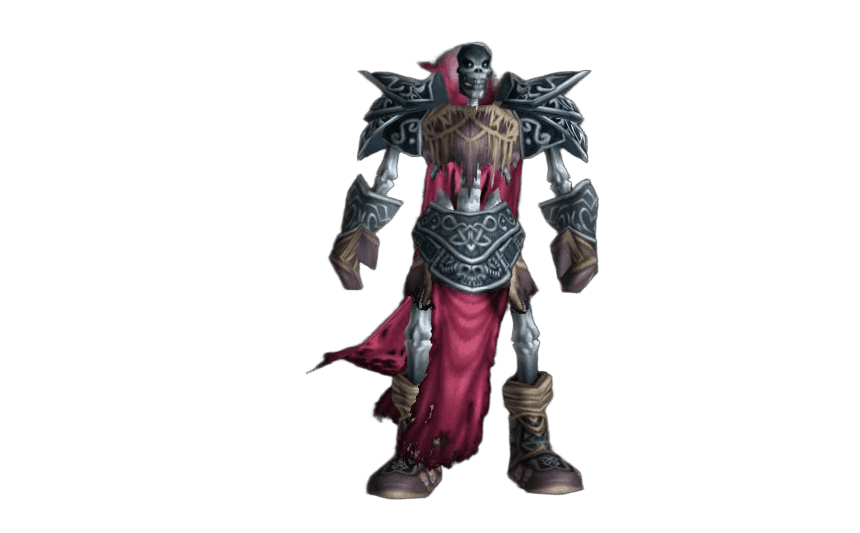
Fight Overview
Clear the platform of regular enemies before the final fight. During the encounter, watch for fire under your feet: the tank needs to reposition, and everyone else should avoid standing where the boss is aiming his attack.
Key Abilities
 Flamestrike - engulfs the targeted area in fire. Leave the danger zone immediately.
Tank: move the boss to a clear spot without dragging him into a new group of enemies.
DPS: step out of the fire while staying in range of the target.
Healer: get to a safe position first, then keep healing.
Ruins of Lordaeron Quests
The Horde has six quests available, the Alliance four. The Crest of Lordaeron quest has separate versions for each faction.
-
Reward: choice of one item —
 Forsaken Greataxe,
 Gnarled Necromancer's Staff; 4,600 XP; 150 reputation with Undercity.
Quest level: 22. Faction: Horde.
Quest giver: Deathguard Kristof, Tirisfal Glades.
/way Tirisfal Glades 65.2 60.2 -
Reward: choice of one item —
 Edward's Knife,
 Tabitha's Cuffs; 4,600 XP; 150 reputation with Undercity.
Quest level: 22. Faction: Horde.
Quest giver: Tabitha Heartweaver, The Sepulcher, Silverpine Forest.
/way Silverpine Forest 44.4 42.8 -
Reward: choice of one item —
 The Stitcher,
 Spare Part Bindings; 45 silver; 4,600 XP; 150 reputation with Undercity.
Quest level: 22. Faction: Horde.
Quest giver: Morbin Lightbane, The Apothecarium, Undercity.
/way Undercity 57.8 89.8 -
Reward: choice of one item —
 Plaguefang,
 Blight Gloves; 5,450 XP.
Quest level: 22. Faction: Horde.
Quest giver: Theodore Griffs, The Apothecarium, Undercity.
/way Undercity 46.6 71.8 -
Reward: 3,450 XP.
Quest level: 21. Faction: Horde.
Quest giver: an item looted from The Baron, Ruins of Lordaeron.
-
Reward:
 Small Sack of Gems; 5,450 XP.
Quest level: 22. Faction: Horde.
Quest giver: an interactable crest, Ruins of Lordaeron, several possible spawn locations.
-
Reward:
Small Sack of Gems; 6,200 XP.Quest level: 22. Faction: Alliance.
Quest giver: an interactable crest, Ruins of Lordaeron, several possible spawn locations.
-
Reward: choice of one item —
 Monstrous Cleaver,
 Grave Shroud,
 Slain Baron's Signet; 3,900 XP.
Quest level: 21. Faction: Alliance.
Quest giver: Captain Truman, near the entrance inside the Ruins of Lordaeron.
-
Reward: choice of one item —
 Duty Bound Leggings,
 Remembrance Armor; 45 silver; 6,200 XP.
Quest level: 22. Faction: Alliance.
Quest giver: an item looted from undead, Ruins of Lordaeron.
Reward: 6,200 XP; 150 reputation with Undercity.
Quest level: 22. Faction: Alliance.
Quest giver: an item near Rath'mael, the final section of the Ruins of Lordaeron.
Dungeon Loot
Item | Type | Boss |
|---|---|---|
 Atrophic Girdle | Mail Waist | Witherfang |
 Segmented Spider Leg | Staff | Witherfang |
| Witherbite Bracers | Leather Wrist | Witherfang |
 Meathook Slicer | Dagger | The Baron |
 Abomination Bones | Mail Chest | The Baron |
 Leftover Abomination Skin | Cloth Chest | The Baron |
 Vileblood Scimitar | One-Handed Sword | Viktor the Vile |
 Bloodied Chestwraps | Leather Chest | Viktor the Vile |
 Vilewalkers | Mail Feet | Viktor the Vile |
 Scepter of the Abandoned | One-Handed Mace | The Abandoned |
 Grip of Fear | Mail Hands | The Abandoned |
 Rotmender's Leggings | Cloth Legs | The Abandoned |
 Corpse Chopper | Two-Handed Axe | Bjork |
 Bonerust Leggings | Mail Legs | Bjork |
 Tuskwrap Belt | Cloth Waist | Bjork |
 Mirror of Rath'mael | Shield | Rath'mael |
 Coldspire Staff | Staff | Rath'mael |
 Rotmender's Treads | Cloth Feet | Rath'mael |
Start the fireplace and statue events only after your group has recovered: the waves of enemies will demand plenty of mana and defensive cooldowns ready to go.
Author

Fouren
Fouren has been playing World of Warcraft for over 15 years. He is an active player with 12 Cutting Edge achievements under his belt, and has reached the top 1% and 0.1% multiple times on various classes. His main classes are healers, particularly Holy Paladin.



Comments
0No comments yet. Be the first to comment!