


Sunken Temple Dungeon Guide for WoW: Forever

Sunken Temple
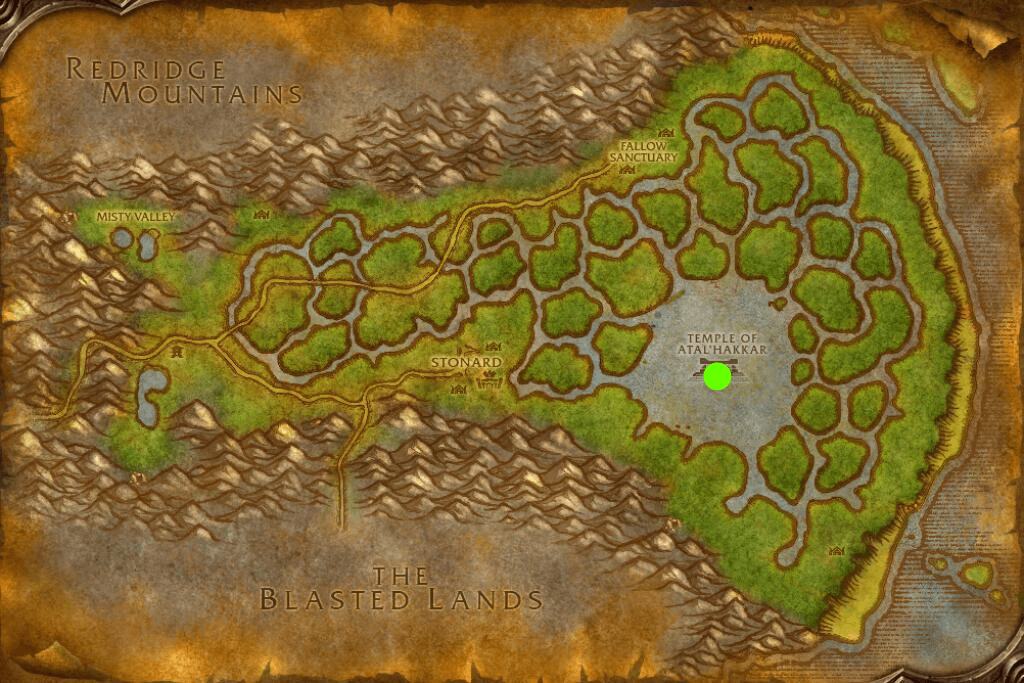
The Sunken Temple, also called the Temple of Atal'Hakkar, lies in a lake in the Swamp of Sorrows. Aim for levels 50–55. The dungeon has several levels. Solve the statue puzzle below, defeat six defenders on the balconies, then fight dragons and priests in the central chambers.
Dungeon Entrance
Swim across the lake to the temple and look for the stairs on the south side. The pin marks the temple itself. Continue through the outer rooms to reach the portal.
Alliance Entrance
Start at Nethergarde Keep in the Blasted Lands, cross into the Swamp of Sorrows, and head for the lake. Group up before you go inside.
Horde Entrance
Fly to Stonard and head east to the temple in the lake. Both factions use the same route from there.
Make your way through the outer halls toward the lower stairs and the portal. The priests can heal and flee, so interrupt heals and stop runners. If you're doing quests for  Fetish of Hakkar and
 Atal'ai Tablet, check your loot before entering the instance.
Dungeon Walkthrough
- Clear the ring on the lower level and activate the six statues in order to summon Atal'alarion. Clear all enemies near the statues before touching them.
- On the upper balconies, defeat the six defenders one by one: Loro, Gasher, Mijan, Zolo, Zul'Lor, and Hukku. Killing all six opens the way to the priests.
- Clear the central dragon packs and the route to Jammal'an the Prophet and Ogom the Wretched. If a ghost chases a player, have that player keep moving away from it.
- After the priests, defeat the dragon pairs Weaver and Dreamscythe, then Hazzas and Morphaz. Clear the remaining dragonkin before fighting Shade of Eranikus.
- The Avatar of Hakkar event takes place separately in the western sanctum and requires a summoning item. Decide whether to do it before leaving the dungeon.
Atal'alarion
Encounter Overview
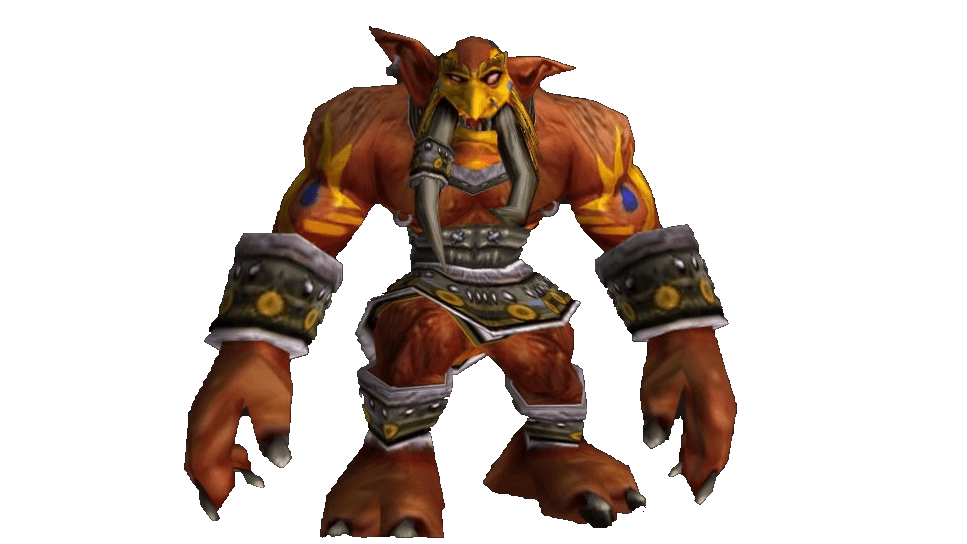
To summon Atal'alarion, activate the statues in this order: south → north → southwest → southeast → northwest → northeast. Each statue turns green when activated correctly. Tank the boss against a wall and have casters stay back. Check threat after the knockback, and be ready to heal fall damage.
Key Abilities

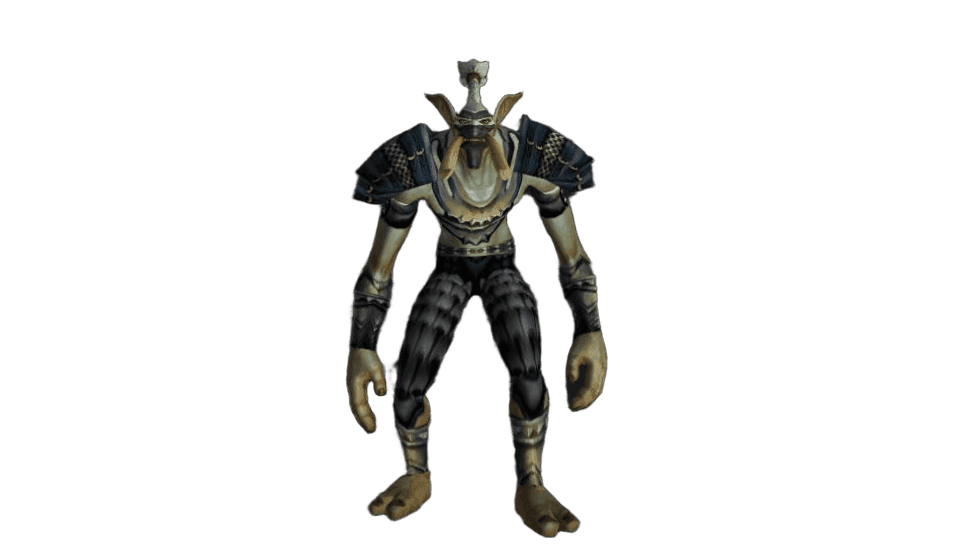
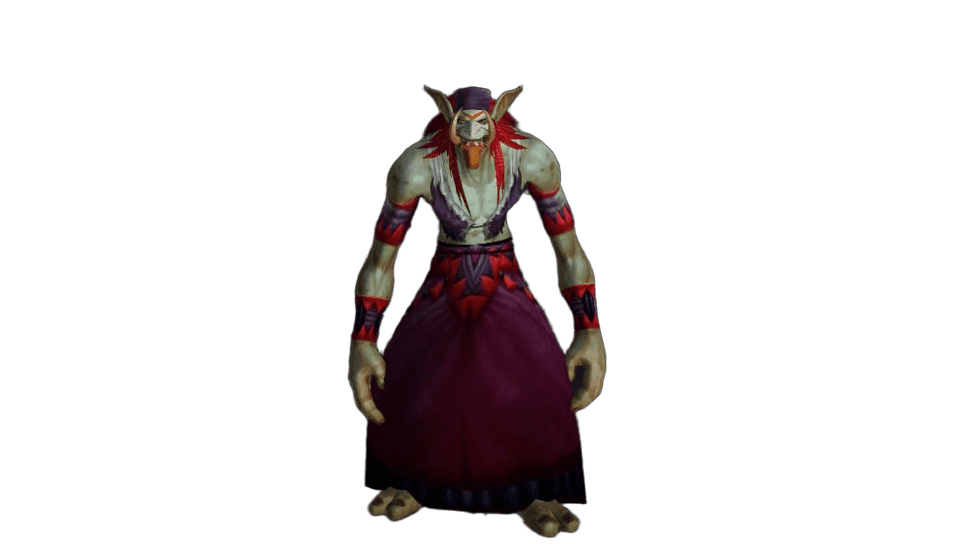
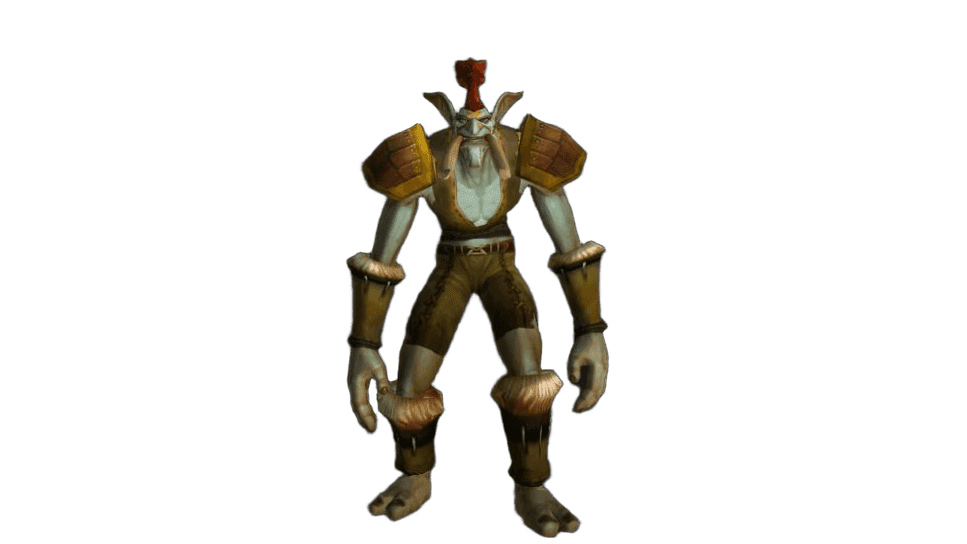
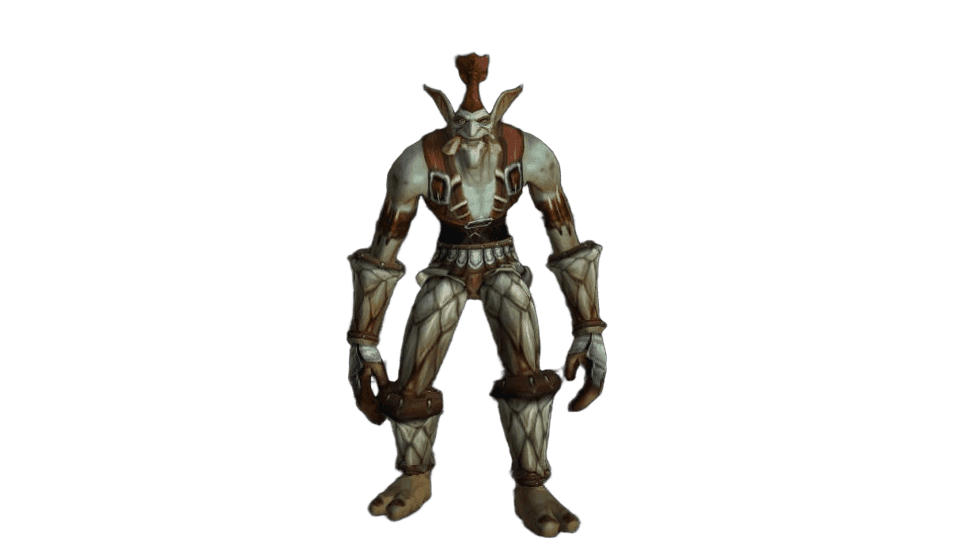
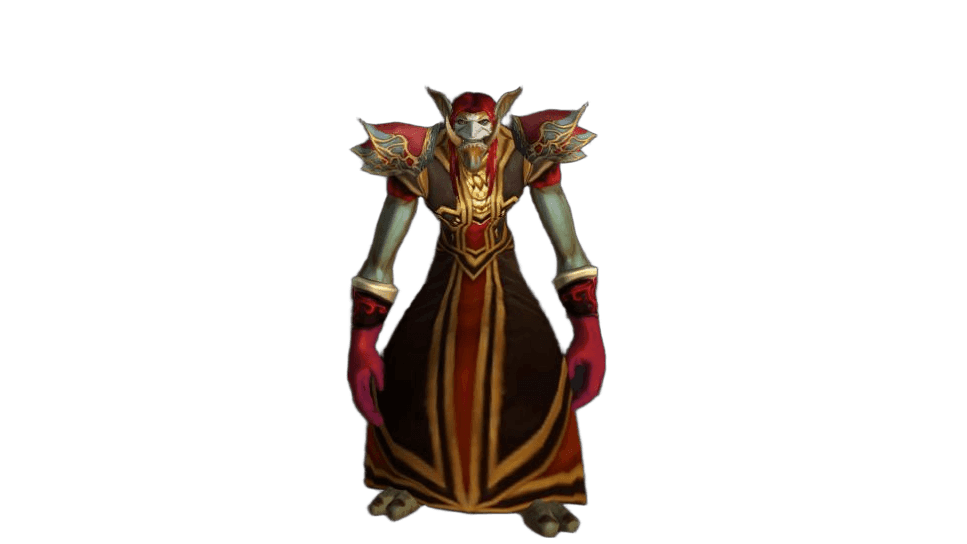
Loro and Gasher and Mijan and Zolo and Zul'Lor and Hukku
Encounter Overview
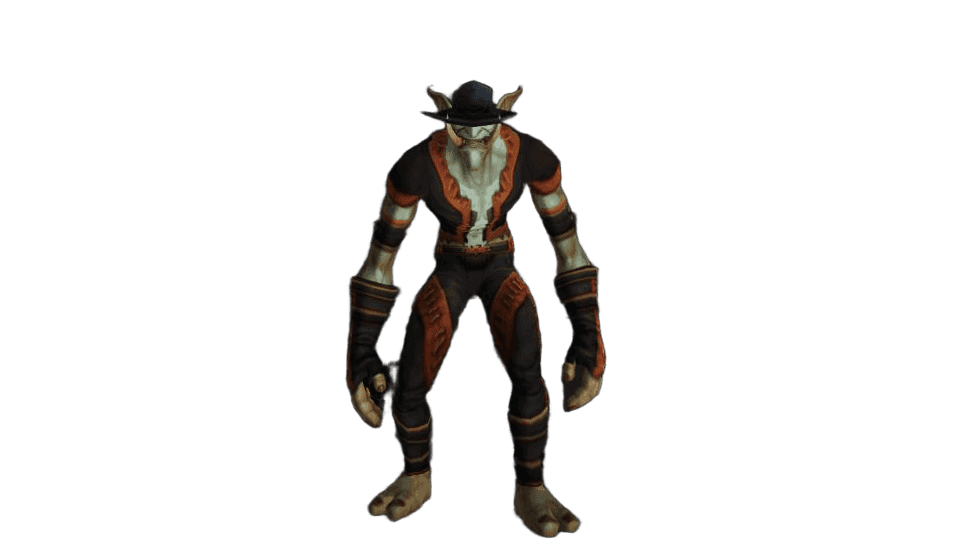
The six defenders stand on separate balconies: Loro, Gasher, Mijan, Zolo, Zul'Lor, and Hukku. Kill all six to remove the barrier to the priests. Destroy Mijan's healing totems, interrupt Zolo's Chain Lightning, and pick up the adds summoned by Hukku. Clear the stairs to each balcony and take one platform at a time.
Key Abilities


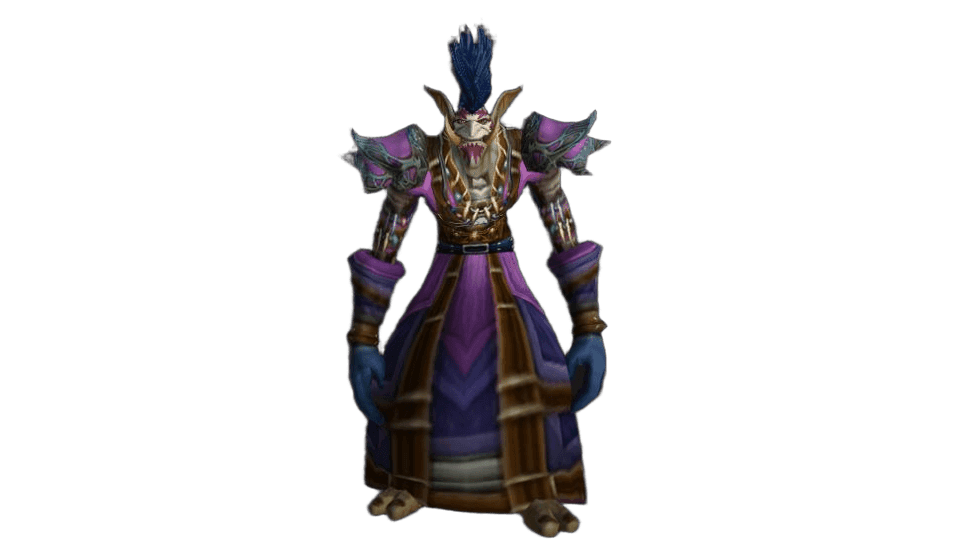
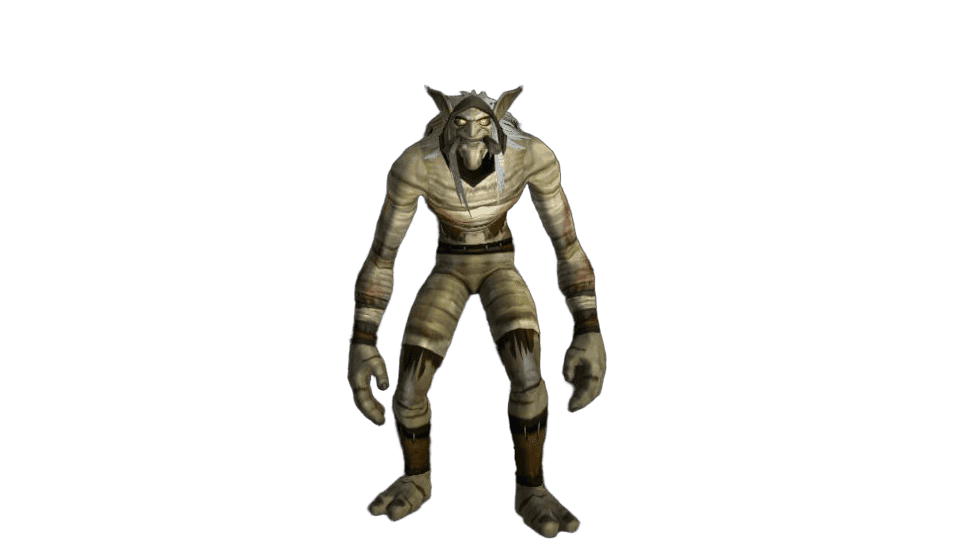
Jammal'an the Prophet and Ogom the Wretched
Encounter Overview
Jammal'an the Prophet and Ogom the Wretched wait behind the barrier that drops when the six defenders die. Kill Ogom the Wretched first because he has less health. Interrupt Jammal'an the Prophet's heals and move out of the fire. If a party member turns into a hostile berserker, crowd-control them until the effect expires and keep them alive.
Key Abilities


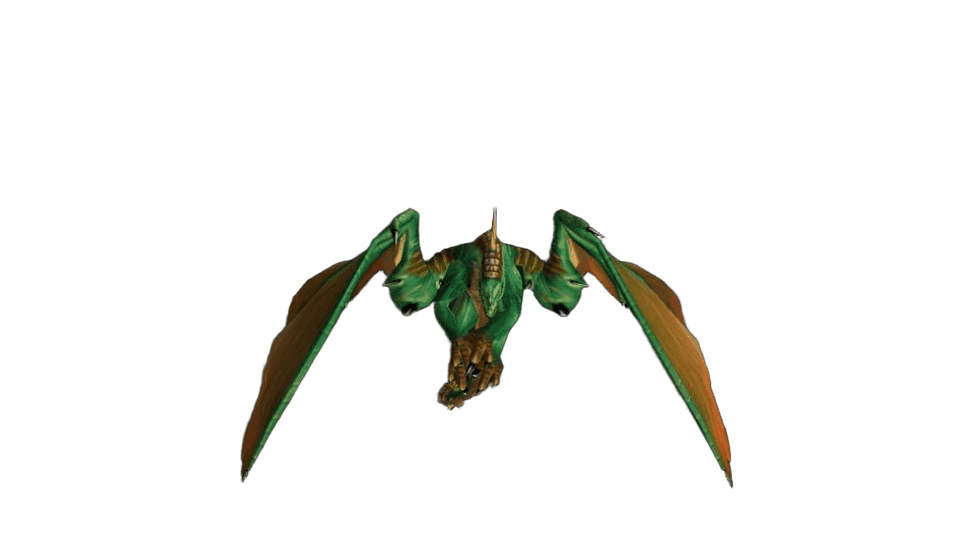
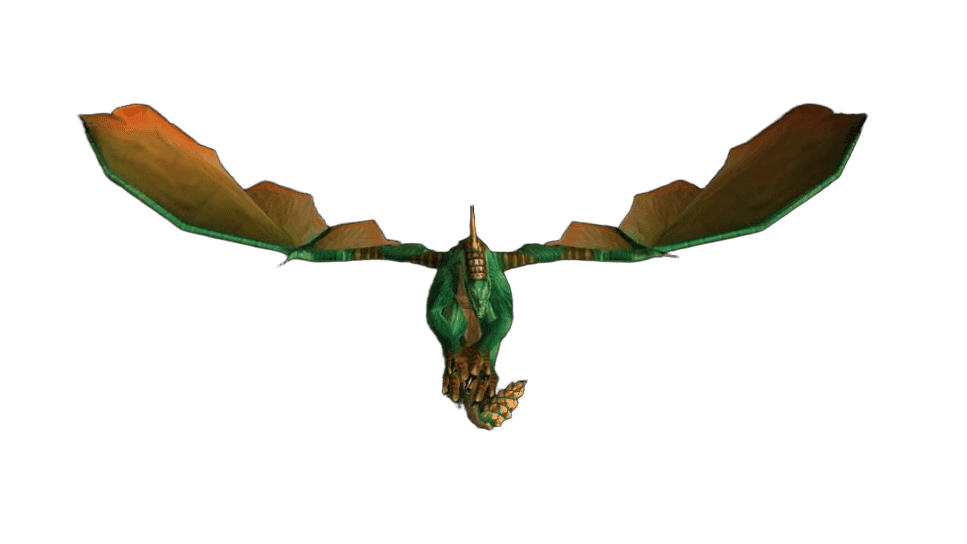
Weaver and Dreamscythe
Encounter Overview
Weaver and Dreamscythe appear after you defeat the priests. The tank should face the dragons away from the group with a wall behind them. Stay out of the frontal breath, and keep the healer out of the knockback path.
Key Abilities


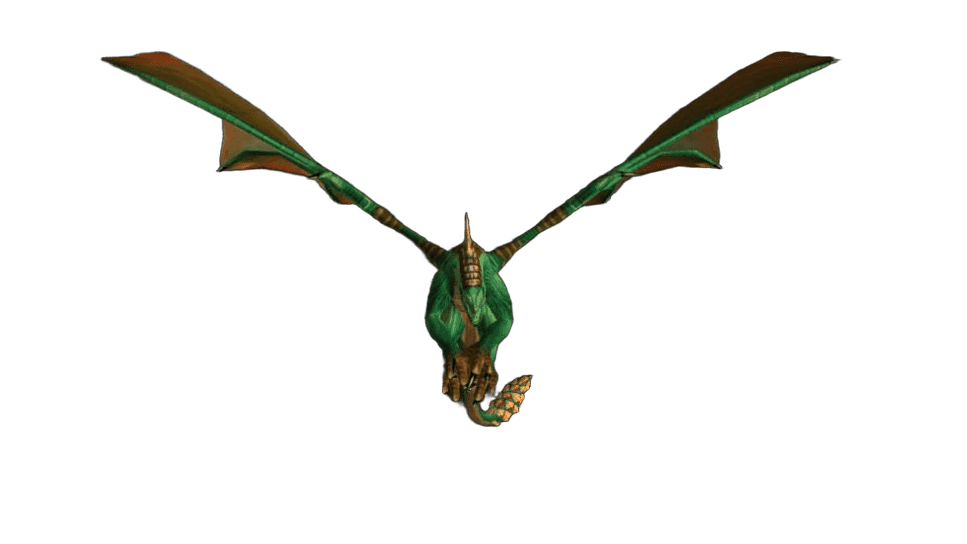
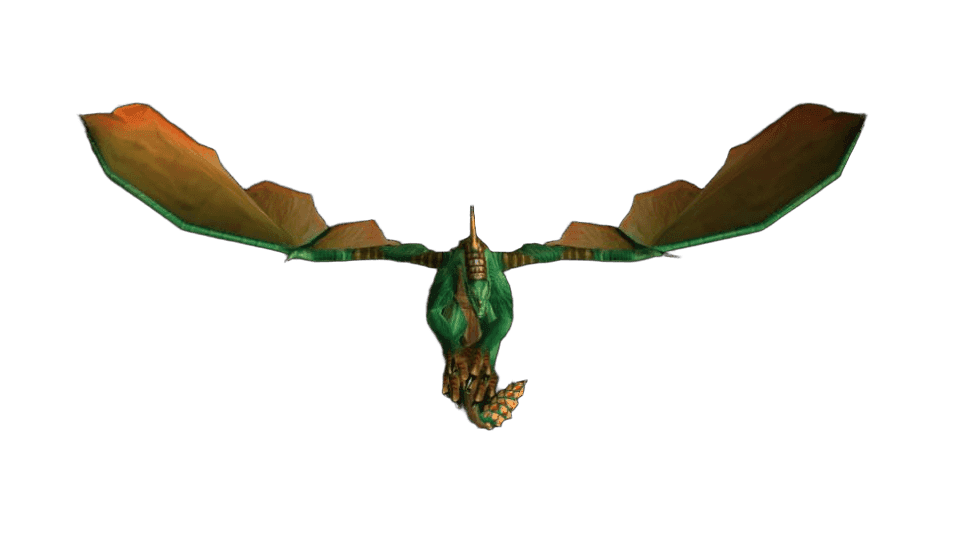
Hazzas and Morphaz
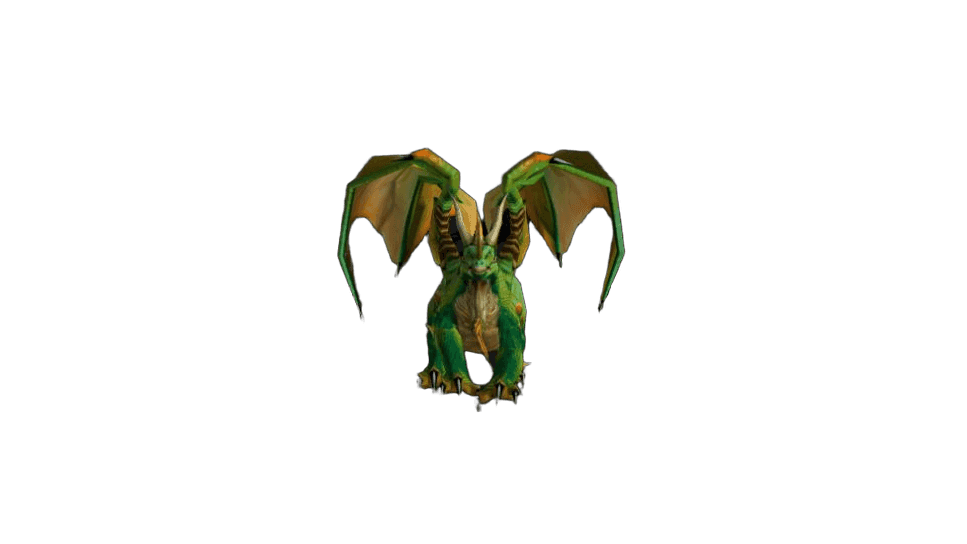
Shade of Eranikus
Encounter Overview
Before pulling Shade of Eranikus, kill any remaining dragonkin in the dungeon or they'll join the fight. Face his breath away from the group. The boss puts the player with the most threat to sleep, so assign someone to take over while the tank is asleep. Casters should stay outside melee stun range. The healer should conserve mana for a long fight.
Key Abilities


Avatar of Hakkar
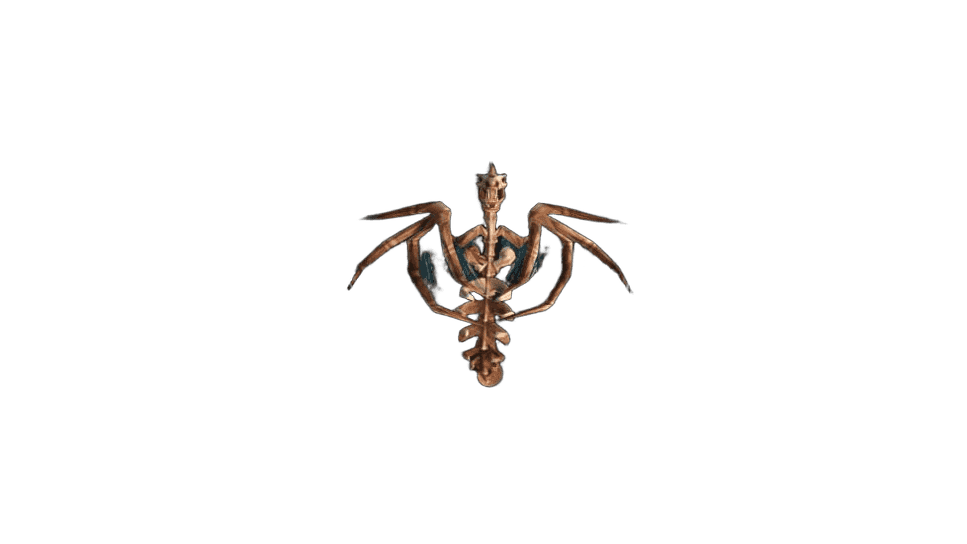
Encounter Overview
Use  Egg of Hakkar for the The God Hakkar quest to summon Avatar of Hakkar. Use
 Yeh'kinya's Scroll to repeat the event. During the waves, kill the Hakkari Bloodkeeper, collect
 Hakkari Blood, and extinguish all four braziers. Assign one player to gather the blood and check your loot settings. Once the boss appears, crowd-control any party member affected by madness and keep adds off the healer.
Key Abilities


Dungeon Quests
-
Reward — 1 gold 20 silver, quest completion XP.
Quest Level 50. Faction — Horde.
Quest Giver — Fel'zerul, Swamp of Sorrows.
/way Swamp of Sorrows 48 55 -
Reward — quest completion XP.
Quest Level 52. Faction — Horde.
Quest Giver — Liv Rizzlefix, The Barrens.
/way The Barrens 62.4 38.6 -
Reward — 75 silver, quest completion XP.
Quest Level 52. Faction — Alliance.
Quest Giver — Gregan Brewspewer, Feralas.
/way Feralas 45 25.4 Into The Temple of Atal'Hakkar
Reward —
 Guardian Talisman, quest completion XP.
Quest Level 50. Faction — Alliance.
Quest Giver — Brohann Caskbelly, Stormwind City.
/way Stormwind City 64.2 20.8-
Reward —
 Rainstrider Leggings,
 Helm of Exile, quest completion XP.
Quest Level 53. Faction — Alliance and Horde.
Quest Giver — Atal'ai Exile, The Hinterlands.
/way The Hinterlands 33.6 75.2 -
Reward — quest completion XP.
Quest Level 55. Faction — Alliance and Horde.
Quest Start —
 Essence of Eranikus.
-
Reward — quest completion XP.
Quest Level 51. Faction — Alliance and Horde.
Quest Giver — Marvon Rivetseeker, Tanaris.
/way Tanaris 52.6 45.8 -
Reward — quest completion XP.
Quest Level 51. Faction — Alliance and Horde.
Quest Giver — Marvon Rivetseeker, Tanaris.
/way Tanaris 52.6 45.8 -
Reward —
 Avenguard Helm,
 Lifeforce Dirk,
 Gemburst Circlet,
 Essence of Hakkar, 2 gold 40 silver, quest completion XP.
Quest Level 53. Faction — Alliance and Horde.
Quest Giver — Yeh'kinya, Tanaris.
/way Tanaris 67 22.4
Dungeon Loot
The table below lists loot from dungeon bosses and events.


Author

Fouren
Fouren has been playing World of Warcraft for over 15 years. He is an active player with 12 Cutting Edge achievements under his belt, and has reached the top 1% and 0.1% multiple times on various classes. His main classes are healers, particularly Holy Paladin.


Comments
0No comments yet. Be the first to comment!