


Lower Blackrock Spire – WoW: Forever Dungeon Guide

Lower Blackrock Spire
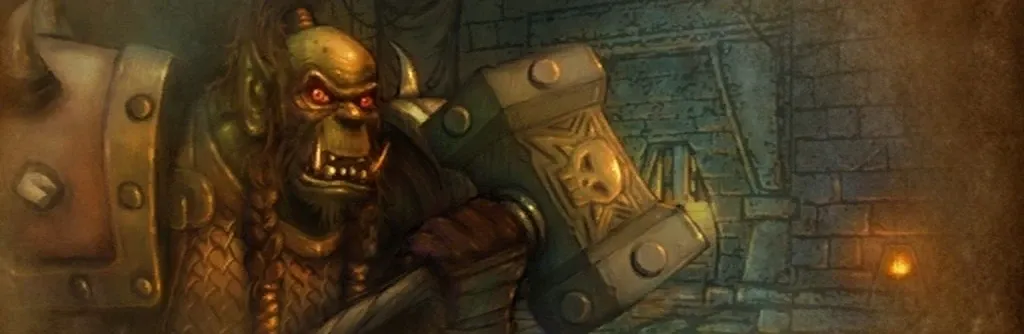
Lower Blackrock Spire is a long wing of Blackrock Spire, home to ogres, trolls, spiders, and orcs. Aim for levels 55–60. The main route ends at Overlord Wyrmthalak, with rare and summoned enemies, quests, and pieces of the  Seal of Ascension along the way.
Dungeon Entrance
Blackrock Spire is inside Blackrock Mountain, between Searing Gorge and the Burning Steppes. Both factions use the same portal and choose their wing once inside.
Alliance Entrance
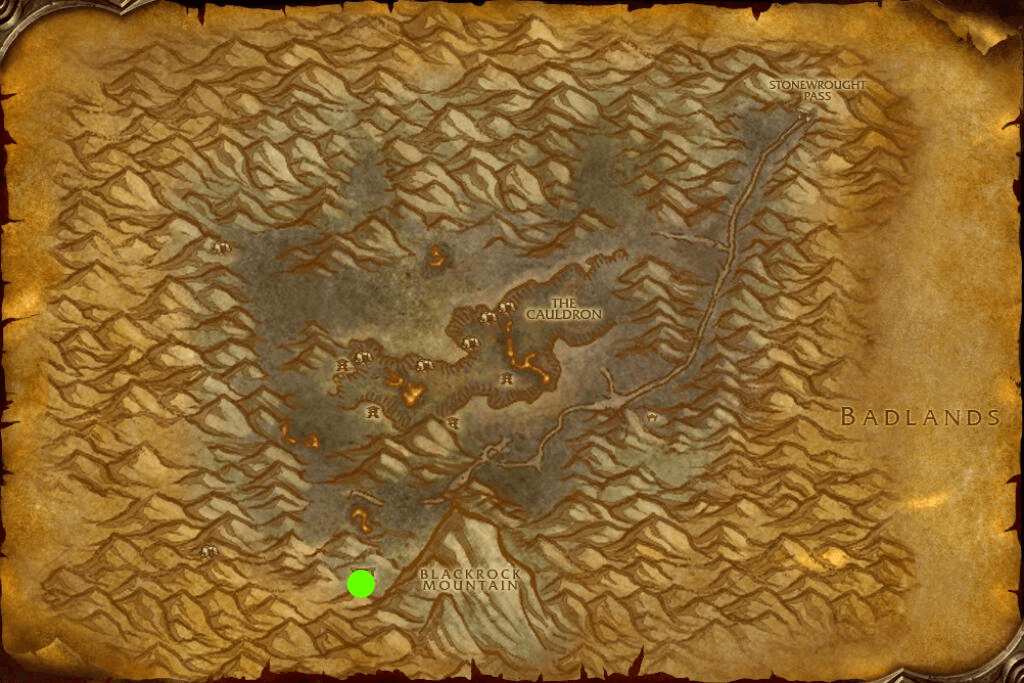
Start at Morgan's Vigil in the Burning Steppes and head to the southern entrance to Blackrock Mountain. The map marks the passage into the mountain. Continue inside to reach the dungeon portal.
Horde Entrance
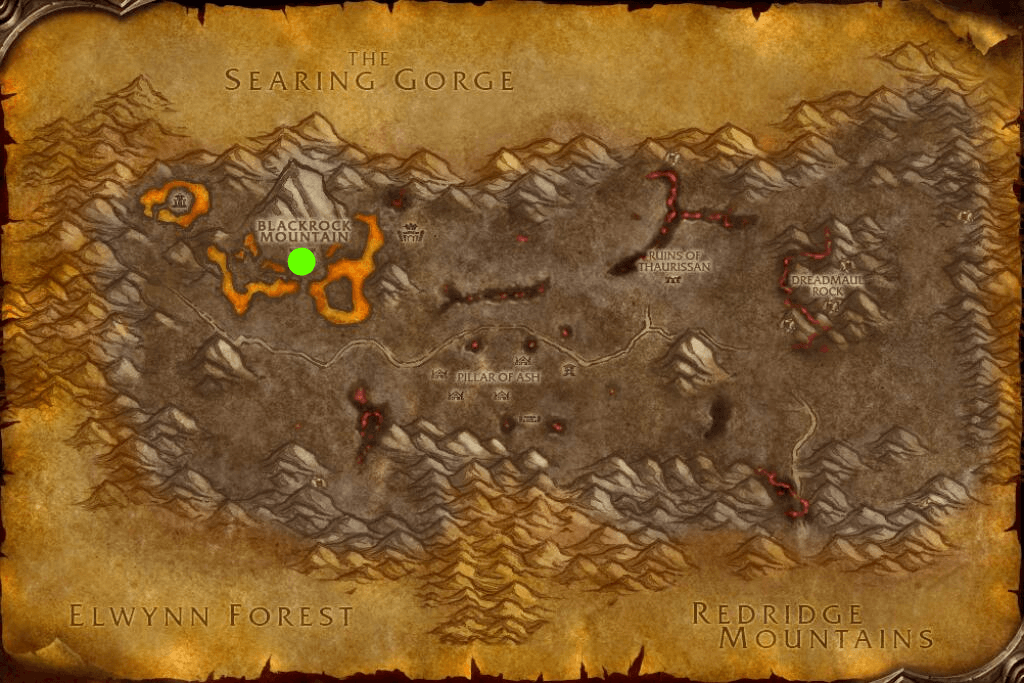
From Kargath, cross Searing Gorge to the northern entrance to Blackrock Mountain. You can also start at Thorium Point if you have its flight path.
Inside the mountain, find the large chain running from the stone dwarf to the central structure. Climb it toward the outer wall, follow the ledge, and drop onto the balcony below. Beyond the doorway is the shared Blackrock Spire portal. Once inside, the left passage leads to the upper wing and the right passage to the lower wing.
Dungeon Walkthrough
- Keep right after entering the shared portal. Check the ogre halls for rares and defeat Highlord Omokk. Keep the
 Omokk's Head if you plan to summon Urok Doomhowl.
- In the troll area, head to Shadow Hunter Vosh'gajin and then War Master Voone. Stop runners before they pull nearby packs. You can also find Bijou and her belongings here.
- Pass through the orc camp to the spider area and Mother Smolderweb. Bannok Grimaxe and Crystal Fang may appear along the way.
- Summon Urok Doomhowl at the skull pile if needed. Clear the corridor to the fork. Quartermaster Zigris is on the left, and Halycon's den is on the right.
- After killing Halycon, prepare for Gizrul the Slavener to appear shortly afterward. Continue to Overlord Wyrmthalak, pulling enemies off the bridges onto safe ground.
Spirestone Butcher
Encounter Overview
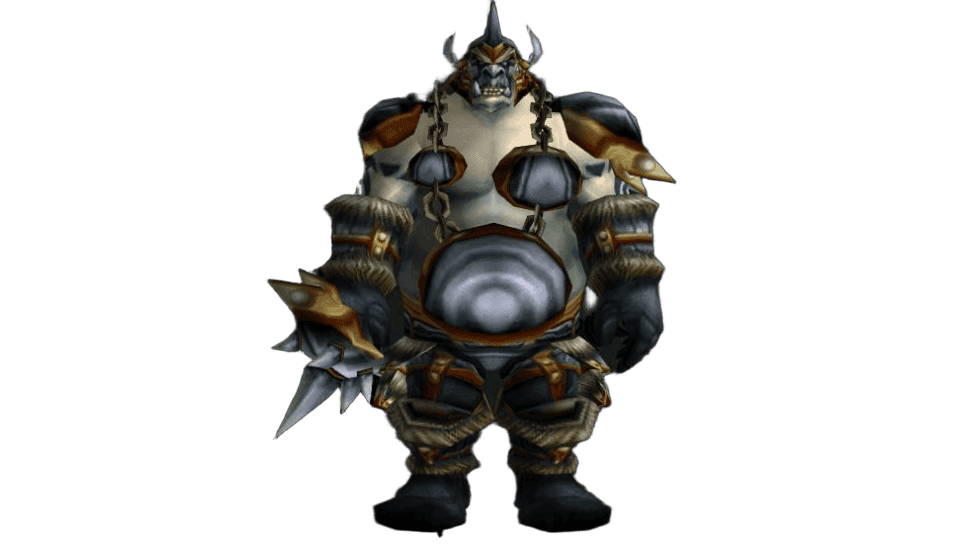
The rare Spirestone Butcher appears in the opening ogre area. Check the side rooms before moving on to the trolls. Pull him away from the nearest pack, let the tank establish threat, and stop any remaining ogres from fleeing into other rooms.
Spirestone Battle Lord
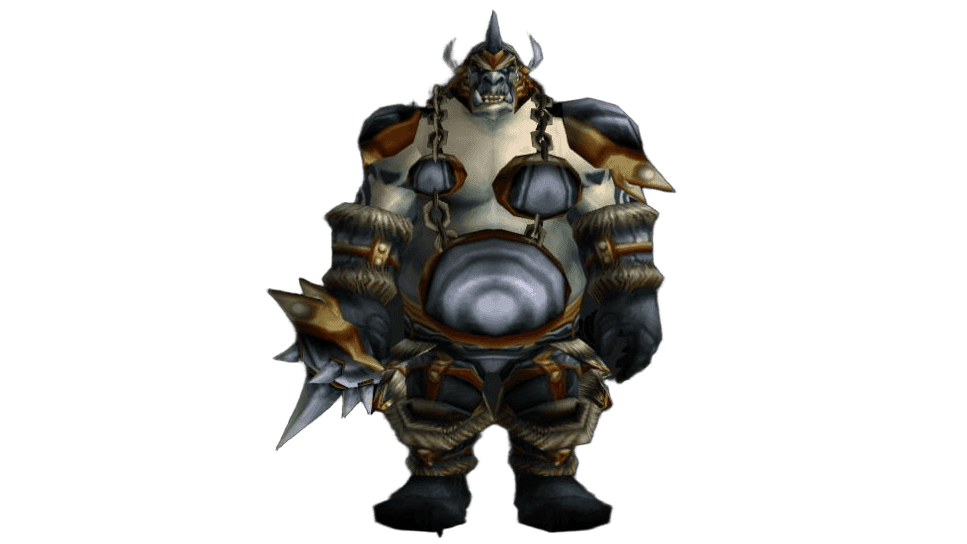
Encounter Overview
Spirestone Battle Lord is a rare ogre before Highlord Omokk's room. He comes with two casters. Crowd-control one and kill the other quickly, then finish the controlled add and the ogre. A regular enemy takes his place if the rare does not spawn.
Highlord Omokk
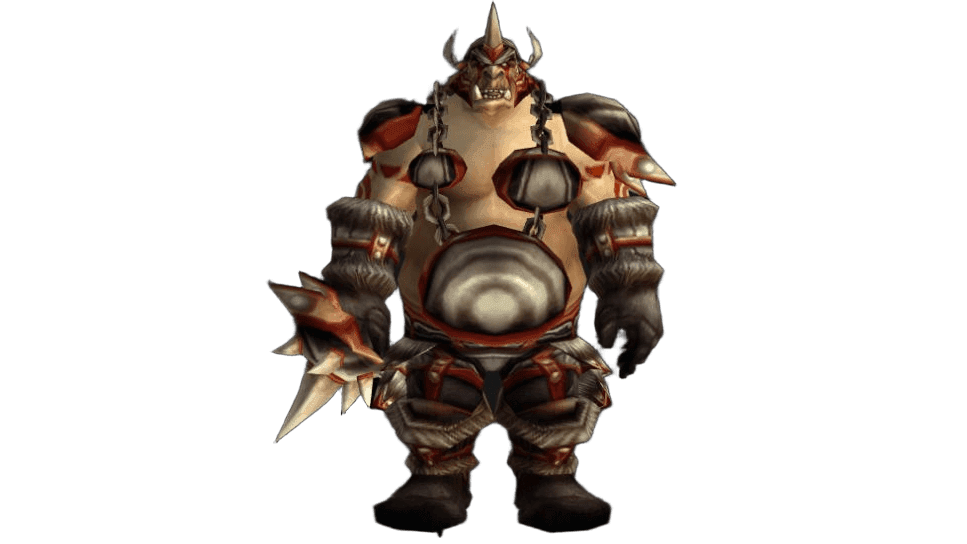
Encounter Overview
Highlord Omokk fights with two ogres. Crowd-controlling at least one add makes the pull much easier. Face the boss away from the group and tank with your back to a wall to hold position through the knockback. The healer should watch for sudden health drops when the boss buffs himself. Loot the Omokk's Head for the quest to summon Urok Doomhowl.
Key Abilities


Shadow Hunter Vosh'gajin
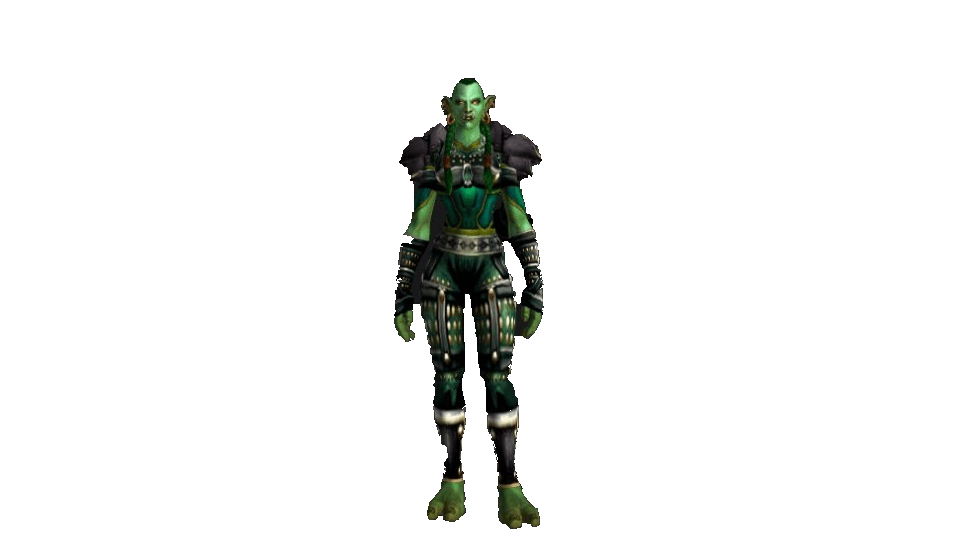
Encounter Overview
Shadow Hunter Vosh'gajin comes with two Smolderthorn Shadow Priest NPCs. Kill the adds first, using crowd control on one if needed. Keep the boss away from the main group so the transformation won't affect several players at once. Remove the curse from vulnerable players, particularly the tank.
Key Abilities


War Master Voone
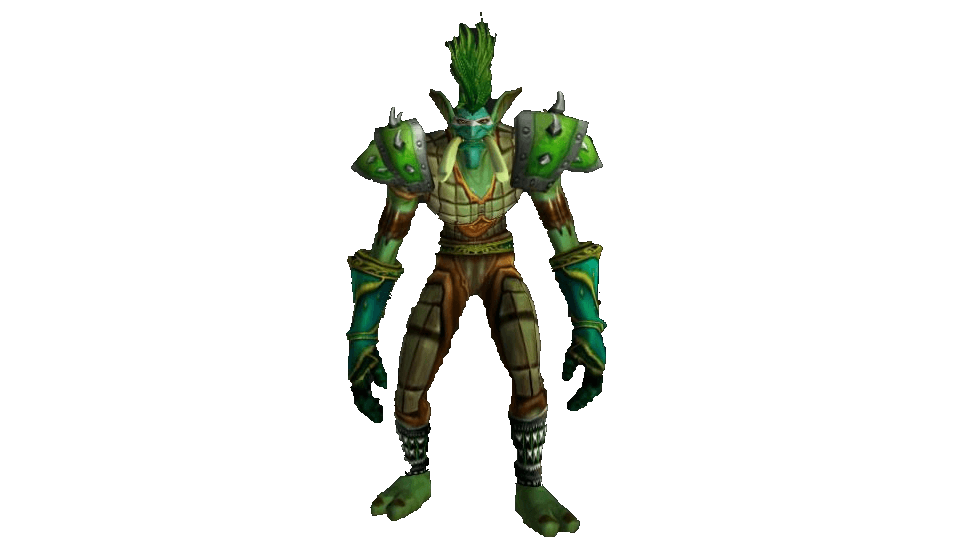
Encounter Overview
War Master Voone has no personal guards but deals heavy physical damage. Clear the approach and let the tank engage first. Melee DPS should stand behind him. If the tank loses threat, stop attacking until the boss returns.
Key Abilities
Bannok Grimaxe
Encounter Overview
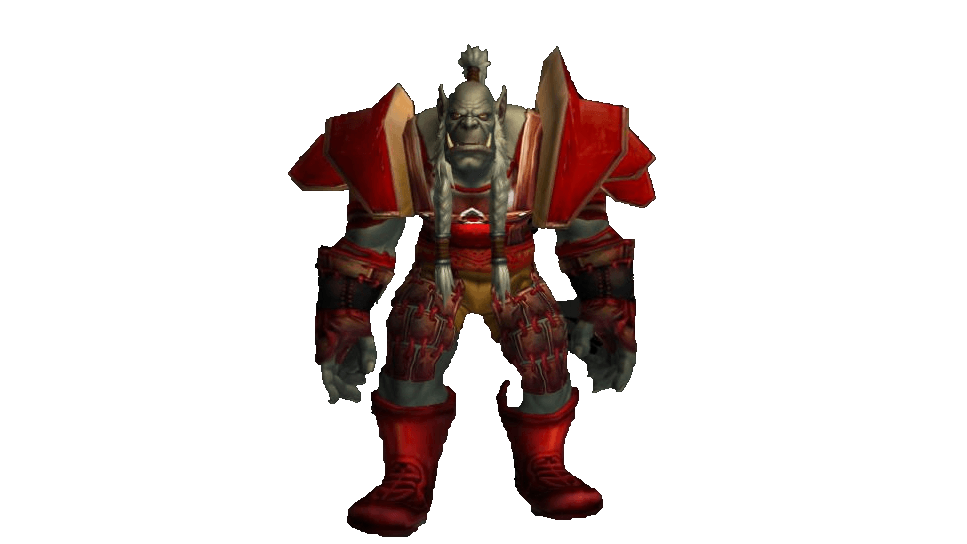
The rare Bannok Grimaxe can appear among the orcs near the tents before the spider area. Check the corners of the camp, since he may be sitting or asleep. Blacksmiths may want the  Plans: Arcanite Reaper he drops, but he may be absent from a run.
Mother Smolderweb
Encounter Overview
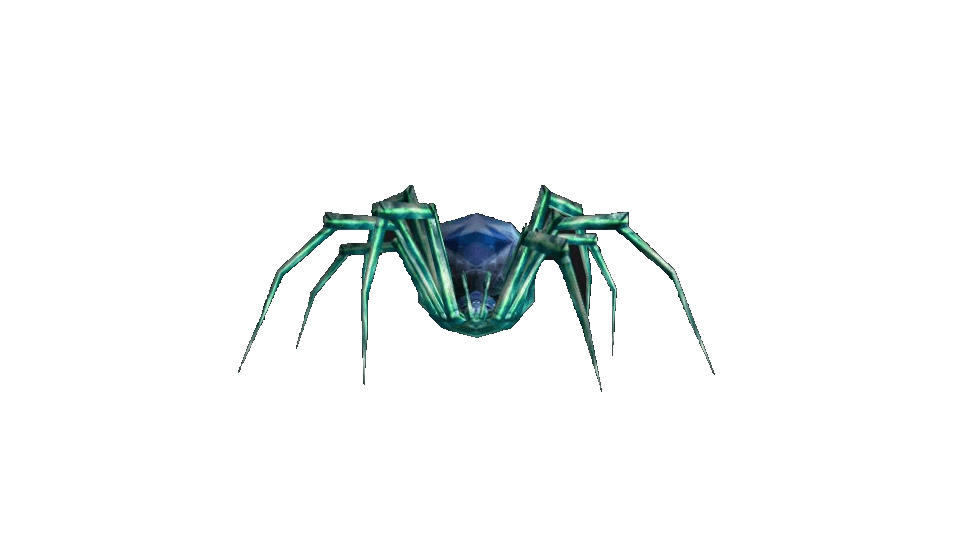
Mother Smolderweb is at the top of the spider area. Gather up any hatchlings before pulling, then face the boss away from the group. The poison can stun the affected player and nearby allies, so spread out. If you're doing Mother's Milk, agree in advance to keep the required effect active. A routine poison dispel can spoil the quest.
Key Abilities

Crystal Fang
Encounter Overview
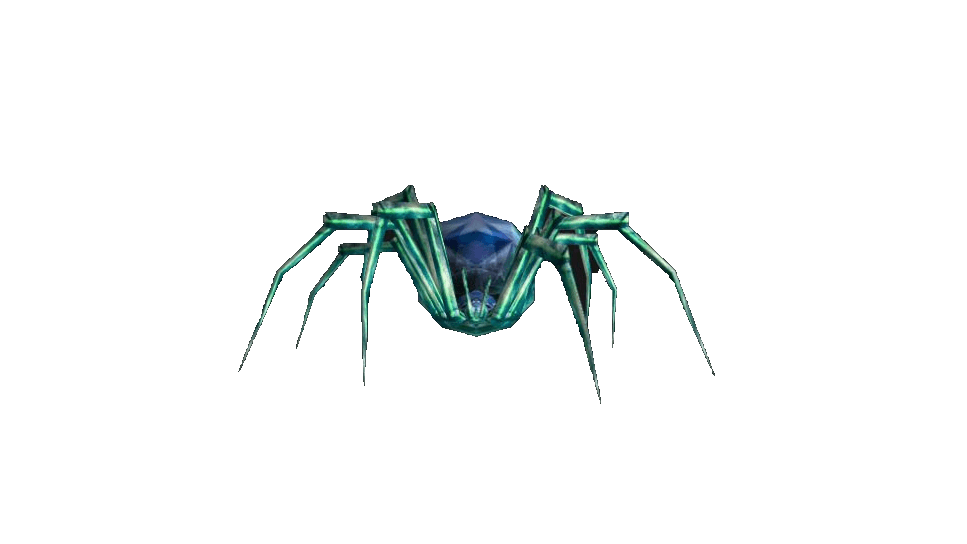
The rare Crystal Fang appears near the spider lair. Look for him before leaving for the ogres and the Urok Doomhowl summon. Kill surrounding spiders first, then pull him on his own so new hatchlings stay off the healer.
Key Abilities
 Summon Spire Spiderling adds spiders to the fight. The tank picks them up and the DPS kill them alongside the main target.
Urok Doomhowl
Encounter Overview
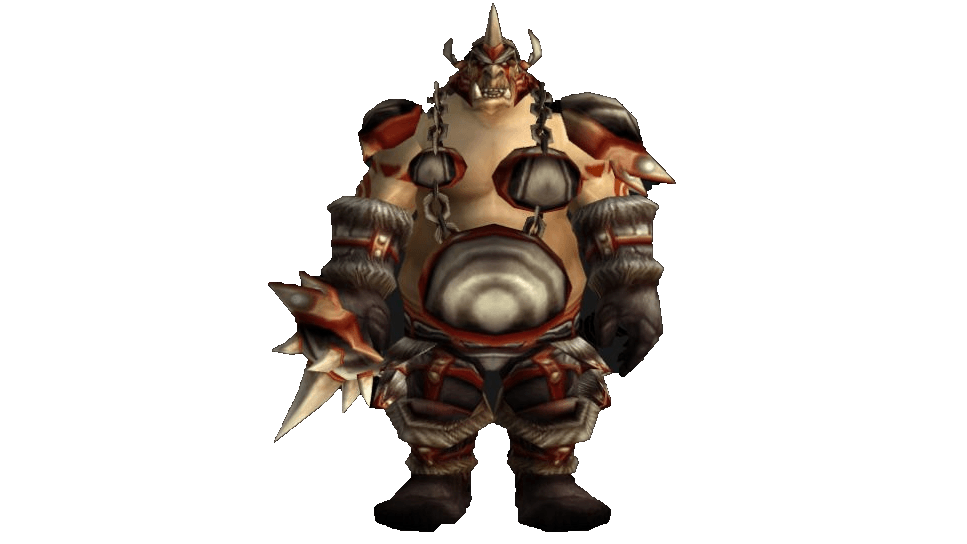
Bring the Omokk's Head and  Roughshod Pike to the skull pile to summon Urok Doomhowl. Survive the ogre waves before the boss arrives. Use the placed pike on an available target to remove one enemy and crowd-control the others. Tank the boss separately once he appears. Before starting, clear extra space for feared players.
Key Abilities


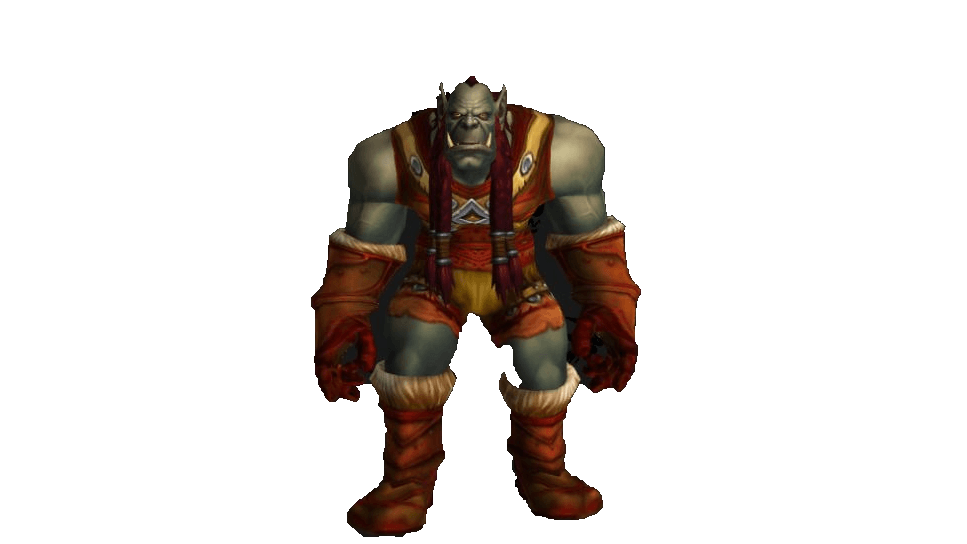
Quartermaster Zigris
Encounter Overview
Quartermaster Zigris patrols the room on the left branch after the scorpion corridor. Clear the room and wait for the patrol before engaging. Clear enemies behind you and avoid running toward nearby packs when repositioning.
Key Abilities
 Stun Bomb stuns enemies. Clear nearby packs before pulling.
 Hooked Net restricts the target's movement.
 Drink Healing Potion restores the enemy's health and prolongs the fight.
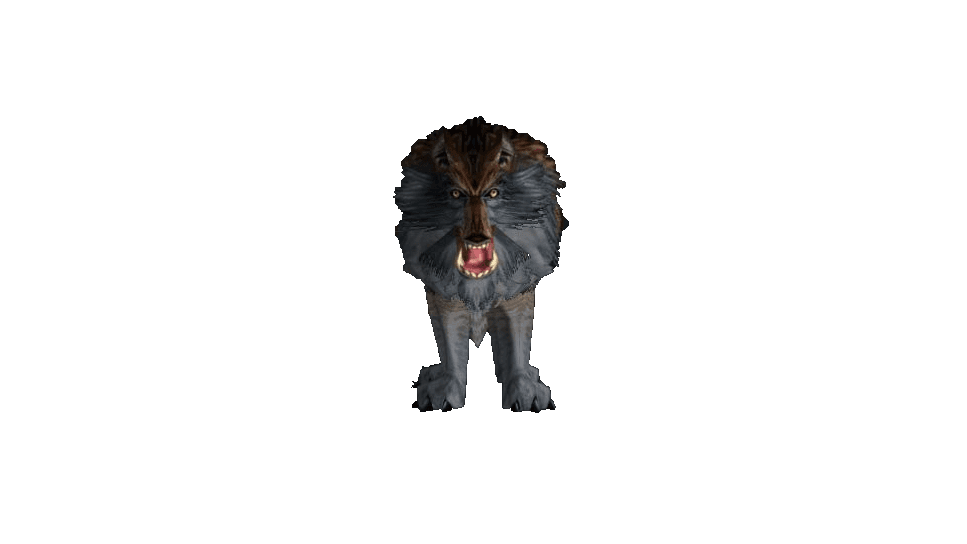
Halycon
Encounter Overview
Halycon is in a den with worg pups. The tank holds the boss while the group kills the adds first. After the fight, save your remaining mana and stay together, since Gizrul the Slavener soon runs into the room. Check the pups before leaving if you're doing Kibler's Exotic Pets.
Key Abilities

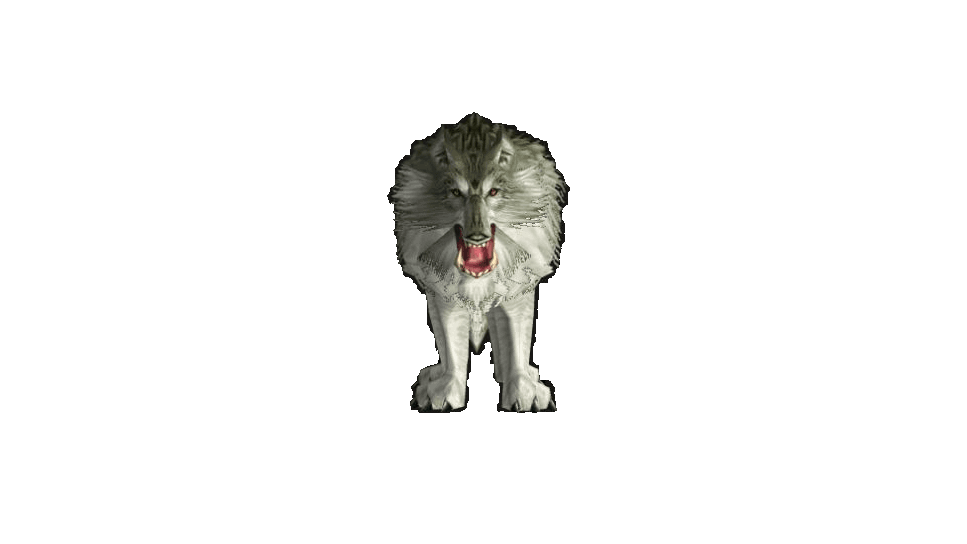
Gizrul the Slavener
Encounter Overview
Gizrul the Slavener arrives after Halycon dies. Be ready to pick him up immediately after the previous fight. The healer should anticipate hard bites combined with periodic damage. Give the tank time to establish threat as the boss arrives.
Key Abilities


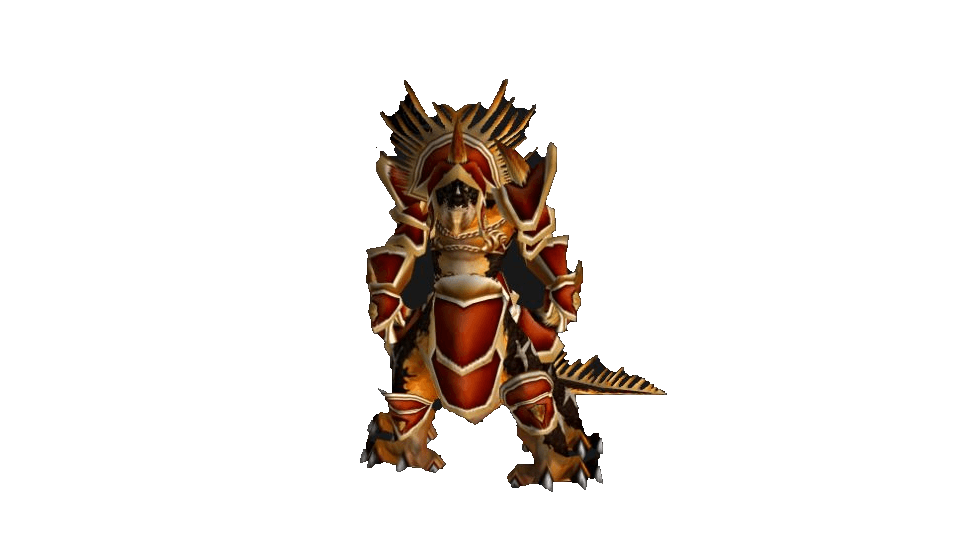
Overlord Wyrmthalak
Encounter Overview
Overlord Wyrmthalak ends the main route. Tank him facing away from the group with your back to a wall. Adds arrive around the middle of the fight, so assign crowd control and someone to pick them up. If the boss is low and the tank holds all the enemies, focus on finishing the boss, then kill the remaining adds.
Key Abilities


Mor Grayhoof
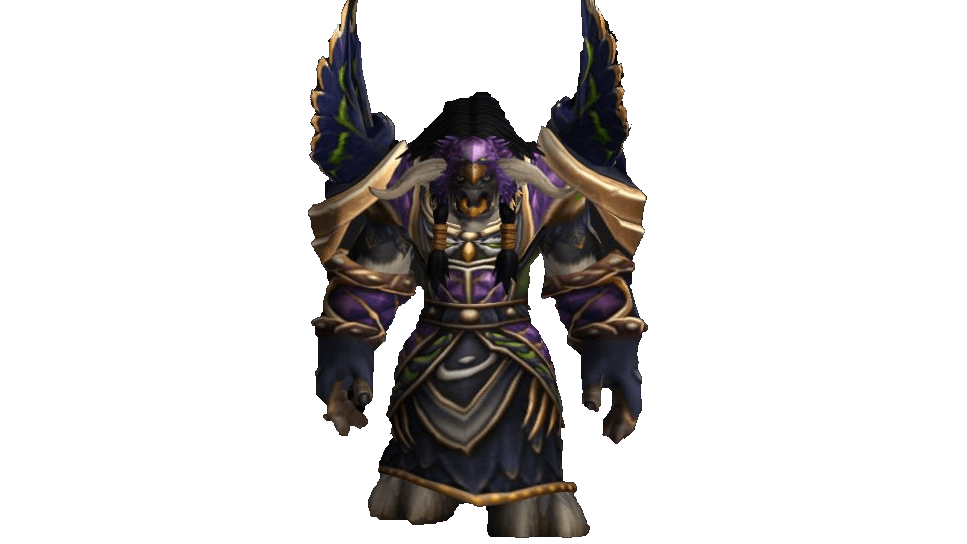
Encounter Overview
Summon Mor Grayhoof in War Master Voone's room with the quest item  Brazier of Beckoning or the
 Brazier of Invocation awarded at the end of the chain. This is an optional encounter. Clear the room and let the group recover before summoning.
Key Abilities
 Cat Form changes the boss's attacks. The tank should hold him through each form change.
- Bear Form makes the boss more dangerous in melee.
 Healing Touch restores the boss's health. Assign an interrupt.
 Reflection calls for care from casters. Pause dangerous casts while the reflection is active.
Dungeon Quests
-
Reward — choose one of
 Astoria Robes,
 Traphook Jerkin,
 Jadescale Breastplate, 1 gold 80 silver, 6,400 XP, 100 reputation with Orgrimmar.
Quest Level 59. Faction — Horde.
Quest Giver — Galamav the Marksman, Badlands.
/way Badlands 5.8 47.6 -
Reward — 0 copper, 6,400 XP, 100 reputation with Booty Bay, 500 reputation with the Bloodsail Buccaneers.
Quest Level 59. Faction — Horde.
Quest Giver — Lexlort, Badlands.
/way Badlands 5.8 47.6 -
Reward — choose one of
 Wyrmthalak's Shackles,
 Omokk's Girth Restrainer,
 Halycon's Muzzle,
 Vosh'gajin's Strand,
 Voone's Vice Grips, 1 gold 80 silver, 8,300 XP, 150 reputation with Orgrimmar.
Quest Level 60. Faction — Horde.
Quest Giver — Warlord Goretooth, Badlands.
/way Badlands 3 47.6 -
Reward — choose one of
Astoria Robes, Traphook Jerkin, Jadescale Breastplate, 1 gold 80 silver, 6,400 XP, 100 reputation with Darnassus.Quest Level 59. Faction — Alliance.
Quest Giver — Helendis Riverhorn, Burning Steppes.
/way Burning Steppes 85.6 69 -
Reward — 3 gold 96 silver, 6,600 XP, 100 reputation with Stormwind.
Quest Level 60. Faction — Alliance.
Quest Start —
 General Drakkisath's Command, Burning Steppes.
-
Reward — 0 copper, 6,400 XP.
Quest Level 59. Faction — Alliance.
Quest Giver — Bijou, Blackrock Spire.
-
Reward — 90 silver, 6,400 XP.
Quest Level 59. Faction — Alliance and Horde.
Quest Giver — Kibler, Burning Steppes.
/way Burning Steppes 65.8 22 -
Reward — 90 silver, 6,400 XP.
Quest Level 59. Faction — Alliance and Horde.
Quest Giver — Kibler, Burning Steppes.
/way Burning Steppes 65.8 22 -
Reward — 1 gold 80 silver, 9,950 XP.
Quest Level 60. Faction — Alliance and Horde.
Quest Giver — Ragged John, Burning Steppes.
/way Burning Steppes 65 23.6 -
Reward — 4 gold 98 silver, 8,300 XP.
Quest Level 60. Faction — Alliance and Horde.
Quest Giver — Scarshield Infiltrator, Blackrock Spire.
-
Reward — 5 gold 97 silver, 9,950 XP.
Quest Level 60. Faction — Alliance and Horde.
Quest Giver — Warosh, Blackrock Spire.
-
Reward — 0 copper, 7,750 XP.
Quest Level 58. Faction — Alliance and Horde.
Quest Giver — Prospector Ironboot, Tanaris.
/way Tanaris 66.8 24
Dungeon Loot
The table below lists loot from dungeon bosses and events.


Author

Fouren
Fouren has been playing World of Warcraft for over 15 years. He is an active player with 12 Cutting Edge achievements under his belt, and has reached the top 1% and 0.1% multiple times on various classes. His main classes are healers, particularly Holy Paladin.


Comments
0No comments yet. Be the first to comment!