


Maraudon Dungeon Guide for WoW: Forever

Maraudon
Maraudon lies beneath the Valley of Spears in Desolace. Aim for levels 45–52 for a full clear. The opening areas are easier than the fights deep in the caverns. The dungeon's two regular entrances meet near Celebras the Cursed, and the  Scepter of Celebras opens a separate shortcut.
Dungeon Entrance
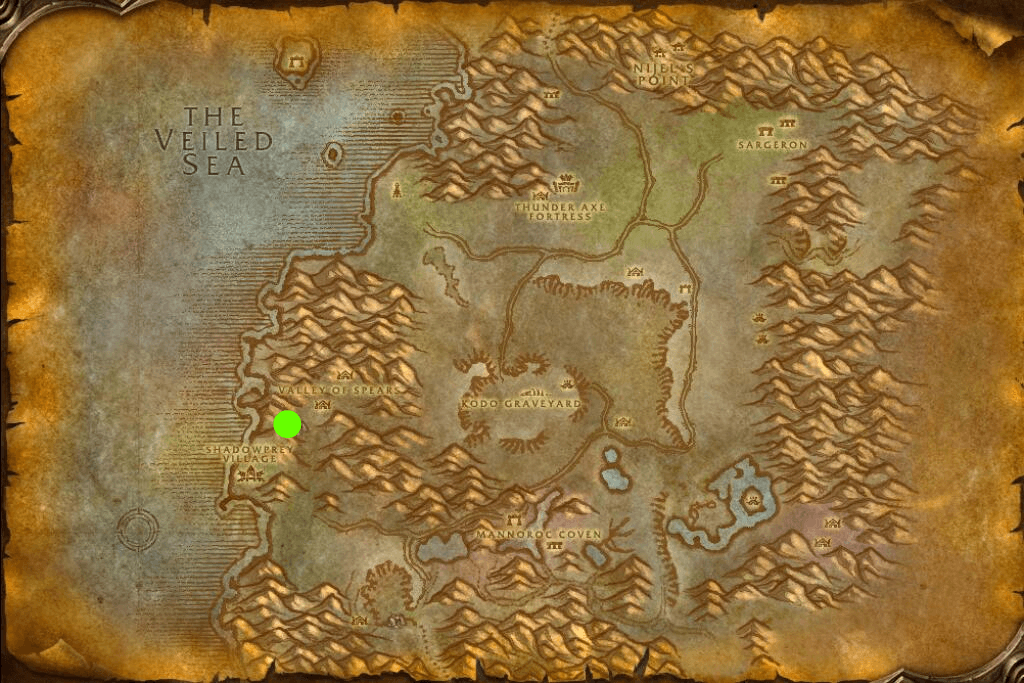
The cavern entrance is west of the Kodo Graveyard and north of Shadowprey Village. The map pin marks the large stone gate. Go through it and follow the tunnel to the portal.
Alliance Route
From Nijel's Point, head southwest to the Valley of Spears and group up before the stone gate. Expect centaurs on the approach and in the outer caverns.
Horde Route
From Shadowprey Village, head north toward the Valley of Spears. The approach to the gate is the same for both factions.
Inside, follow the crystals for the route you want. Orange leads to Noxxion and Razorlash, while purple leads to Lord Vyletongue. The two paths join up. The Scepter of Celebras opens a portal to the waterfall deep in the dungeon and saves time on repeat runs.
Dungeon Walkthrough
- For a full clear, run both opening wings. Take the orange path for Noxxion and Razorlash and the purple path for Lord Vyletongue, in either order.
- Where the paths meet, look for the rare mob Meshlok the Harvester and defeat Celebras the Cursed. If you're working on the Scepter of Celebras, finish the relevant quest step before leaving.
- Deep in the caverns, clear the path to Landslide, then move on to Princess Theradras. Pull the stone enemies outside her chamber one at a time.
- After Princess Theradras, drop down to the water and find Rotgrip. Then take the path on dry ground to Tinkerer Gizlock. Coordinate the jump so the group stays together.
Lord Vyletongue
Encounter Overview
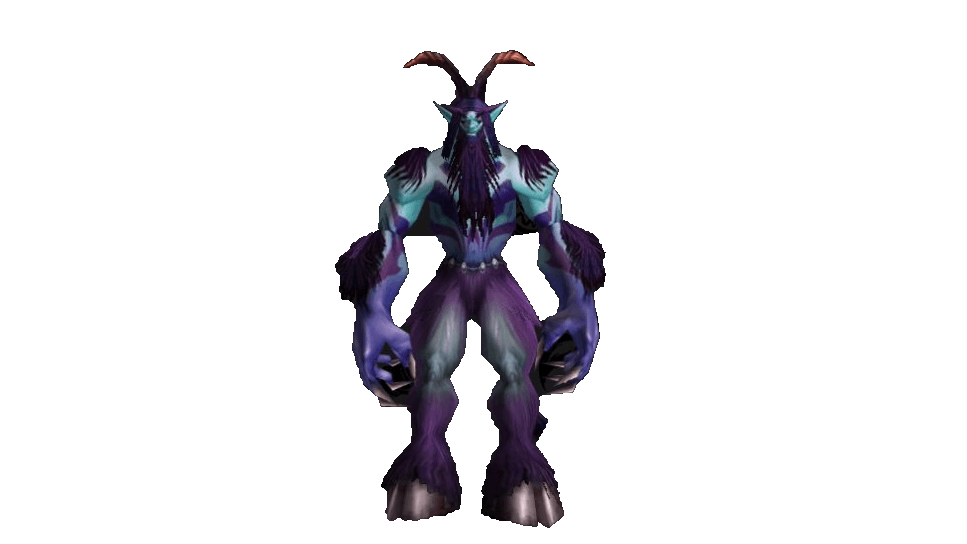
Lord Vyletongue fights with two stealthed adds. Melee and casters should stay close to the boss to limit his ranged attacks. Close the gap again if he moves. Have the tank pick up the adds when they appear, and avoid chasing the boss through packs you haven't pulled.
Key Abilities


Noxxion
Encounter Overview
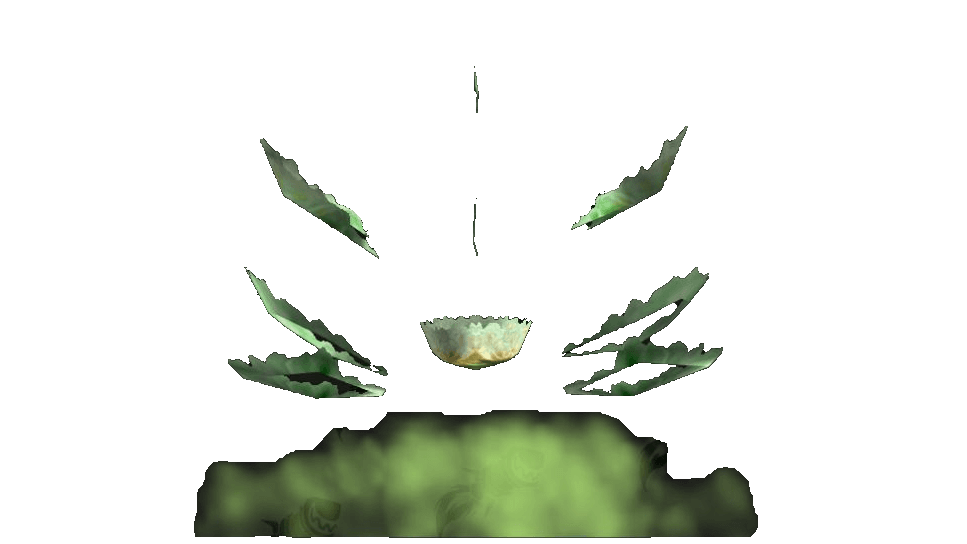
Noxxion periodically splits into small elementals. Switch to the fragments and kill all of them quickly so the boss reforms. The tank should leave a safe landing area behind them for the knockback, and the healer should watch for group-wide damage.
Key Abilities


Razorlash
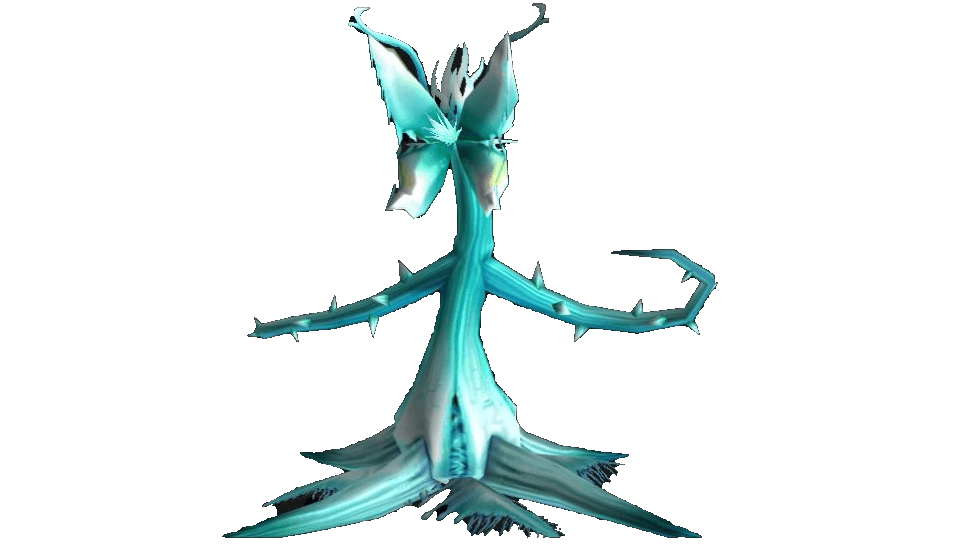


Meshlok the Harvester
Encounter Overview
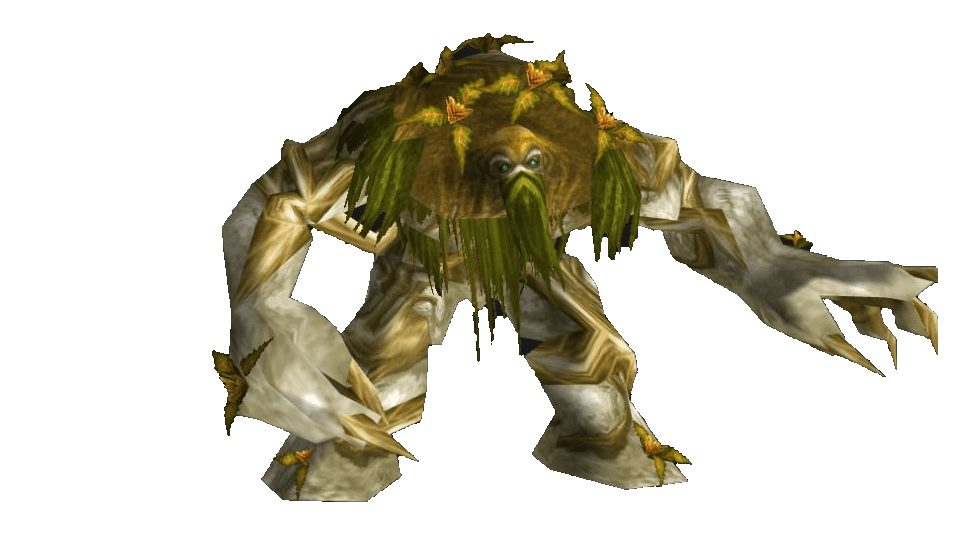
The rare mob Meshlok the Harvester patrols the water where the cavern routes join and looks like other enemies in the area. Pull him away from other patrols. Casters should stay back to avoid unnecessary stuns and interrupts.
Key Abilities


Celebras the Cursed
Encounter Overview
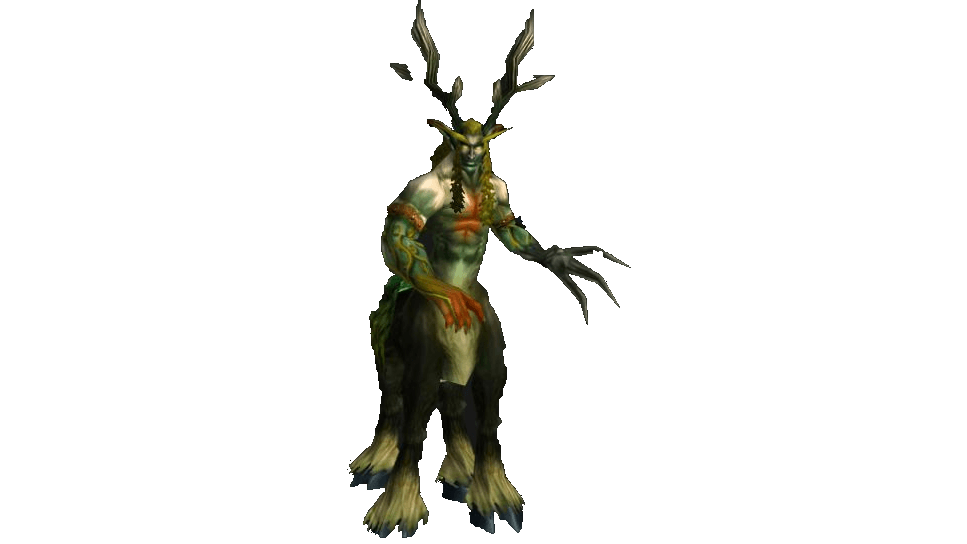
Celebras the Cursed keeps summoning adds. The tank picks them up while the group focuses most of its damage on the boss. Killing every new treant can drag out the fight. Interrupt casts and dispel movement-impairing magic as needed. After the fight, you can continue the quest for the Scepter of Celebras.
Key Abilities


Landslide
Encounter Overview
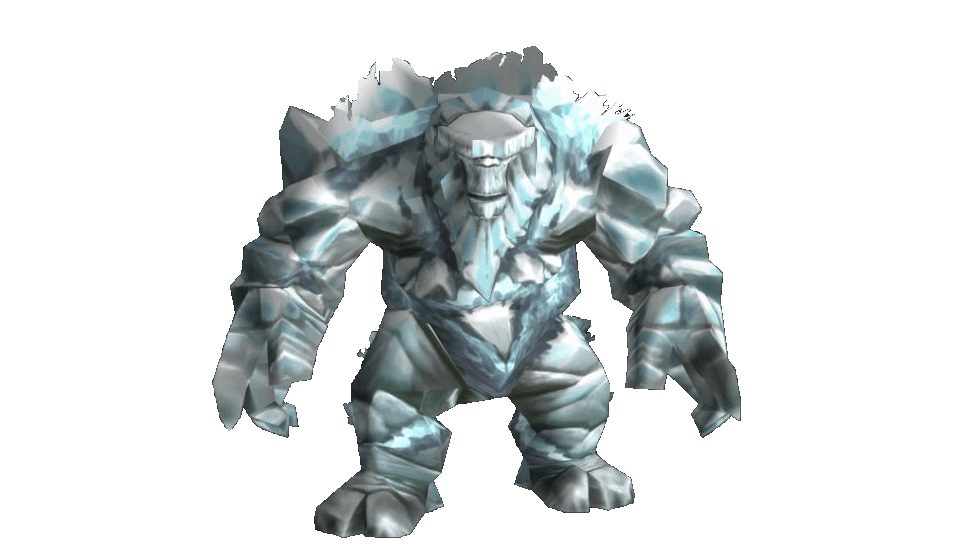
Landslide knocks back and stuns nearby players. The tank should keep a wall behind them, and casters should stay at range. Keep the adds off the healer until the boss dies and they disappear.
Key Abilities

Princess Theradras
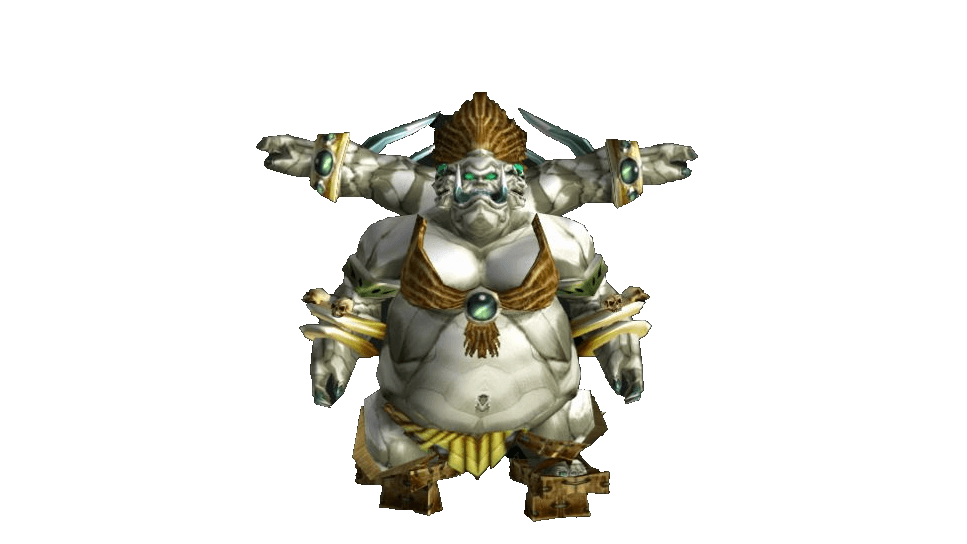
Encounter Overview
Pull Princess Theradras toward the back of her area, leaving room for the knockback. Clear the approaches first so a feared player won't run into other enemies. Ranged DPS and the healer should stay at maximum range. Avoid hitting the neutral turtles with area attacks.
Key Abilities


Rotgrip
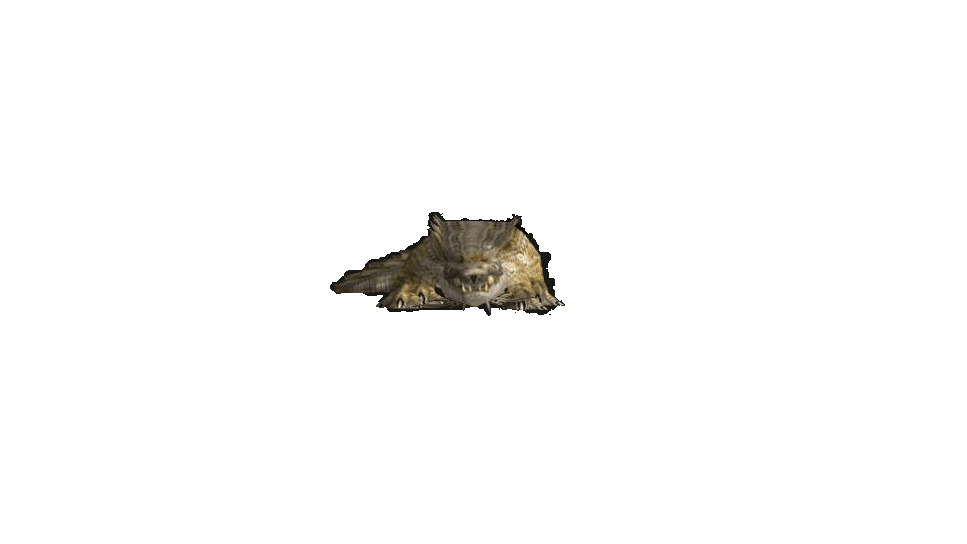
Encounter Overview
Rotgrip patrols the water below Princess Theradras's platform. Before jumping, make sure everyone is ready and the area is clear of extra hydras. Let the tank take the boss first. The healer should keep health high, since the bites and bleed can add up quickly.
Key Abilities

Tinkerer Gizlock
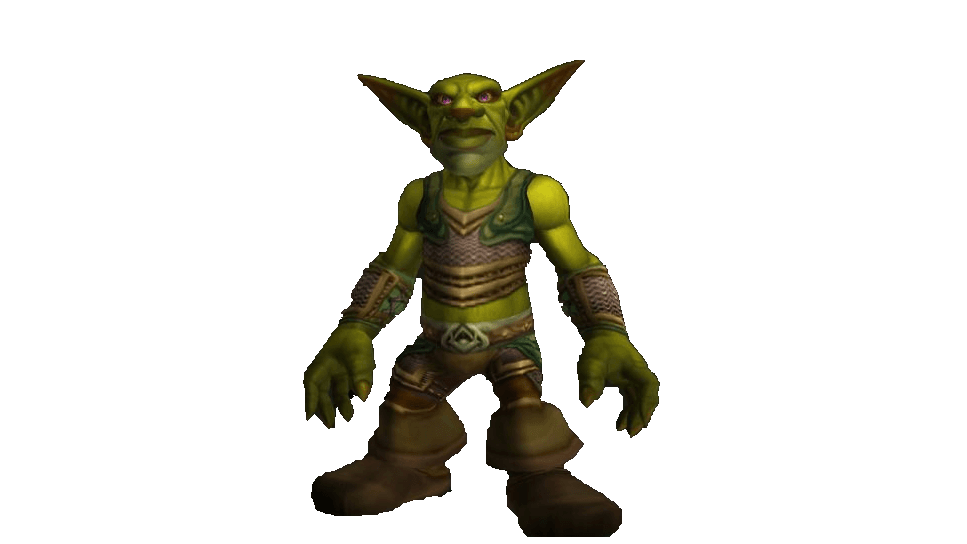
Encounter Overview
Tinkerer Gizlock fights with a gun and explosives. Have the tank face him away from the group to keep the fire attack off other players. Close in and keep the fight contained so the boss has fewer chances to shoot at distant targets.
Key Abilities


Dungeon Quests
-
Reward —
 Zealous Shadowshard Pendant, Prodigious Shadowshard Pendant, quest completion XP.
Quest Level 42. Faction — Horde.
Quest Giver — Uthel'nay, Orgrimmar.
/way Orgrimmar 38.8 85.4 -
Reward — choose one of
 Woodseed Hoop,
 Sagebrush Girdle,
 Branchclaw Gauntlets, 5,250 XP.
Quest Level 47. Faction — Horde.
Quest Giver — Vark Battlescar, Desolace.
/way Desolace 23.2 70.2 -
Reward —
Woodseed Hoop, Sagebrush Girdle, Branchclaw Gauntlets, quest completion XP.Quest Level 51. Faction — Horde.
Quest Giver — Selendra, Desolace.
/way Desolace 26.8 77.6 -
Reward —
Zealous Shadowshard Pendant, Prodigious Shadowshard Pendant, quest completion XP.Quest Level 42. Faction — Alliance.
Quest Giver — Archmage Tervosh.
-
Reward —
Woodseed Hoop, Sagebrush Girdle, Branchclaw Gauntlets, quest completion XP.Quest Level 47. Faction — Alliance.
Quest Giver — Talendria, Desolace.
/way Desolace 68.4 8.8 -
Reward —
 Thrash Blade,
 Verdant Keeper's Aim,
 Resurgence Rod, quest completion XP.
Quest Level 51. Faction — Alliance.
Quest Giver — Keeper Marandis, Desolace.
/way Desolace 63.8 10.6 -
Reward —
 Acumen Robes,
 Sprightring Helm,
 Relentless Chain,
 Hulkstone Pauldrons, quest completion XP.
Quest Level 47. Faction — Alliance and Horde.
Quest Giver — Willow, Desolace.
/way Desolace 62 39.4 -
Reward — quest completion XP.
Quest Level 49. Faction — Alliance and Horde.
Quest Giver — Cavindra.
-
Reward — 1 gold 50 silver, quest completion XP.
Quest Level 51. Faction — Alliance and Horde.
Quest Giver — Zaetar's Spirit, Maraudon.
Reward —  Mark of the Chosen, quest completion XP.
Quest Level 48. Faction — Alliance and Horde.
Quest Giver — Centaur Pariah, Desolace.
Reward — quest completion XP.
Quest Level 49. Faction — Alliance and Horde.
Quest Giver — Celebras the Redeemed, Maraudon.
Dungeon Loot
The table below lists loot from dungeon bosses and events.


Author

Fouren
Fouren has been playing World of Warcraft for over 15 years. He is an active player with 12 Cutting Edge achievements under his belt, and has reached the top 1% and 0.1% multiple times on various classes. His main classes are healers, particularly Holy Paladin.


Comments
0No comments yet. Be the first to comment!