



The Drowned City – WoW: Forever Dungeon Guide

The Drowned City
The Drowned City is a new 5-player dungeon off the coast of Stranglethorn Vale. The recommended range is levels 35–42. In the ancient troll ruins, the group faces sea creatures, undead, and pirates. Pearls activated after boss kills open the way into the deeper halls.
Dungeon Entrance
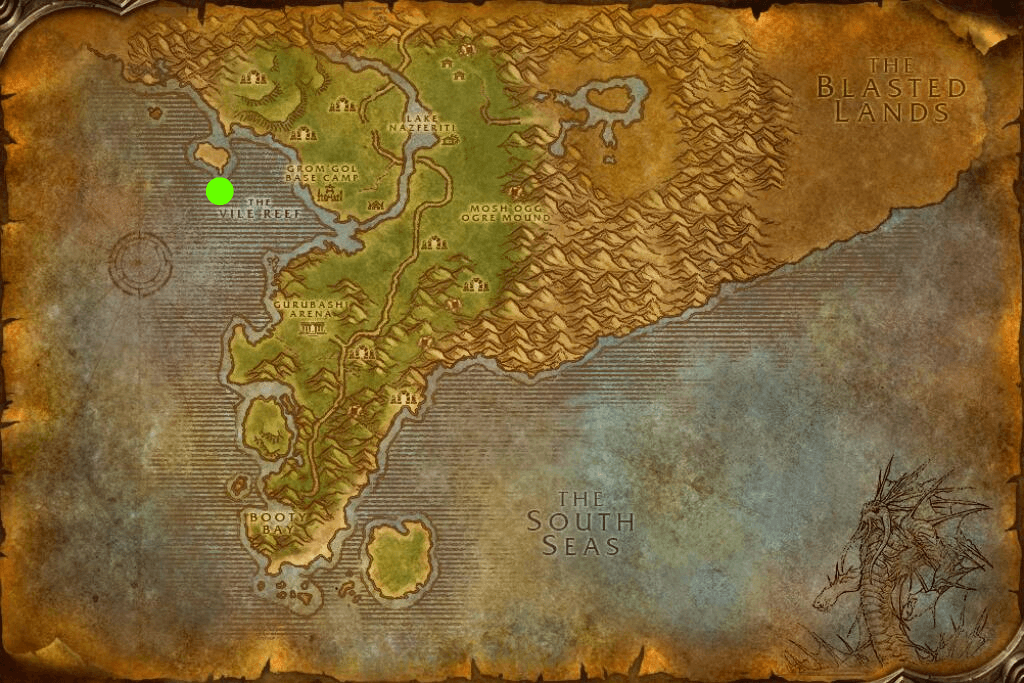
The entrance is underwater off the western coast of Stranglethorn Vale, near a flooded cave. Swim to the passage and look for the large stone tablet by the entrance. Both factions use the same portal.
Alliance Entrance
Travel through Duskwood, head south into Stranglethorn Vale, and continue to the western shore. You can also start from Booty Bay if you have its flight path. Group up and refill your breath meter before diving.
Horde Entrance
From Grom'gol Base Camp, head to the western coast and the cave. You can take the zeppelin from Durotar to Grom'gol, or the ship from Ratchet to Booty Bay.
Swim together and watch your breath. Group up before entering so you can avoid waiting underwater for stragglers.
Dungeon Walkthrough
- In the opening areas, take one sea-creature pack at a time. Kill and interrupt the casters first, then finish the remaining enemies.
- Fight Zul'Alai in a cleared area and save the tank's defensive cooldowns for his buff at the end.
- Defeat Var'Taka and Captain Dreadrise. After each fight, interact with the glowing pearl to weaken the barrier and open the way forward.
- Against Deathless Marrow, keep damage on the boss while clearing the constantly spawning adds. Killing only the reinforcements will not end the encounter.
- Recover fully before Min'loth the Serpent. His first defeat leads into a second phase. He changes form and returns to full health.
Zul'Alai
Encounter Overview
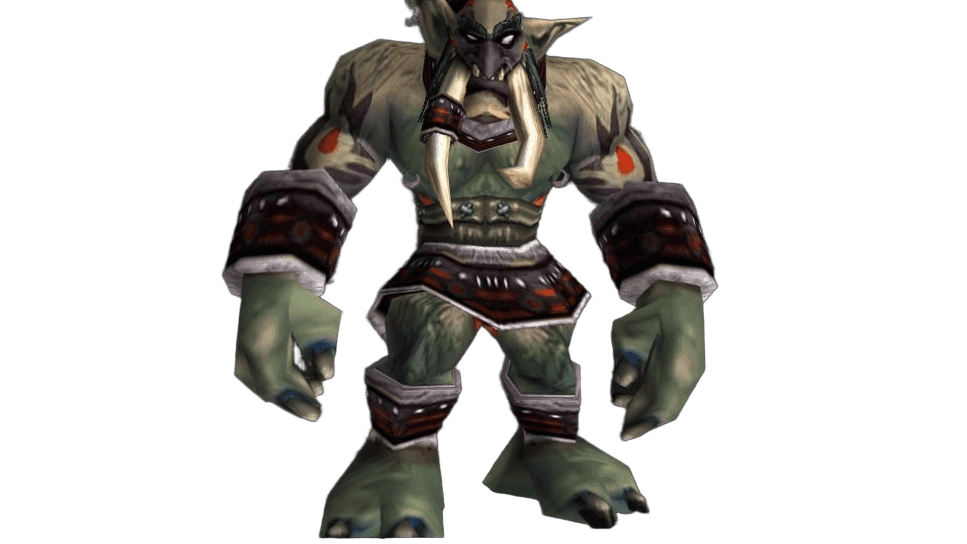
Zul'Alai deals heavy physical damage to the tank and stuns nearby players. The healer and ranged DPS should keep their distance. Save tank defensives and extra healing for the final part, when the boss enrages. Clear nearby packs before pulling.
Key Abilities
 Monstrous Slam stuns nearby players. Melee DPS can move away during the cast.
 Rotted Strike slows the target's movement and attacks. Remove it from the tank when possible.
 Undying Oath increases the boss's attack speed and periodically restores his health when he reaches 30% health. Save offensive and defensive cooldowns for the end.
Var'Taka
Encounter Overview
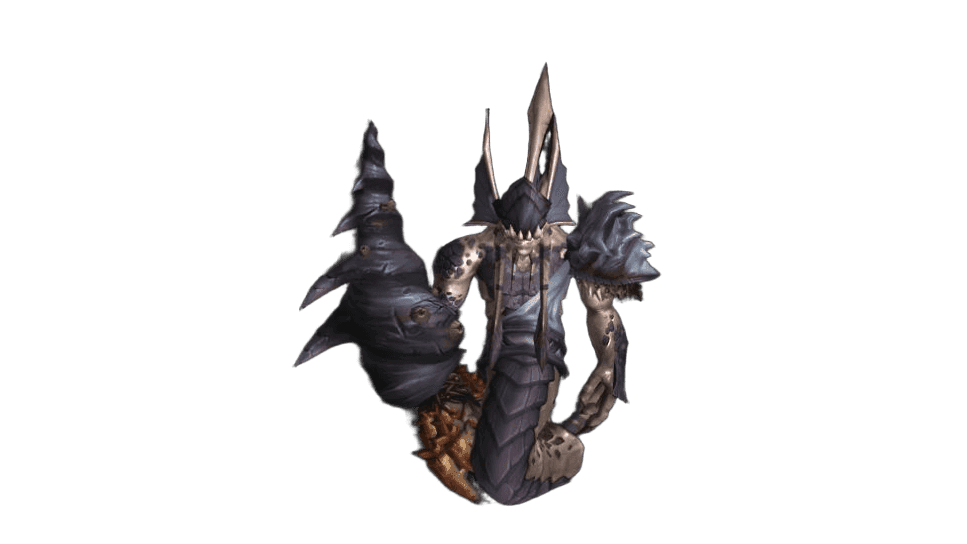
Var'Taka comes with two priestesses who heal allies and cast Frost spells. Kill the adds first, or crowd-control one. Face the boss away from the group to keep his frontal attack off other players. Return to a safe position after being pulled, and activate the glowing pearl after the fight.
Key Abilities


Primeval Elemental
Encounter Overview
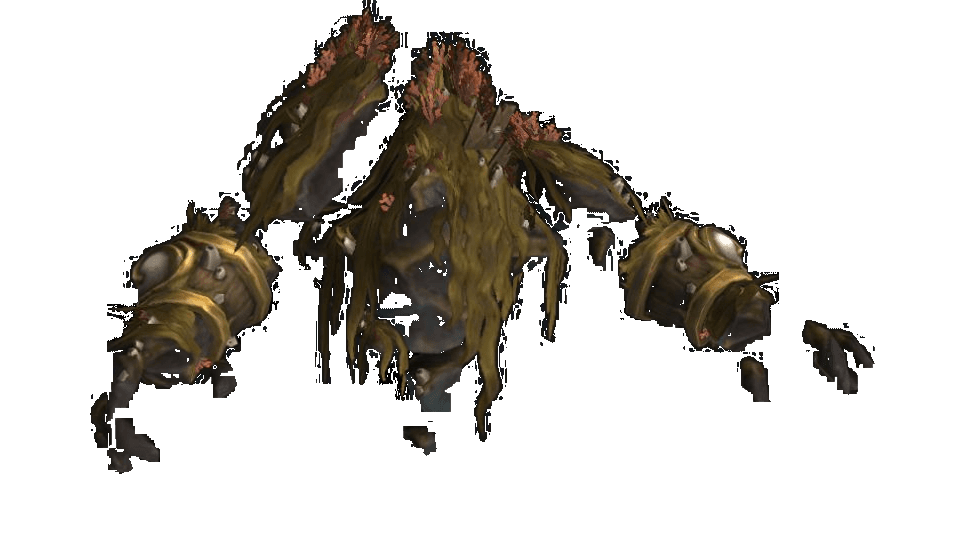
Primeval Elemental is an optional boss in a hidden part of the Deep Archives. Turn right into the underwater tunnels and kill every Undying Offering to activate the encounter. Refill your breath meter before pulling and keep watching it during the fight.
Key Abilities
 Waterbolt deals damage to one target. Interrupt the cast when possible.
 Freeze Water deals area damage. Spread out.
Captain Dreadrise
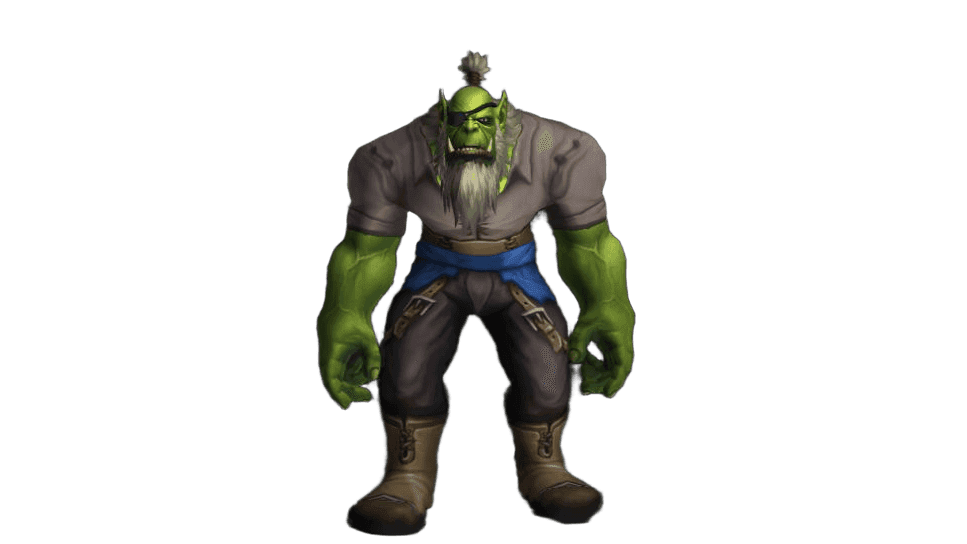
Encounter Overview
Captain Dreadrise traps a selected player in a water bubble. DPS should switch to it immediately and free the player before they drown. Assign an interrupt for the group-wide water spell, and clear the area in advance to avoid pulling a pirate patrol. After the fight, activate the glowing pearl.
Key Abilities
 Embrine traps a player in a water bubble. Destroy it quickly to free them.
 Waterbolt Volley damages the group. Interrupt it.
Deathless Marrow
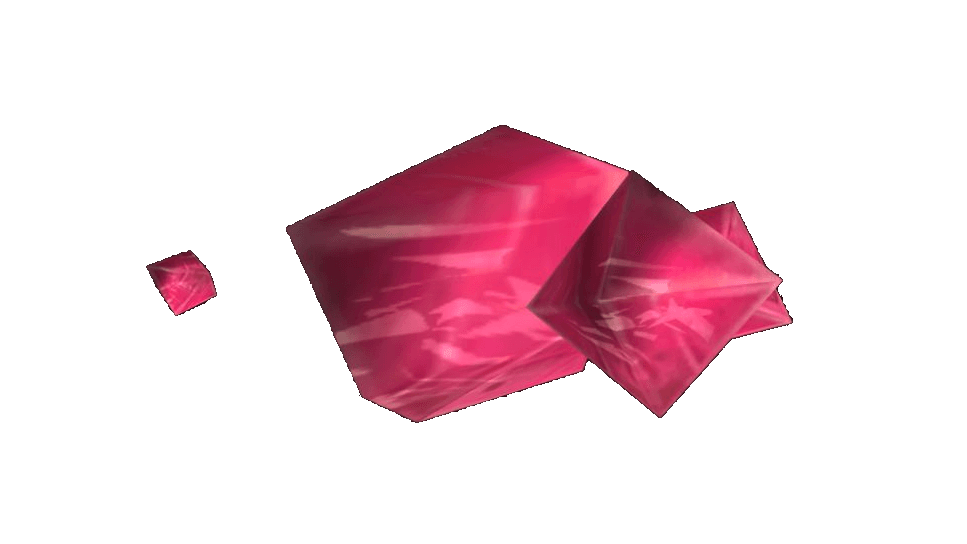
Encounter Overview
Deathless Marrow continually summons undead guards and casters. Have the tank pick up the adds and the DPS kill them near the boss while maintaining boss damage. Focusing entirely on the endless waves prolongs the fight and drains the healer's mana. Be ready for damage across the group and keep adds off the healer.
Key Abilities
 Bloodbolt damages the group. The healer should be ready for several players to lose health at once.
Gill
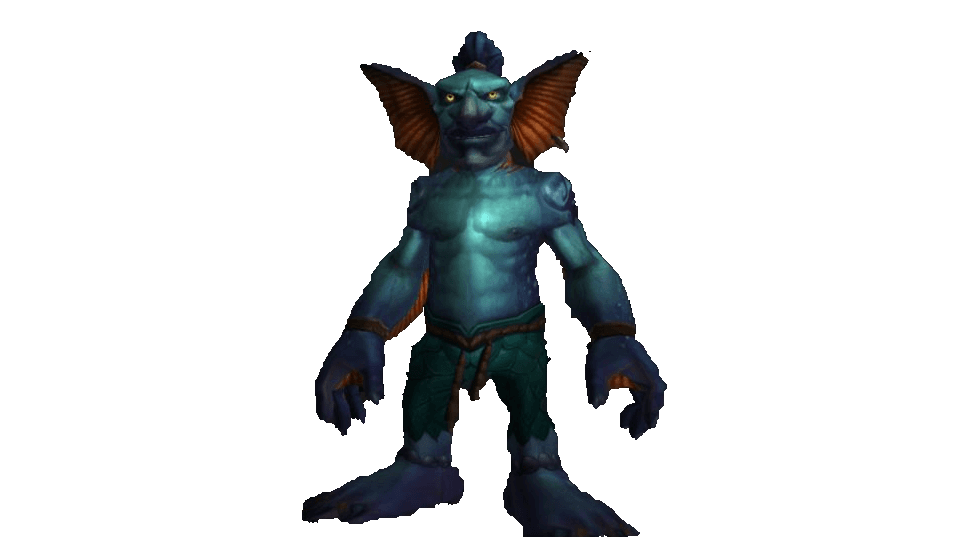
Encounter Overview
Gill is a rare enemy and may not appear on every run. If you find him, clear nearby packs first and fight him separately from the next required encounter.
Key Abilities
 Throw Dynamite damages the primary target. Clear the area in advance so you can fight him separately from regular enemies.
Min'loth the Serpent
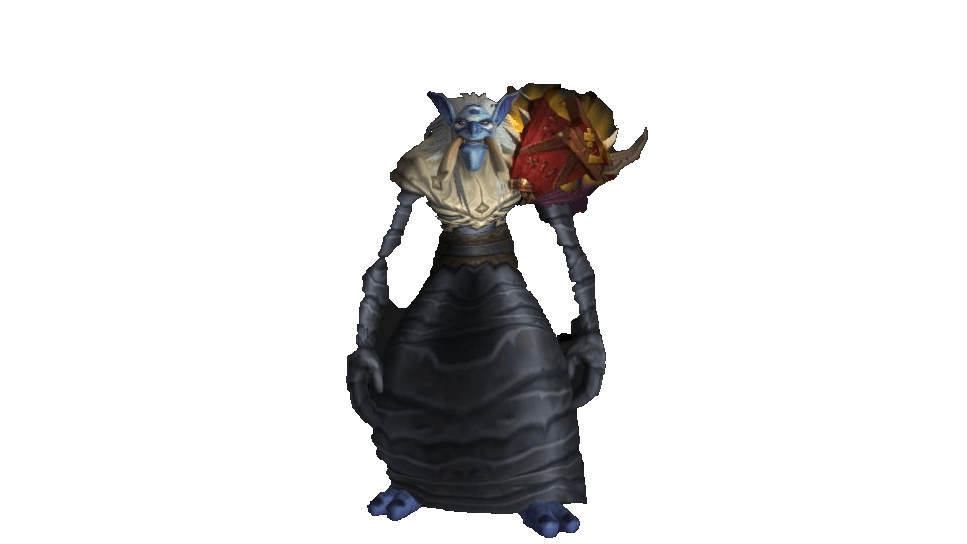
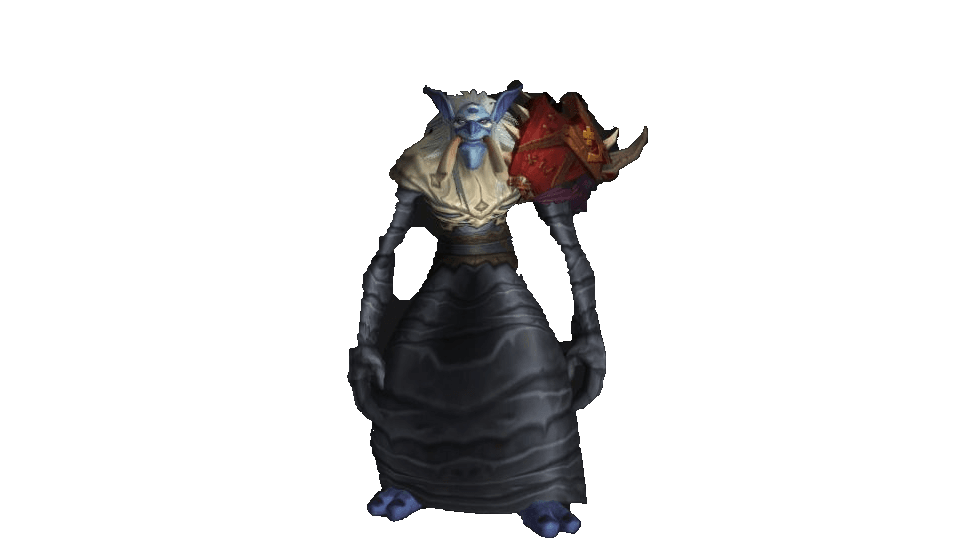
Encounter Overview
Min'loth the Serpent has two phases. First, you fight the troll. The healer should watch the main target and group-wide water damage. When his health first reaches zero, he becomes a serpent and fully heals. Prioritize poison removal in the second phase and be ready for fear. Save some resources for the second phase. The encounter ends when you defeat his second form.
Key Abilities
- Drench damages the current target in the first phase.
 Deluge deals group damage during the first phase.
 Fear is used in the second phase. Clear the fighting area in advance.
 Poison Bolt Volley hits the group in the second phase. Remove poison with any available abilities.
Umbra
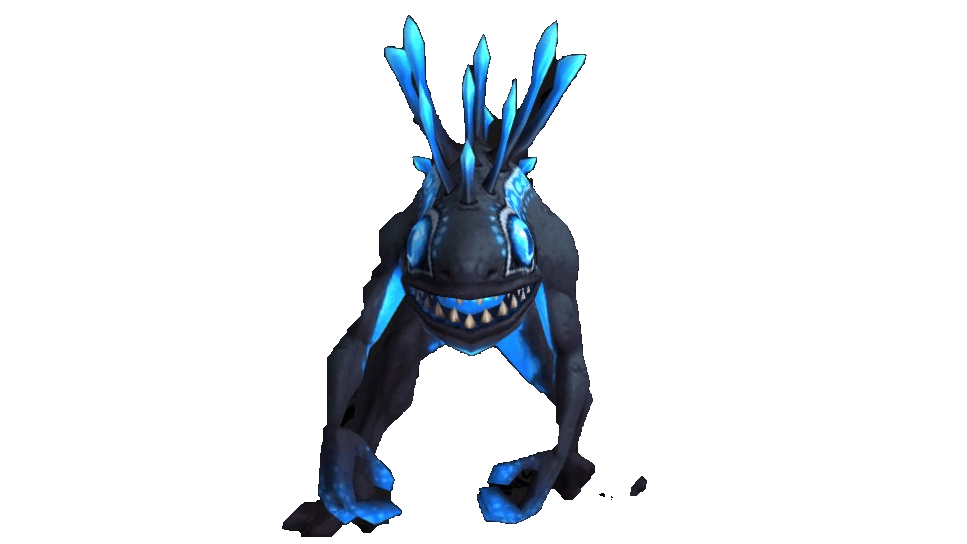
Encounter Overview
The rare enemy Umbra appears with five murlocs. Their bleeds can quickly add up to dangerous damage. Assign crowd control for the adds and a focus target before pulling. The tank should pick up the entire encounter immediately to keep the enemies off the healer.
Zin'aka
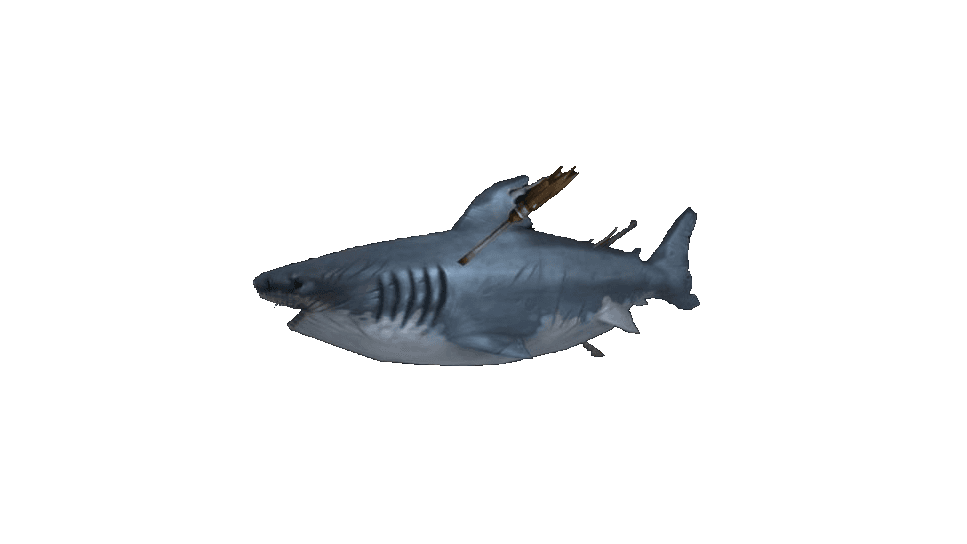
Encounter Overview
Zin'aka is another named enemy in the Drowned City. Clear the nearby area and wait until the group is ready before pulling. Keep him away from patrols and save interrupts for dangerous casts.
Dungeon Quests
-
Reward — 8,450 XP, 100 reputation with Stormwind.
Quest Level 40. Faction — Alliance.
Quest Giver — Loremaster Dibbs, Southshore.
/way Hillsbrad Foothills 50.6 57.0 -
Reward — 8,450 XP, 100 reputation with the Darkspear Trolls, 100 reputation with Orgrimmar.
Quest Level 40. Faction — Horde.
Quest Giver — Kin'weelay, Grom'gol Base Camp.
/way Stranglethorn Vale 32.2 27.8 -
Reward — 1 gold, 3,900 XP, 300 reputation with the Earthen Ring, 150 reputation with the Darkspear Trolls.
Quest Level 40. Faction — Horde.
Quest Giver — Mazu'kon, Mulgore.
/way Mulgore 32.4 20.6 -
Reward — choose one of
 Tidesoaked Leggings,
 Naga Priestess's Mantle, 1 gold 30 silver, 3,550 XP, 100 reputation with the Darkspear Trolls, 100 reputation with Orgrimmar.
Quest Level 38. Faction — Horde.
Quest Giver — Commander Aggro'gosh, Grom'gol Base Camp.
/way Stranglethorn Vale 32.2 28.8 -
Reward — 1 gold 50 silver, 3,150 XP, 100 reputation with Stormwind.
Quest Level 40. Faction — Alliance.
Quest Giver — Loremaster Dibbs, Southshore.
/way Hillsbrad Foothills 50.6 57.0
Dungeon Loot
Item | Type | Boss |
|---|---|---|
 Berserker Shackles | Mail (Wrist) | Zul'Alai |
 Oathbound Bracers | Leather (Wrist) | Zul'Alai |
 Bloodslash Axe | One-Handed Axe | Zul'Alai |
 Brinebelly Leggings | Leather (Legs) | Var'Taka |
 Priestess Cloak | Cloak | Var'Taka |
 Harpoon of Command | Polearm | Var'Taka |
 Briny Sash | Cloth (Waist) | Captain Dreadrise |
 Dreadfrost Saber | Main-Hand Sword | Captain Dreadrise |
 Frosty Blunderbuss | Gun | Captain Dreadrise |
 Bloodspine Staff | Staff | Deathless Marrow |
 Knucklebone Ring | Ring | Deathless Marrow |
 Viscera Spaulders | Mail (Shoulders) | Deathless Marrow |
| Waterlogged Burial Shroud | Cloak | Primeval Elemental |
 Heart of the Primeval | Trinket | Primeval Elemental |
 Robe of the Drowned | Cloth (Chest) | Primeval Elemental |
 Linken's Boots of Iron | Mail (Feet) | Regular enemies |
 Serpentbane Crown | Mail (Head) | Min'loth the Serpent |
 Maw of Min'loth | Shield | Min'loth the Serpent |
 Ritual-Binder's Gloves | Leather (Hands) | Min'loth the Serpent |
 Deep-Dweller's Grips | Cloth (Hands) | Umbra |
 Umbral Scaled Belt | Mail (Waist) | Umbra |
 Tidebound Dagger | Dagger | Gill |
 Gill's Gills | Trinket | Gill |
Author

Fouren
Fouren has been playing World of Warcraft for over 15 years. He is an active player with 12 Cutting Edge achievements under his belt, and has reached the top 1% and 0.1% multiple times on various classes. His main classes are healers, particularly Holy Paladin.


Comments
0No comments yet. Be the first to comment!